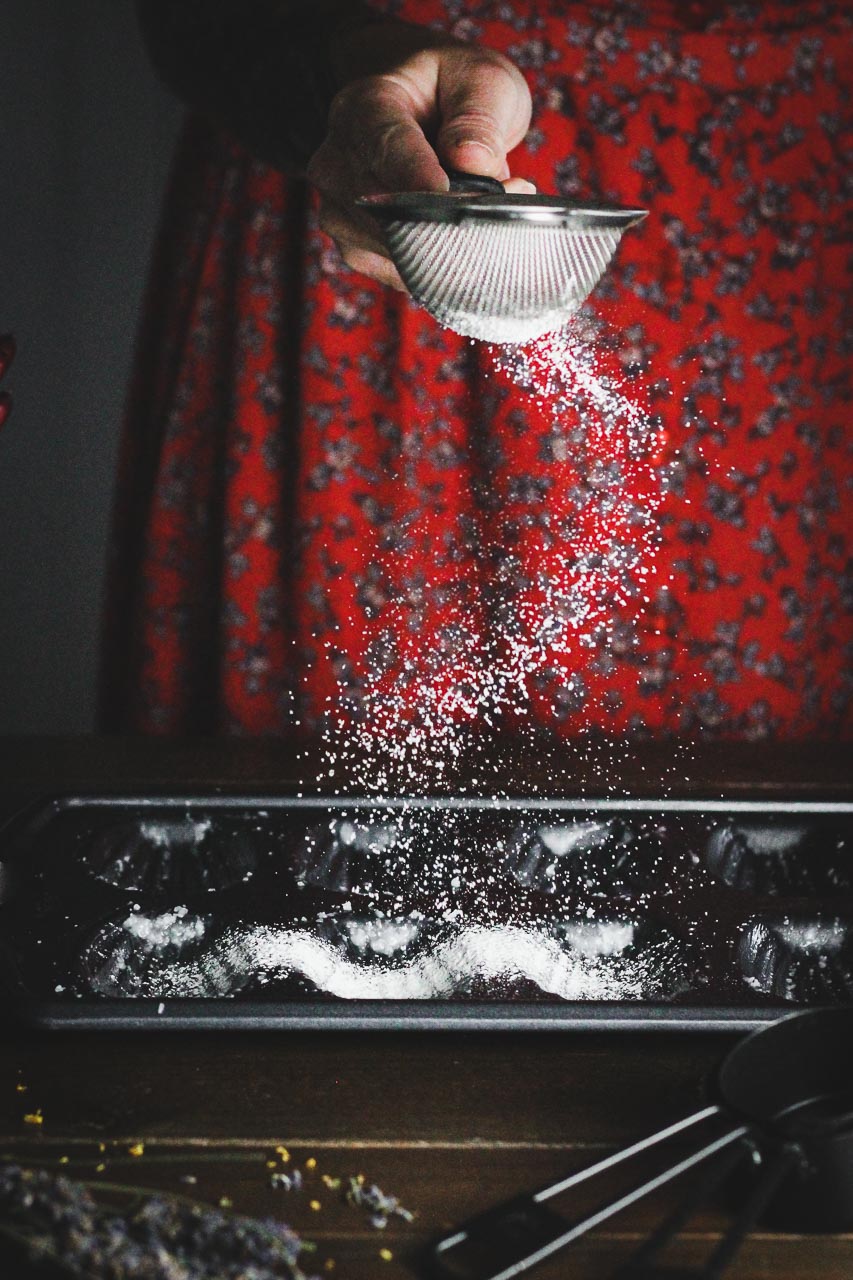
What do you do when it pours down rain allll day!?
Originally Published 05/10/2021
The answer is to bake madeleines and take tons of pictures!
Yesterday’s weather was gross. I’ll be honest, I’ve got a love-hate relationship with Spring. I love the flowers, the smell of the earth warming, birds singing, and warm days that tease us with hope. But then there are the days of endless rain and the chilliness that creeps back in.
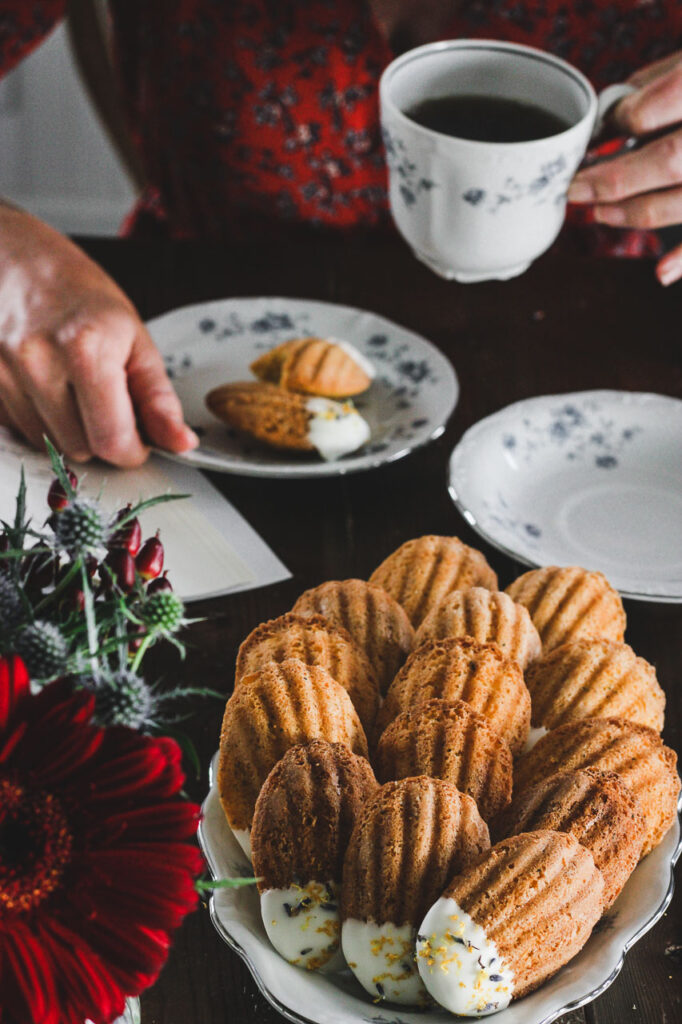
Sigh… it’s ok though, gives me time to work on my baking and photography. Also to enjoy hot tea and delicious Lemon & Earl Grey Madeleines ❤️!

Madeleines are like a free-form cupcake.
People generally think of them as cookies, maybe because they’re hand-held, bite-size goodness. But they’re technically a sponge. A tasty, spongey, masterpiece perfect for dipping in your coffee! Mmmm…be right back I need to go grab another one…
If you’ve never made madeleines, don’t be intimidated, they’re quite easy!
A few tools of the trade to set you up for success: first of all you need a madeleine pan. You might be able to find one of these around town at Bed Bath and Beyond, or Michaels. But since it’s not something everyone bakes all the time (although they should) you may have to order it off Amazon.
I also use a mixer, food processor, flour sifter, zester, and a piping bag fitted with a large round tip, to make these. However, you can still make beautiful madeleines without any of the rest of this stuff, except for maybe the zester, and the mixer! Ok – let’s get started!

To make the madeleine batter,
start by browning the butter in a small saucepan. Keep the stove on medium, to medium-low heat so the butter doesn’t burn. Stir continuously until it’s a lovely golden brown color and then immediately remove it from the stove. Pour it in a bowl and add the lemon zest and contents of an Earl Grey Teabag.
Adding these two things to the hot butter will help release their flavor and infuse it into the batter later on! Put that bowl of melted butter in the fridge to cool.
Next, put the sugar in the food processor and give it a whirl. If you don’t have a food processor, it’s ok to skip this step.
Essentially, you are breaking down the sugar crystals into even smaller bits so they melt and combine into the eggs faster!
Maybe you’re thinking, “Why not just use powdered sugar?” Powdered sugar is just very, very fine granulated sugar, but it also contains cornstarch to help it not glump up.
We don’t need cornstarch, but we do need is what’s left of the granulated sugars crystallized shape to help create air pockets in the eggs while they’re being whipped together!
So long story short, process the sugar if you’ve got a food processor, it will help the batter be fluffier and less granular. If you don’t have a food processor, just skip this step, you’re madeleines will still be delicious!

So, now that the butter is browned and the sugar is fine,
mix the rest of your dry ingredients, the flour, baking powder, and salt in another separate bowl and set it aside.
Finally, in your mixer with the whisk attachment, add in three, large, room-temperature eggs. Whip the puppies together on medium speed for a minute, and then gradually add that sugar we just talked about.
Once it’s all in there, turn the mixer up to high and whisk the batter until it’s fluffy and a pale yellow color.
After this, get the bowl of butter back outta the fridge and with the mixer running at medium speed, slowly pour this in, whisking it until combined. For the last part, remove the mixing bowl from the stand and by hand, sift and fold the flour, in three equal parts. This gentle folding of the flour is so you don’t deflate all the glorious air you just whipped into your sponge! Once the flour is fully incorporated, scoop it into a 16″ piping bag fitted with a round tip and place it in the fridge to cool.

As for the piping…
you don’t technically have to pipe these.
You can 100% just spoon the chilled madeleine batter right into the oiled/floured tin!
I like to pipe it because I feel like I can get them more even this way! If you’re a master eye-baller (or something like that 😆) just spoon that batter right on in and skip this step.
Also, baking up to the chilling of the batter. I have a large glass pitcher that perfectly fits a 16″ piping bag. When I put the bag in there, the nozzle bends at the bottom and pinches off the tip so the batter doesn’t all drain out while it’s chilling. If you have something similar, you can do the same, or just put the mixing bowl in the fridge and scoop it in a piping bag after it’s chilled.
Also, the batter must be chilled. Don’t skip this step! The butter must cool back down for these cookies to bake up into their classic pot-bellied shape! 😁

So now that you’ve successfully either piped or spooned the batter into the oiled/dusted molds,
bake the madeleines on the middle rack of the oven at 375 degrees for 10-12 minutes.
They will get a nice large belly on them and it needs to be lightly golden brown before they’re fully done!
Remove them from the oven and let them cool in the pan for 3-5 minutes before removing them. Then finish cooling them on a rack.
You will need to re-oil and flour the pan in between batches!
Finally,
while the last batch is cooling, you can make the easy white chocolate dip. Simply add 1/2 cup of white chocolate chips to a microwave-safe bowl, as well as 1 tsp of vegetable oil. Heat the white chocolate 5-10 seconds at a time, stirring in between, until it’s melty! Dip the madeleines into the white chocolate and sprinkle with lavender, lemon zest, sprinkles, pistachio pieces, whatever your heart desires! Then lay them back on the cooling rack to dry. The white chocolate sets back up in about 10 minutes. That’s it! Now the only struggle left in front of you is not eating all 36 by yourself! 😂 Hope you give this recipe a try! If you do, let me know how it goes!


Lemon & Earl Grey Madeleines
Equipment
- Kitchenaid Mixer
- Small Saucepan
- Measuring Cups & Spoons
- Food Processor
- Madeleine Pan
- Zester
- Rubber Spatula
- 2 smaller bowls
- Flour Sifter
- Piping bag + Round Tip
Ingredients
Madeleines
- 4 oz Salted Butter 1 Stick, or 8 Tbsp
- 1 packet Earl Grey Tea
- 1 1/2 tsp Lemon Zest
- 1 1/2 tsp Vanilla Extract
- 1 Cup All-Purpose Flour
- 1 1/2 tsp Baking Powder
- 1/4 tsp Salt
- 3 Eggs room temperature
- 3/4 Cup Sugar
White Chocolate Dip
- 1/2 Cup White Chocolate Chips
- 1 tsp Vegetable Oil
Instructions
Madeleines
- In a small saucepan over medium heat, add the stick of butter and stir it continuously as it melts. Keep stirring and cook the butter until it turns a nice golden brown color. Once it’s golden remove it from the heat immediately so it doesn’t burn! Pour the browned butter into a bowl and stir in the contents of a single tea bag of Earl Gray, the 1 1/2 tsp of vanilla, and the lemon zest. Place this bowl in the fridge to cool while you work on the other ingredients.
- Add 3/4 cup of granulated sugar to the food processor and run it for 30-60 seconds. Set to the side.
- In another small bowl, mix together the cup of flour, 1 1/2 tsp of baking powder, and 1/4 tsp of salt. Set to the side.
- In your Kitchenaid mixer fitted with the whisk attachment, add in the three, room temperature eggs. Begin whisking them on medium and start slowly adding the processed granulated sugar. Once all the sugar has been added turn the mixer up high and whip until it’s light yellow and fluffy, about 3 minutes.
- Next, with the mixer on medium-low speed, remove the butter from the fridge and add it slowly to the egg/sugar mixture. Then turn the mixer up to medium-high and whip for another minute.
- Remove the mixing bowl from the stand. Next, you’re going to sift in the flour, adding it in thirds. Sift 1/3 of the flour into the batter and then fold it in with a rubber spatula until it’s just combined. Repeat two more times until all the flour is combined.
- Scoop the filling into either a large pastry bag fitted with a round tip or a large Ziploc bag and then place it in the fridge to cool for at least 2 1/2 hours, up to overnight.
- Preheat the oven to 375 degrees. Spray the madeleine pan with oil and then also dust it with flour to prevent sticking.
- After the madeleine batter has chilled, pipe (or spoon) 1 1/4″ circles in the middle of each mold. Place the sheet on the middle rack of your oven and back for 10-12 minutes. The center of each cookie should be rounded and a light golden brown when they are ready to come out!
- Remove from the oven and allow to cool in the Madeleine pan for 5 minutes before carefully removing. Finish cooling on a cooling rack.
White Chocolate Dip
- While the madeleines are cooling, in a microwave-safe bowl, add 1/2 cup of white chocolate chips and 1 tsp of vegetable oil. Place the bowl in the microwave and melt for 5-10 seconds at a time, stirring in between, until the chocolate is melted. Keep an eye on it as white chocolate will quickly burn if heated for too long.
- Dip each cookie in the white chocolate dip. Sprinkle with bits of dried lavender and lemon zest. Set back on the cooling rack for 10 minutes or so for the white chocolate to set back up.
- Enjoy with a cup of coffee or tea and a good book, or some good friends!
Affiliate Information
As a part of the Amazon Affiliate program, I have the opportunity to share products and items that I genuinely find useful or interesting. When you come across links to these products on my blog, they're not just recommendations based on my personal experience or research; they also serve a dual purpose. If you decide to click on these links and make a purchase, I earn a small commission from Amazon at no additional cost to you.
This setup helps me to keep generating content that you find helpful and engaging, without bombarding you with irrelevant ads or sponsors. It's a win-win situation: you discover products that could add value to your life, and I get a little support to continue doing what I love. Rest assured, the integrity of my recommendations remains my top priority. I only share links to items that I believe in, and that I think could make a difference for you.
Thank you for your support and understanding. Your trust means the world to me, and I'm committed to maintaining transparency about how I fund my blog. If you have any questions about the Amazon Affiliate program or how it works, feel free to reach out.
©️ 2024 Now From Scratch | Template by Maya Palmer Designs | ©️ Photos by Austin Claire Photography| Privacy Policy | Terms

