I can’t get over how cute these Cherry Almond Eclairs turned out!
Originally Published 06/11/2021
When we were binge-watching the Great British Bake Off last spring during the shutdown, I’d have to say Bread Week and Pastry Week were my favorite weeks! I just love the beautiful, delicate, intricate, and colorful aspects of patisserie!
In another life, I’d have gone to culinary school to become a French Pastry Chef! My Cherry Almond Eclairs are not at that level of skill or finesse lol but they are delicious and I had fun putting them together and photographing them!
If you’ve got some time, and a little patience, check out the recipe below! These would be the perfect dessert for a bridal shower, baby shower, or dinner party to wow your friends!
Let’s get started!!
The first step to make these Cherry Almond Eclairs is the choux dough.
Choux, if you’ve never made it, can seem a little intimidating. Honestly, though, if you take your time and get yourself set up for success, it is pretty easy!
Preheat your oven to 400° and grab a large baking sheet and a piece of parchment paper to fit it.
Flip the parchment over and on the bottom of it, use a ruler to draw ten 5″ straight lines. Flip it back over and line the baking sheet with it! These lines will be your piping guide.
The next thing that will help you make awesome choux is to sift the flour. This will ensure no big chunks are going into the mix and making lumpy dough.
So now, in a medium-sized saucepan, melt the butter and then add the sugar, milk, and water. Bring this all to a boil and immediately remove it from the heat. Too much evaporation of the liquid can change the consistency of the dough.
Dump all the flour in the saucepan and quickly stir it into the hot milk/butter. You need to stir quickly otherwise the flour will lump up. I like to use a sturdy wooden spoon so I can get in there well.
Once the flour is mixed in, return it to the burner and cook the dough over medium heat for a minute.
After the minute is up, transfer the dough to your KitchenAid mixer fitted with a paddle attachment and get ready to add the eggs!
You’ll want to add the eggs one at a time
and mix them in thoroughly before adding the next one.
The key to choux dough success is getting the batter the right consistency – not too dry, not too wet! If you add in too many eggs and the dough is too runny, it can’t be fixed by simply adding more flour. It’s basically game over for that batch and time to start over.
So…just add the eggs in one at a time. Also, scrape the edges of the mixing bowl after you’ve added the first two eggs to make sure everything is getting properly combined. You may or may not use the fifth egg.
The choux dough is the right consistency and ready to pipe when you lift the paddle out and a V forms slowly dropping from the paddle. It should be thick, smooth, and glossy.
Scoop all of the choux dough into a large 16″ piping bag measure 2 1/2″ up from the tip and cut it open. This diameter seemed perfect to me to create large enough eclairs to fill.
Secret time… the first batch I made, I piped them too skinny. I kept watching them while they were baking hoping they were gonna rise up and fill out more… Nope! They came out looking like breadsticks 😂.
Anyways, follow the lines you drew on the back of the parchment, and hold the pastry bag at a 45-degree angle, and just above the tray. Try to keep as even pressure as you can while squeezing the dough out. This part takes practice for sure… my breadsticks from earlier were also quite squiggly.
Once all the eclairs are piped, gently egg wash them, and then dip a fork in the egg and lightly run it down the top of the dough. This does the same thing as scoring a loaf of bread, which helps the dough to rise up and out while it’s baking. (If you pipe the eclairs with a star tip, instead of a round, this step is unnecessary.)
Now the Eclairs are ready to bake!
Put them in the oven on the middle rack at 400 degrees for 10-12 minutes and then turn the oven down to 375 and bake for another 30-45 minutes.
Don’t open the oven! They will deflate and you will cry…I did 😂.
The eclairs are done when they’re golden brown, like really golden brown. You’re essentially drying out all the egg and butter so they will hold their shape.
After the cooking time is up, I like to turn the oven off crack the door, and let them sit for about 10 minutes before I introduce them into the harsh cold world. Then you can let them finish cooling on a cooling rack while you finish up the filling and frosting!
Eclairs can be tricky. If you ended up with flat breadsticks, check out Shinee’s post, Ultimate Guide To Choux Pastry. There are a lot of helpful tips, tricks, and trouble-shooting hacks in this post!
While the eclairs are baking, you can make the pastry cream!
The pastry cream needs time to cool before it can be piped into the eclairs, so the sooner you get this done and chillin’ the better! Pastry cream can even be made beforehand and kept in the fridge for a few days until it’s needed.
I love pastry cream…It’s the best part of the eclair in my opinion!
Start by mixing the cornstarch and flour in a small bowl and set it to the side.
Next, get back out your medium-size saucepan and add the milk, vanilla, and almond extract. Place it on the stove and bring it to a boil. Once it comes to a boil immediately remove it from the heat.
While it’s heating up, put the 4 egg yolks and 1/3 cup of sugar in your KitchenAid mixer and start whisking them on high until they turn pale yellow and become fluffy. (Don’t forget to save the egg whites for the buttercream!) Also, mix in the flour/cornstarch until combined.
Now, to not scramble the eggs, you’re going to temper the egg mixture by adding a half cup of hot milk into the mixer. Turn it on medium-high speed and slowly drizzle that half cup of milk into the eggs/sugar.
After the milk has been added to the eggs you’re now going to pour all the egg mixture into the saucepan while stirring, and then return it to the stovetop.
Cook over medium heat for 3-7 minutes, until the pastry cream thickens up. Then transfer it to a bowl, and cover it with plastic wrap. Make sure the plastic wrap is touching the whole surface of the pastry cream so it doesn’t have the chance to form its own skin as it cools.
Put in the fridge to chill. After it’s fully chilled, the last step is to fold in a 1/2 cup of whipped heavy whipping cream. This just makes the flavor and texture divine!
And now for the frosting!
Up until this recipe, I had only ever made traditional American Buttercream. It’s what I’m used to 🤷🏼♀️.
But I tell you what… Swiss Buttercream is amazing 😍. I’m thinking this is going to become a staple in my frosting arsenal!
So, take the egg whites you saved from the pastry cream, and place them in a heat-proof bowl with 3/4 cup of granulated sugar. Place that bowl over a pan of water to create some double boiler action, and place it on the stove over medium heat.
Whisk the eggs and sugar until all the sugar dissolves. If you have a kitchen thermometer, it should get to 160 degrees. If you don’t have a thermometer, whisk until the mixture becomes clear!
Next, pour the eggs/sugar into your KitchenAid mixer fitted with the whisk attachment and whip on high until stiff meringue peaks form. Add in the 1/4 tsp of salt.
Cut up the softened butter into chunks and begin adding them to the meringue while the mixer is running at medium speed. Finish by adding in the vanilla, almond, and any gel food coloring you’d like! Whip until everything is smooth and combined.
Two notes: first, the butter cannot be melted, or too cold… it needs to be room temperature for sure otherwise the consistency will be runny, or lumpy! Second, do not use salted butter! I often substitute salted butter instead of unsalted butter when recipes suggest otherwise. This is one time you can’t get away with it…trust me lol.
Once the frosting is done it can also be placed in the fridge for later if you don’t need it immediately. Although, it will have to warm back up before it’s able to be piped.
Ok, it’s finally time to assemble the eclairs!
So, load the chilled pastry cream up into a 16″ piping bag fitted with a pastry filling tip. Poke three holes along the bottom of the eclair to evenly fill it with pastry cream. Repeat until all of them are filled!
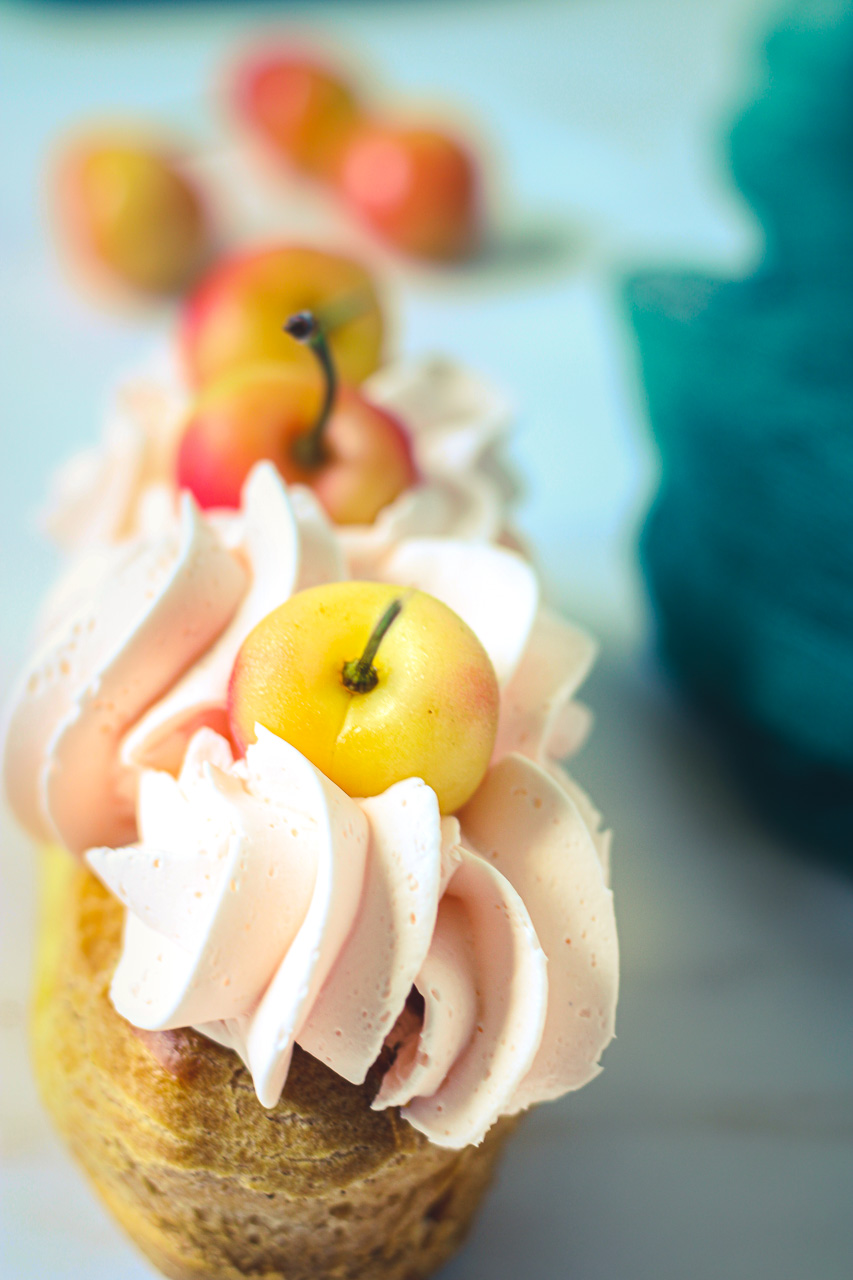
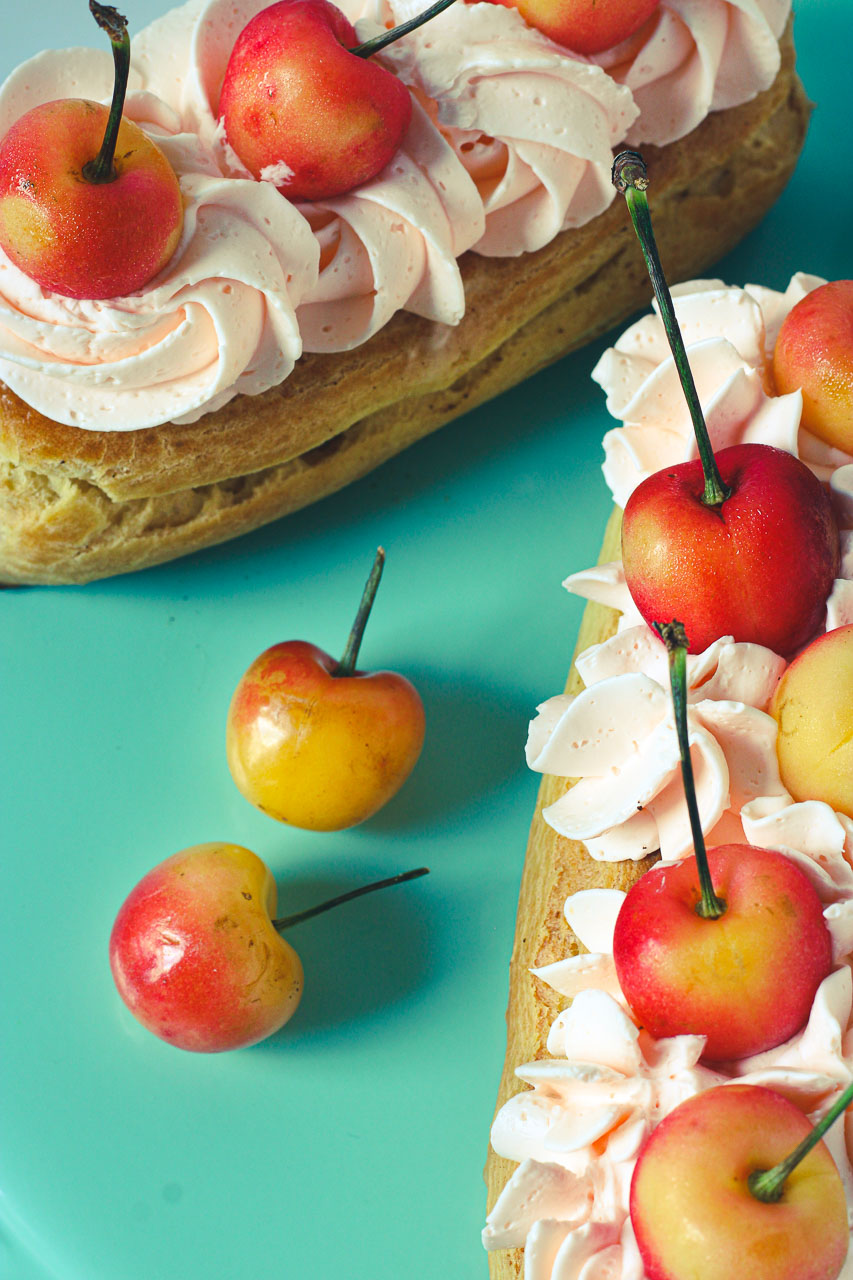
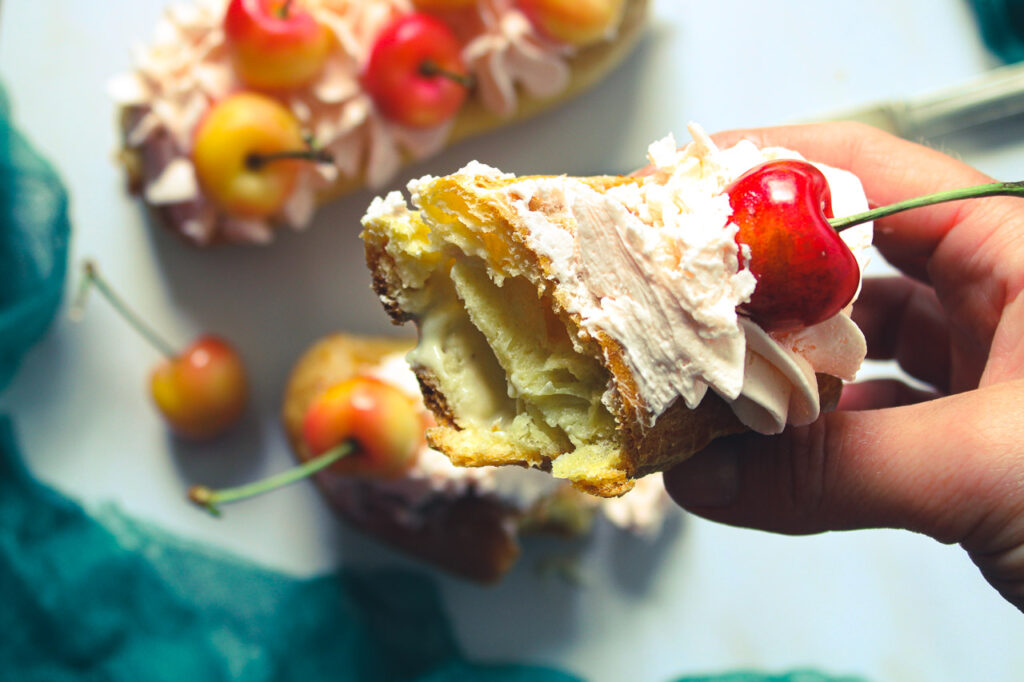
Next, fill another pastry bag with the Swiss Buttercream and pipe the frosting on top! I used a star tip and just did various designs. Be creative and do whatever you like! This is the fun part!
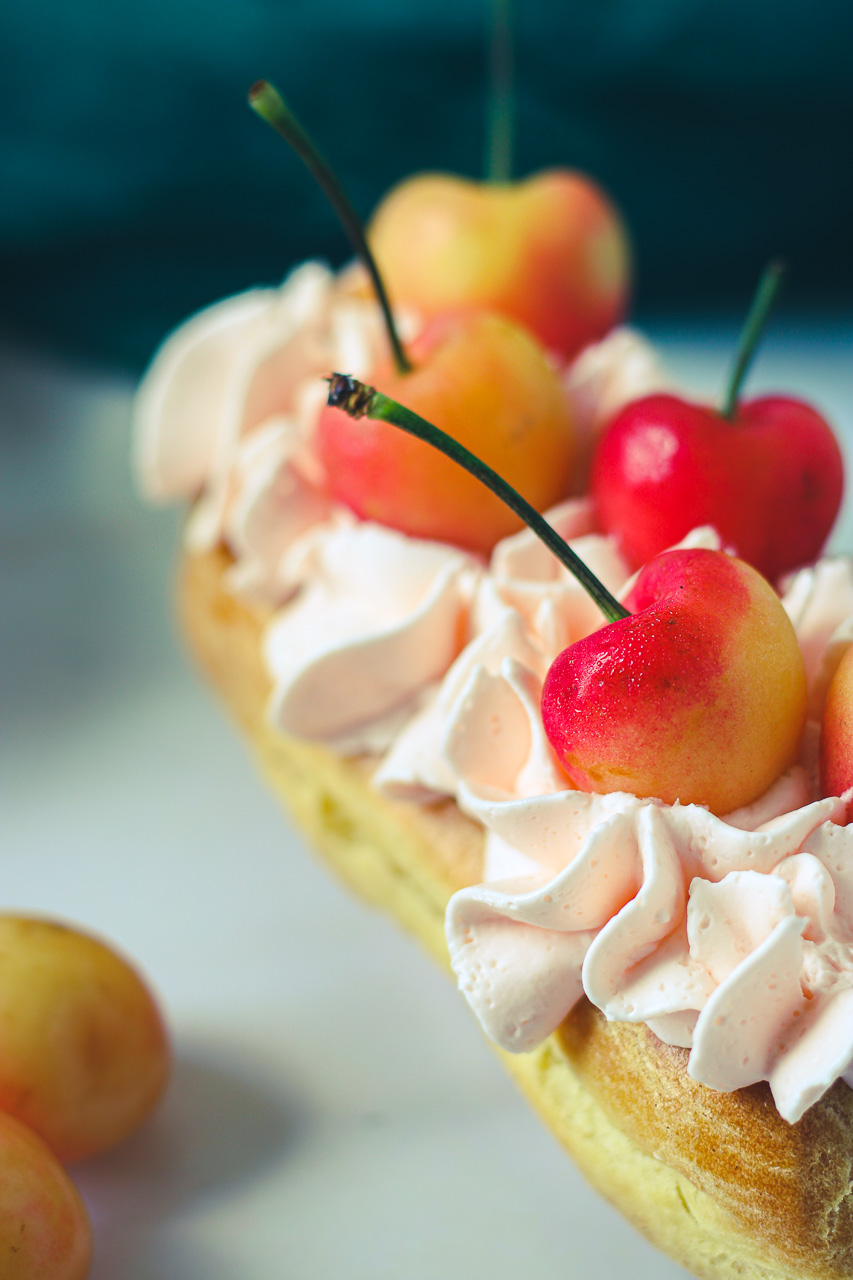
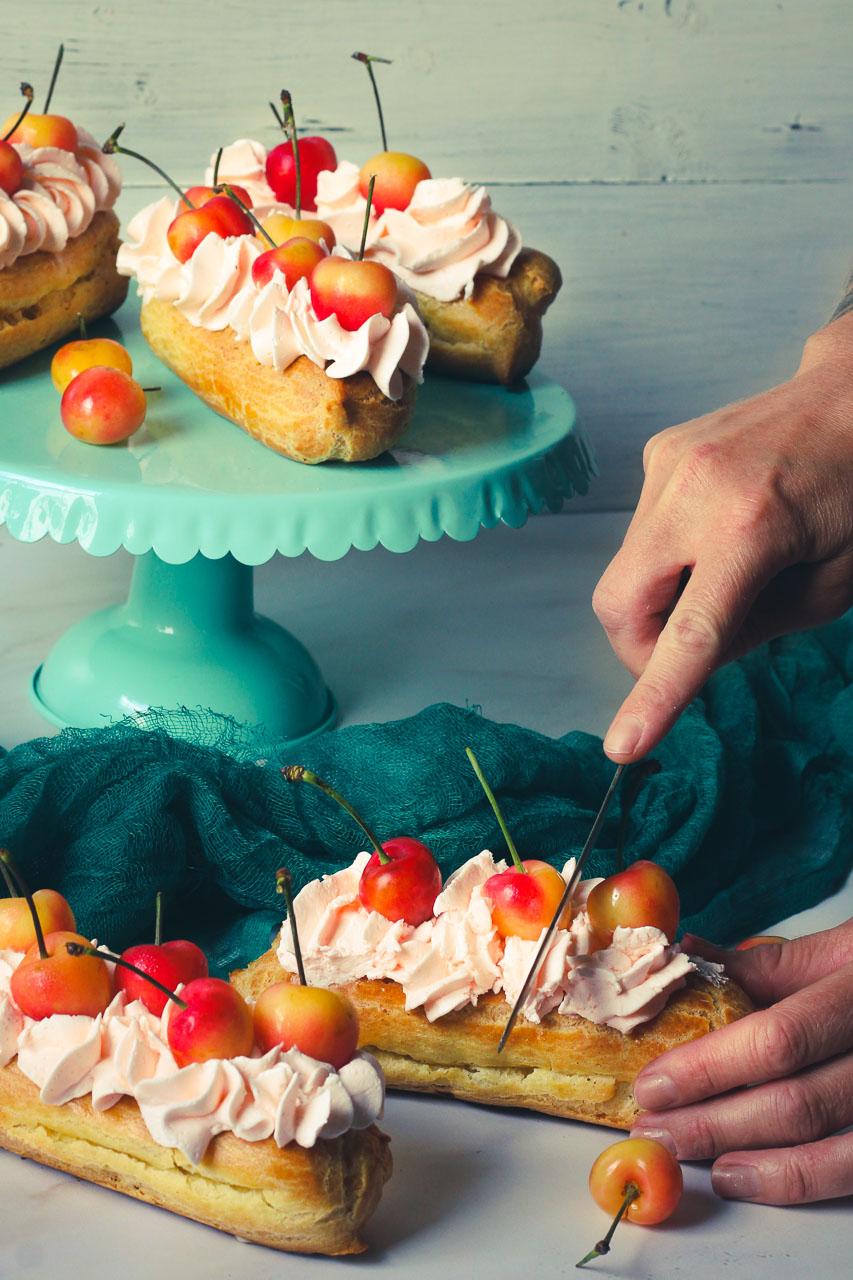
After they are all frosted, top with fresh cherries 🍒!
Finally, after all your hard work throw a party, wow your friends and family, and take a bite! Congrats! You’ve officially created a gorgeous, delicious masterpiece! ❤️
Let me know if you give this recipe a try, how it goes, and if you think they’re delicious.
Thanks for reading!
Cherry Almond Eclairs
Equipment
- Measuring Cups and Spoons
- Rubber Spatula and/or Wooden Spoon
- Medium sauce pan
- Hand Whisk
- Pastry Brush
- Large Sheet Pan lined with Parchment
- 3 Pastry Bags + Star tip and Pastry Filling Tip
- Kitchenaid Mixer + Paddle and Whisk attachment
- Ruler
- Plastic Bench Scraper
Ingredients
Choux Pastry
- 1/2 Cup Whole Milk
- 1/2 Cup Water
- 1/2 Cup Salted Butter
- 1/4 tsp Salt
- 2 tsp Granulated Sugar
- 1 1/4 Cups All-Purpose Flour
- 4-5 Eggs
Vanilla Almond Pastry Cream
- 2 tbsp All-Purpose Flour
- 2 tbsp Cornstarch
- 4 Egg Yolks
- 1/3 Cup Sugar
- 2 Cups Whole Milk
- 1 tsp Vanilla Extract
- 1/4 tsp Almond Extract
- 1/2 Cup Heavy Whipping Cream
- Swiss Almond Buttercream
- 4 Egg Whites
- 3/4 Cup Granulated Sugar
- 1 Cup Unsalted Butter Softened
- 1/2 tsp Vanilla Extract
- 1/4 tsp Almond Extract
- 1/4 tsp Salt
- 1 lb Fresh Cherries
Instructions
Choux Pastry
- Preheat the oven to 400 degrees. On the reverse side of a sheet of parchment paper, draw out ten 5″ lines with space between them, to serve as a guide when piping the eclairs. Line a large baking sheet with the parchment.
- Sift the 1 1/4 cups of All-Purpose flour into a bowl.
- In a medium saucepan, over medium heat, using a wooden spoon or sturdy rubber spatula, add the 1/2 cup of butter and stir until melted. Once the butter is melted add the 1/4 tsp salt, 2 tsp of sugar, 1/2 cup whole milk, and 1/2 cup of water. Bring to a boil. As soon as it starts to boil remove it from the heat.
- All at once, pour the sifted flour into the saucepan and stir vigorously to quickly incorporate the flour and form a non-lumpy dough. Move the saucepan back to the burner and cook over medium heat for 1 minute.
- After this, transfer the choux dough to your Kitchenaid mixer fitted with the paddle attachment. Add each egg to the dough one at a time, mix on medium speed until each one is fully incorporated. After the first two eggs, scrape the sides of the bowl with a spatula to make sure the dough is mixing thoroughly. You may not need the 5th egg. The Choux dough should not be too runny! It’s ready to be piped when you lift the paddle attachment out and the dough slowly forms a V dropping off of the paddle.
- When the Choux dough is the right consistency, scoop it all into a 16″ piping bag. Once all the dough is in the piping bag, measure 2 1/2″ up from the bottom tip of the bag and cut it off. This will form the perfect size opening to create 10 nice-sized eclairs.
- Follow the 5″ guides you drew earlier and pipe the 10 eclairs. You can use a plastic bench scraper to keep pushing the Choux dough down in the piping bag to avoid getting air bubbles in the dough while piping.
- Once the eclairs are all piped, place them on the middle rack of the oven and bake at 400 degrees for 10 minutes. After this, turn the oven down to 375 degrees and bake for an additional 30-45 minutes. They will be very golden brown when they are finished baking, don’t be tempted to remove them early, or open the oven as they’re baking, as they will go flat.
- Once they are finished baking, turn off the oven and crack the door open, allow them to sit like that for 10 minutes, and then remove them from the oven and finish cooling them on a cooling rack.
Vanilla Almond Pastry Cream
- While the eclairs are baking, make the vanilla almond pastry cream. In a small bowl, begin by combining the 2 tbsp of flour with the 2 tbsp of cornstarch and set to the side.
- Add the 2 cups of whole milk and tsp of vanilla extract, and 1/4 tsp of almond extract to a medium saucepan. Bring it to a boil and then remove it from the heat and set it to the side.
- In your Kitchenaid mixer, fitted with the whisk attachment, add 4 egg yolks (save the egg whites for the frosting) and 1/3 cup of granulated sugar. Whisk together until the mixture turns pale yellow and fluffy. Next, add in the flour/cornstarch and whisk until combined. After this, measure out a 1/2 cup of the hot milk and with the mixer running at medium speed, slowly drizzle the hot milk into the eggs.
- Once you’ve added the 1/2 cup of hot milk to the eggs, remove the bowl from the mixing stand and pour the egg mixture into the rest of the milk in the saucepan. Put the pan back on the stove over medium heat and whisk continuously until the pastry cream begins to thicken. This should only take 3-7 minutes.
- Remove the pastry cream from the stove and pour it into a bowl. Cover the pastry cream with plastic wrap, making sure the plastic wrap is touching the entire surface of the cream to keep it from forming a skin as it cools. Place the bowl in the fridge to allow it to fully cool before filling the eclairs.
- Once the pastry cream is fully chilled, add 1/2 cup of heavy whipping cream to a medium-size bowl and whip it until stiff peaks form. Next, scoop the whipped cream into the pastry cream and fold them together until fully incorporated. If you’re not ready to assemble the eclairs yet, return the pastry cream to the fridge.
Swiss Almond Buttercream
- In a heat-proof bowl, combine the 3/4 cup of granulated sugar, and the 4 egg whites you saved from earlier. Place the bowl on top of a medium saucepan filled with a couple of inches of water. The water should not touch the bowl with the eggs and sugar. Place the saucepan/bowl on the stove over medium heat and begin whisking the eggs and sugar together. Continue whisking until the sugar is completely dissolved, the mixture will turn almost clear.
- After this, pour the egg whites/sugar into your Kitchenaid mixer fitted with the whisk attachment. Whip on high until stiff meringue peaks form. Add in the 1/4 tsp of salt and whisk.
- Next, while the mixer is running at medium speed, add in the cup of softened butter 1 tbsp at a time. Finish by adding in the 1/2 tsp of vanilla, and the 1/4 tsp of almond. Whip until everything is combined and smooth.
Assemble
- Once the eclairs are cooled and the pastry cream is fully chilled, it’s time to assemble! Transfer the pastry cream to a 16″ plastic piping bag fitted with a pastry filling tip. Poke the tip through the bottom of each eclair once on each end and then in the middle to make sure the length of the eclair is filled with pastry cream. Continue with each eclair until all 10 are filled.
- Next, transfer the Swiss almond buttercream to a 16″ pastry bag fitted with a star tip and pipe 3-4 large swirls on top of the eclair. Once they are all frosted, place 3-4 fresh cherries along the top of the frosting!
- Serve right away, or place in the fridge to keep cool until you are ready to serve! Then, enjoy this gorgeous and delicious treat!
Notes
Affiliate Information
As a part of the Amazon Affiliate program, I have the opportunity to share products and items that I genuinely find useful or interesting. When you come across links to these products on my blog, they're not just recommendations based on my personal experience or research; they also serve a dual purpose. If you decide to click on these links and make a purchase, I earn a small commission from Amazon at no additional cost to you.
This setup helps me to keep generating content that you find helpful and engaging, without bombarding you with irrelevant ads or sponsors. It's a win-win situation: you discover products that could add value to your life, and I get a little support to continue doing what I love. Rest assured, the integrity of my recommendations remains my top priority. I only share links to items that I believe in, and that I think could make a difference for you.
Thank you for your support and understanding. Your trust means the world to me, and I'm committed to maintaining transparency about how I fund my blog. If you have any questions about the Amazon Affiliate program or how it works, feel free to reach out.
©️ 2024 Now From Scratch | Template by Maya Palmer Designs | ©️ Photos by Austin Claire Photography| Privacy Policy | Terms
