Dilly Beans are the best way to eat a green bean!
Originally Published 09/06/2021
This is a recipe I grew up making with my mom, grandma, and great-grandma. My great-grandparents loved to garden, especially my Grandpa Rusty. His garden was immaculate. And I swear he knew every trick in the book to keep away the bugs and grow an abundant crop!
My great-grandparents lived through the great depression. People who experienced that time had such a different outlook on life and for good reason! They did not waste anything! When your garden blessed you with an abundance of food, you made sure to preserve every last green bean!
I am super appreciative of the knowledge and skills that were passed down to me like hot water bath canning. Even if I currently just do it for fun and small batches, I think it’s a great skill to have! I mean, how cool to be able to put food in your pantry that will keep, and when you open the jar you know exactly every single ingredient that went into it!
If you are brand new to hot water bath canning, I’ve written a Beginner’s Guide that will help you get the basics down and your setup on point! I’ve also created a resource guide on all the Tools for Hot Water Bath Canning if you’d like to check that out too! Ok on to canning these delicious Dilly Beans!

This is a small batch recipe for Dilly Beans.
It only makes 4-pint jars. If you wanted to make more you could just double the recipe!
What I love about pickled canning recipes is you simply prepare the veggies, put them in a clean jar, add some spices and pour the hot brine over the top! What!? Super easy. Some other recipes, like a Ginger Fig Jam that I’m working on, are a little bit more involved. Or the delicious Roasted Garlic and Basil Marinara I usually can every fall. These take a little more prep work but are so tasty it’s worth it!
Even though Dilly Beans are a great introduction to hot water bath canning because of their simplicity, there are a few things you need to know to be successful at it!

The first step is to start boiling the huge pot of water before doing anything else!
I use the Granite Ware Porcelain Canner. It has a rack that lowers and lifts the jars in and out of the pot and it holds 9-pint jars! It takes forever to start boiling lol.
Also, everything needs to be clean and sterilized. I put all my jars, jar rings, and lids in the dishwasher ahead of time and run it so the jars are clean and hot when it comes time to fill them! If you don’t have a dishwasher, you can also put the jars in the graniteware pot while it’s boiling to sterilize them. Boil the rings and lids in a smaller pot of water so they’re easier to fish out.
Even though canning jars are tempered glass, they should be hot when they are filled with hot liquid just to be on the safe side. Cold glass and super hot liquid can sometimes result in exploding glass! I’ve used Walmart brand jars before and they work just fine, but Ball Canning Jars are my favorite! They make some super cute patterns and sizes!

For the Dilly Bean pickle brine,
bring 2 1/2 cups of white vinegar, 2 1/2 cups of water, and 1/4 cup Ball Pickling Salt.
Regular salt cannot be substituted. Pickling salt, canning salt, or preserving salt, is pure granulated sodium chloride and doesn’t contain any anti-caking ingredients as regular salt does. If you use regular salt your liquid might be cloudy or turn your pickles a weird dark color. So definitely get some pickling salt!
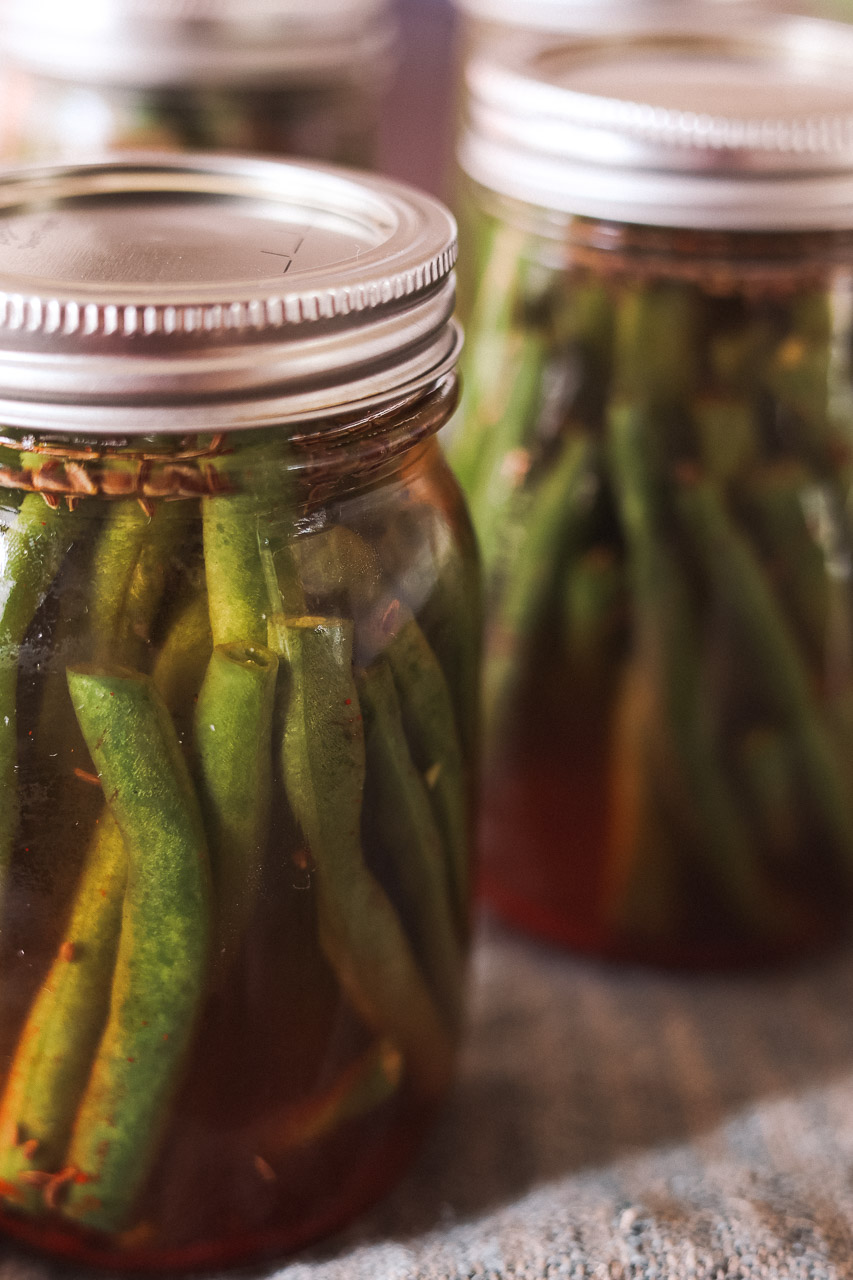
Once the brine is boiling, place your hot jars on a clean towel and stuff them full of green beans. Add the garlic clove and pour in the spices. Finally, ladle the hot brine over the top. I love my ladle with a pour spout! It helps things to be less messy!
Make sure to wipe the rims of the jars with a damp, clean cloth before putting on the lid and jar ring. If the jar rims have stuff on them, it might cause them not to seal.
You don’t need to crank down the jar rings super tight!
The pressure from boiling the jars is what will seal them. The jar ring is just there to hold the lid in place as this happens. So, tighten it just until it’s tight, don’t work too hard at it!
Once all the jars are ready, place them on the jar rack evenly spaced apart, lower them in, replace the canning pot lid, and process in boiling water for 10 minutes.
The jars need to be submerged under at least 1″ of water.
After 10 minutes, turn off the stove, uncover the canning pot, and let the jars sit in the water for another 10 minutes.
Finally,
lift up the jar rack, use your jar lifter to carefully get them out, and set them on either a cooling rack or a dishtowel to finish cooling.
Don’t re-tighten the jar rings, or touch the lids lol. I’m like a little kid and just want to mess with them immediately. Let them be for at least 12 hrs. Then check away! You’ll know they’re sealed if you press on the middle of the jar lid and it’s sucked tight down, it doesn’t pop back and forth when you poke it. If you’re still uncertain you can remove the jar ring and very gently try and pull up the lid. It should be stuck down to the jar well and not move!
Hopefully, all four jars are sealed and ready to go in the pantry! Write the date/contents on top so you know when they were made. I would wait at least two weeks to open the first jar and enjoy the fruits of your labor! These only get better with time – more pickled!
Watch out! Canning can be addicting! Once you learn the basics, you might get the itch to start canning more things lol. This recipe was adapted from one found in Ball’s Blue Book Guide to Preserving. It has a ton of awesome information and great recipes if you’re ready for future canning projects!
Let me know if you try this recipe out and what you think! Hope you love it and enjoy some tasty Dilly Beans!


Small Batch Dilly Beans
Equipment
- Cutting Board and Knife
- Measuring Spoons
- 4 – Clean/Hot Pint Jars with Lids and Rings
- Medium saucepan
- Granite Ware Covered Preserving Canner
- Canning Tool Kit
Ingredients
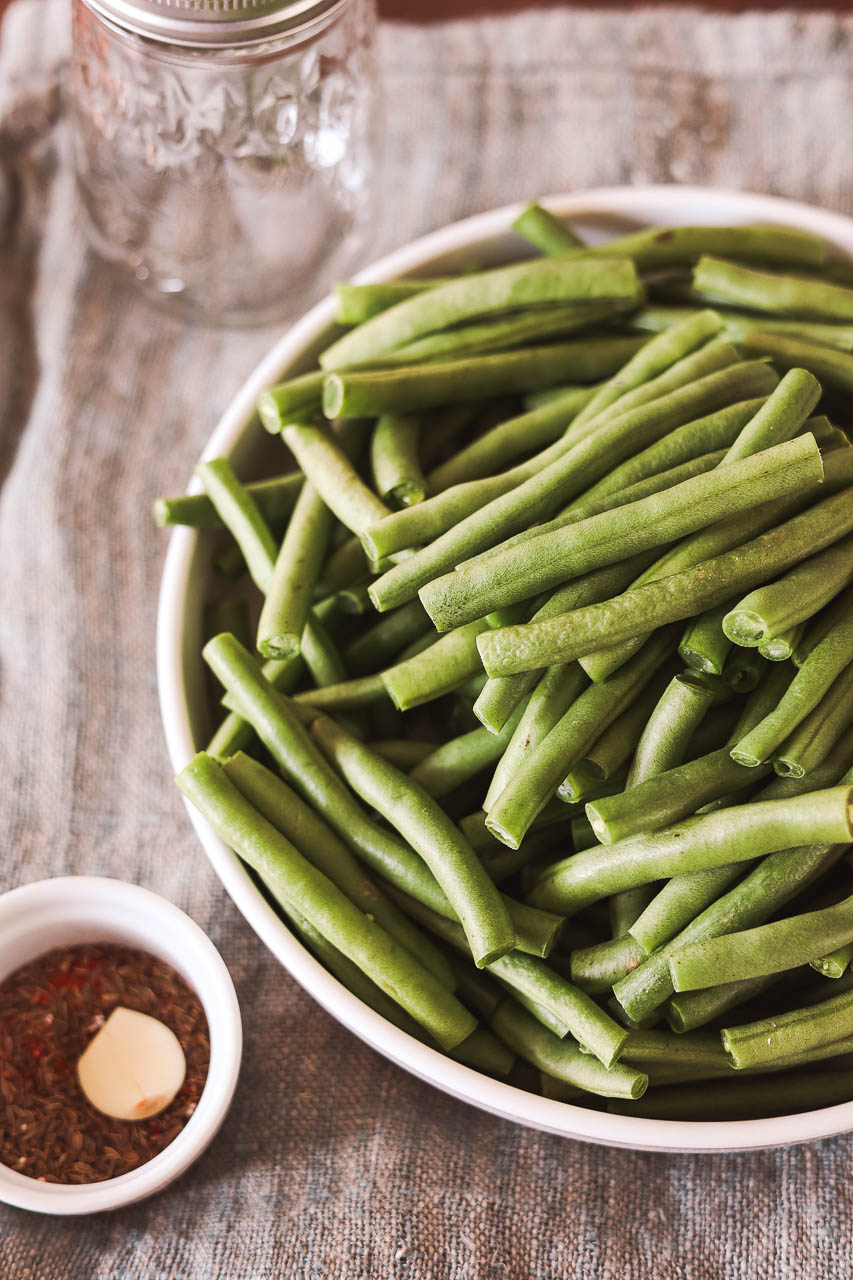
- 2 lbs Fresh Green Beans washed and ends cut off
- 2 1/2 Cups White Vinegar
- 2 1/2 Cups Water
- 1/4 Cup Ball Pickling Salt
- 4 Garlic Cloves peeled
- 1/4 Cup Dill Seed Divided
- 1 tsp Cayenne divided
- 1 tsp Smoked Paprika divided
- 1/2 tsp Ball Pickle Crisp divided
Instructions
Preparation
- Before beginning this recipe, run the jars, lids, and rings through the dishwasher and heat dry. Leave them in there to keep them sanitized and warm. Also, fill the Granite Ware Covered Preserving Canner pot with water and get it boiling. It’s a lot of water so it will take some time to reach that point.
- Once the large canning pot is boiling, in a medium saucepan, add the 2 1/2 cups of white vinegar and 2 1/2 cups of water, as well as the 1/4 cup of pickling salt, and bring it to a boil. This will be your pickling brine.
- Wash the green beans, cut the ends off of them and discard any bad ones. Peel the garlic cloves and set them to the side.
Dilly Beans
- Spread out a clean dish towel and place the hot, clean pint jars on the towel. Fill the jars as full as you can with green beans. Add a clove of garlic to each jar.
- Each jar will also get, 2 tsp of dill seed, 1/4 tsp of cayenne pepper, 1/4tsp of smoked paprika, and 1/8 tsp of pickle crisp.
- Next, ladle the super hot pickling brine into the jars. Make sure to leave a 1/2″ of space at the top of each jar. After the jars are full, use a clean butter knife to release any air bubbles that may be trapped in the jar under or around the green beans.
- Use a clean, damp paper towel to wipe the rims of each jar making sure they are clean before placing the lid, and ring on top. Once they’re clean, screw down the lid just until it is hand tight. You don’t need to over-tighten the lids.
- Place the 4 jars on the canning rack inside the pot and then gently lower them down into the water. They must be covered by at least 1″ of water. Place the lid back on the pot and set the timer to 10 minutes. After 10 minutes turn off the heat and remove the lid but leave the jars in the pot. Once the 10 minutes is up, use the jar lifter to carefully remove the jars placing them back on the dishtowel to continue cooling.
- Do not re-tighten the rings if they are loose. Just let the jars sit for 12 hours then you can check them to make sure they have been sealed and to tighten the rings. Label and store.
Notes
Affiliate Information
As a part of the Amazon Affiliate program, I have the opportunity to share products and items that I genuinely find useful or interesting. When you come across links to these products on my blog, they're not just recommendations based on my personal experience or research; they also serve a dual purpose. If you decide to click on these links and make a purchase, I earn a small commission from Amazon at no additional cost to you.
This setup helps me to keep generating content that you find helpful and engaging, without bombarding you with irrelevant ads or sponsors. It's a win-win situation: you discover products that could add value to your life, and I get a little support to continue doing what I love. Rest assured, the integrity of my recommendations remains my top priority. I only share links to items that I believe in, and that I think could make a difference for you.
Thank you for your support and understanding. Your trust means the world to me, and I'm committed to maintaining transparency about how I fund my blog. If you have any questions about the Amazon Affiliate program or how it works, feel free to reach out.
©️ 2024 Now From Scratch | Template by Maya Palmer Designs | ©️ Photos by Austin Claire Photography| Privacy Policy | Terms

