I guess I’ve been on a canning spree lately!
Originally Published 09/11/2021
Jake planted fig trees three years ago and this year they just decided to take off! We’ve harvested more than 10 lbs of figs off these two little trees in the last month! So I decided to can some delicious Ginger Fig Jam so we could enjoy it all year long!
Fresh figs don’t stay fresh long though. Really, they’re the kind of fruit that you pick off the tree at peak ripeness and eat right then! It’s all downhill to extra mushiness after that.
I didn’t want them to go to waste though! To me, they’re a rare treasure lol. The fact that they actually just grew in my backyard amazes me! Growing up in Wyoming where it’s hot and dry in the summer and stupid cold in the winter, only the hardy perennial plants survive. So I decided to turn them into jam, so we can have a bite of summer whenever we please! This hot water bath canning recipe for Ginger Fig Jam makes 6-pint jars.
If you’re brand new to canning, check out my Beginner’s Guide to Canning post. It will help get you set up for success. I’ve also created a list of 12 Help Tools for Canning – a one-stop shop for all the equipment to get the job done right!
Ok, let’s get started!

This Ginger Fig Jam recipe requires 7 lbs of fresh figs.
We did not get 7 lbs of figs all at once so the figs I used were freshly picked then frozen until I had enough to make a batch of jam! If you’re lucky enough to have fig trees, you can save them, freezing as you go. I just defrosted mine before starting the recipe.
The basis for this recipe came out of Ball’s Blue Book A Guide to Preserving.
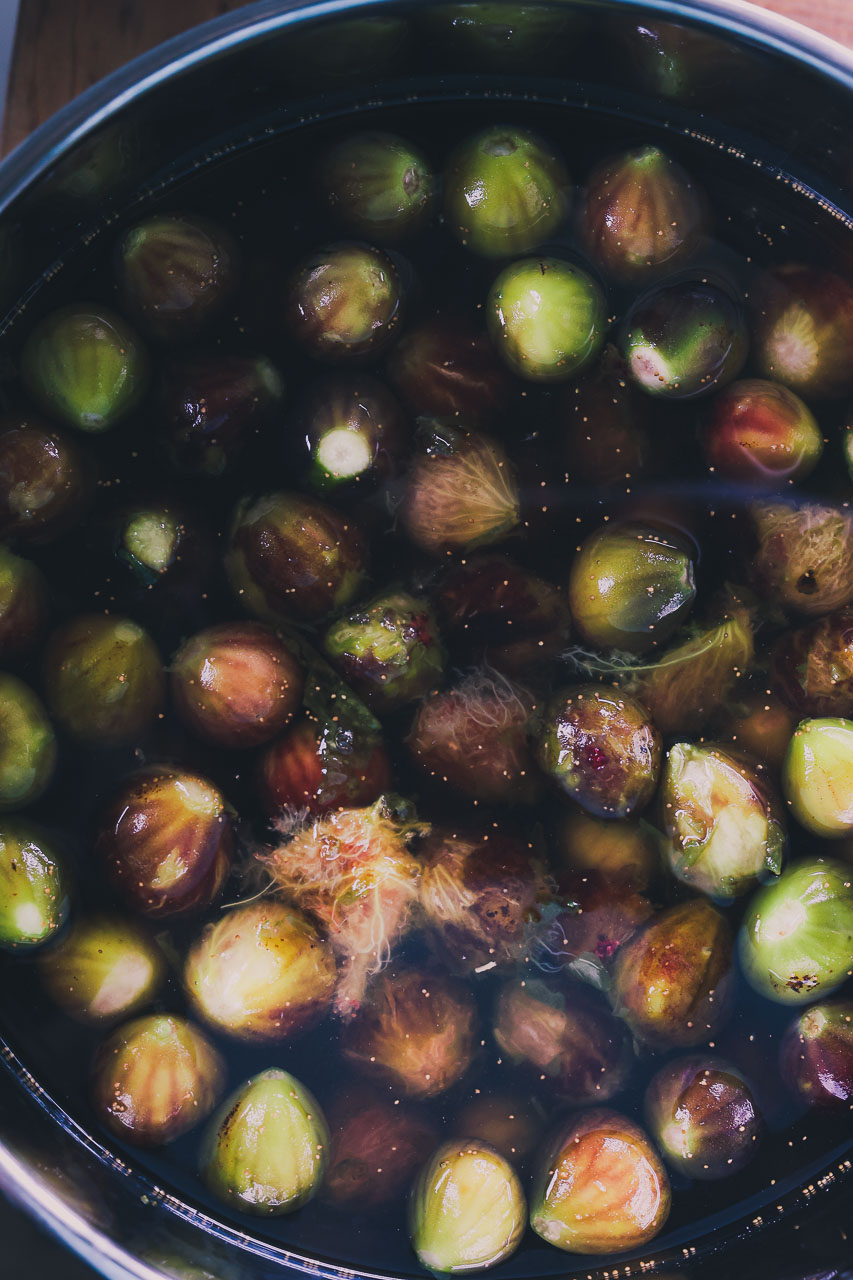
In their recipe, they say to rinse the figs, put them in a large heat-proof bowl, and cover them with boiling water. I’m not certain as to their reasoning. Perhaps to remove any fuzz that the fig skin may have, as well as to kill any bacteria, etc. living on the outside of the fig.
I think the reasoning must be important or they wouldn’t have put it in the recipe, so don’t skip this step lol. While the figs are sitting in the hot water, peel, and dice up the ginger. I think peeling ginger is the worst haha. It’s so gnarly and tiny, and tedious. But it does taste good and goes well with the figs. I used a 1/2 cup and it is very gingery. If you’re not a big fan or don’t want that to be the primary flavor, I would suggest only putting in 1/4 cup.

Next, drain the figs and throw them in the large pot with ginger, sugar, water, and salt.
Let them cook for a bit before blending them with the immersion blender. The heat will start breaking down the skin and it will be easier to purée.
If you want to make this jam but don’t have an immersion blender, after you’ve let the figs sit in the hot water, before you add them to the saucepan to cook, chop them up into smaller pieces.
That way when they start cooking in the pan, they will break down faster. You will also need to mince the ginger much, much smaller if you won’t be using an immersion blender. Your Ginger Fig Jam will be chunky without blending it, but it will still taste amazing!
If you do have an immersion blender, blend the figs and ginger until it’s smooth and no chunks remain! Then cook on medium-high heat until it starts boiling. Keep stirring it so it doesn’t burn. The temperature of the jam needs to get to 220 degrees because this is the “gel point”. Or the point at which the natural fruit pectin makes it jam, not soup. Once it reaches that temp, you can remove it from the stove and stir in the lemon juice, and it’s ready to be canned!

To can the Ginger Fig Jam, you’re going to need six, clean, hot pint jars.
Ladle the jam into the jars, leaving 1/4″ space at the top of the jar.
Make sure the jar rims are clean before putting the lids on! Tighten the jar ring fingertip tight and put them all on the elevated rack in the canning pot!
I had about half a pint jar’s worth of jam left over. If you’ve got leftover jam, bonus round, that’s yours to eat right now! You can store it in the fridge to use immediately.

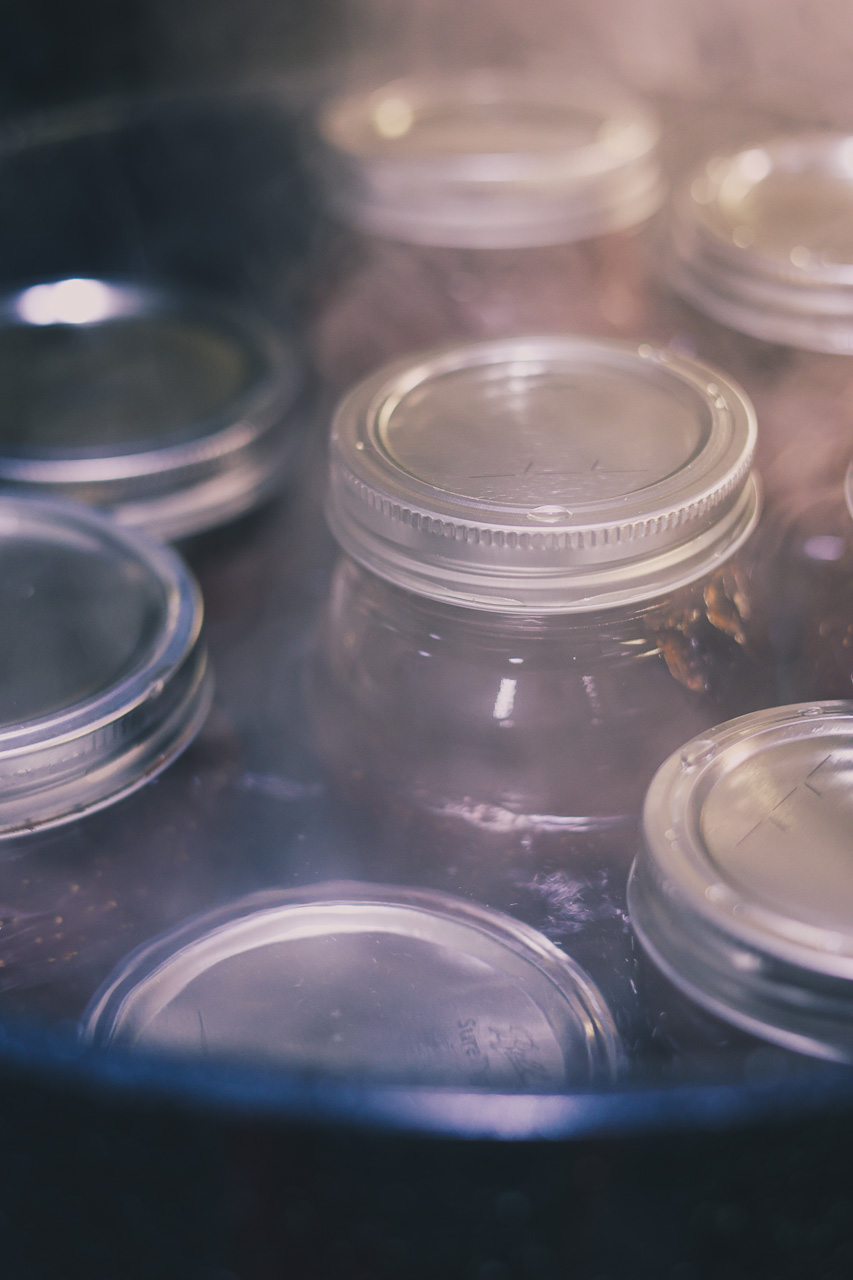
Now you’re ready to process the Ginger Fig Jam for 15 minutes.
Lower the jars into the boiling water, put the lid on, and set your timer! Remember, the jars need to be submerged under at least 1″ of water to process correctly!
After the 15 minutes are up, turn the burner off, remove the canning pot lid, and let them sit in the water for another 5 minutes. When the 5 minutes is up, use your jar lifter to carefully remove them and set them on either a dishtowel or cooling rack to begin cooling.
Don’t fuss with them. Lol. This is the part I’m terrible at. I want to know right away if they’re going to seal! Have they already been sealed? What if they don’t seal?” Maybe they need my help sealing and I’ll just press on the middle of the lid.” If you’re like me, step away from the jars haha. Leave them to sit for at least 12 hrs, then you can check to see if they’ve sealed!

Finally,
if all the jars are sealed, you can label them and put them in the pantry!
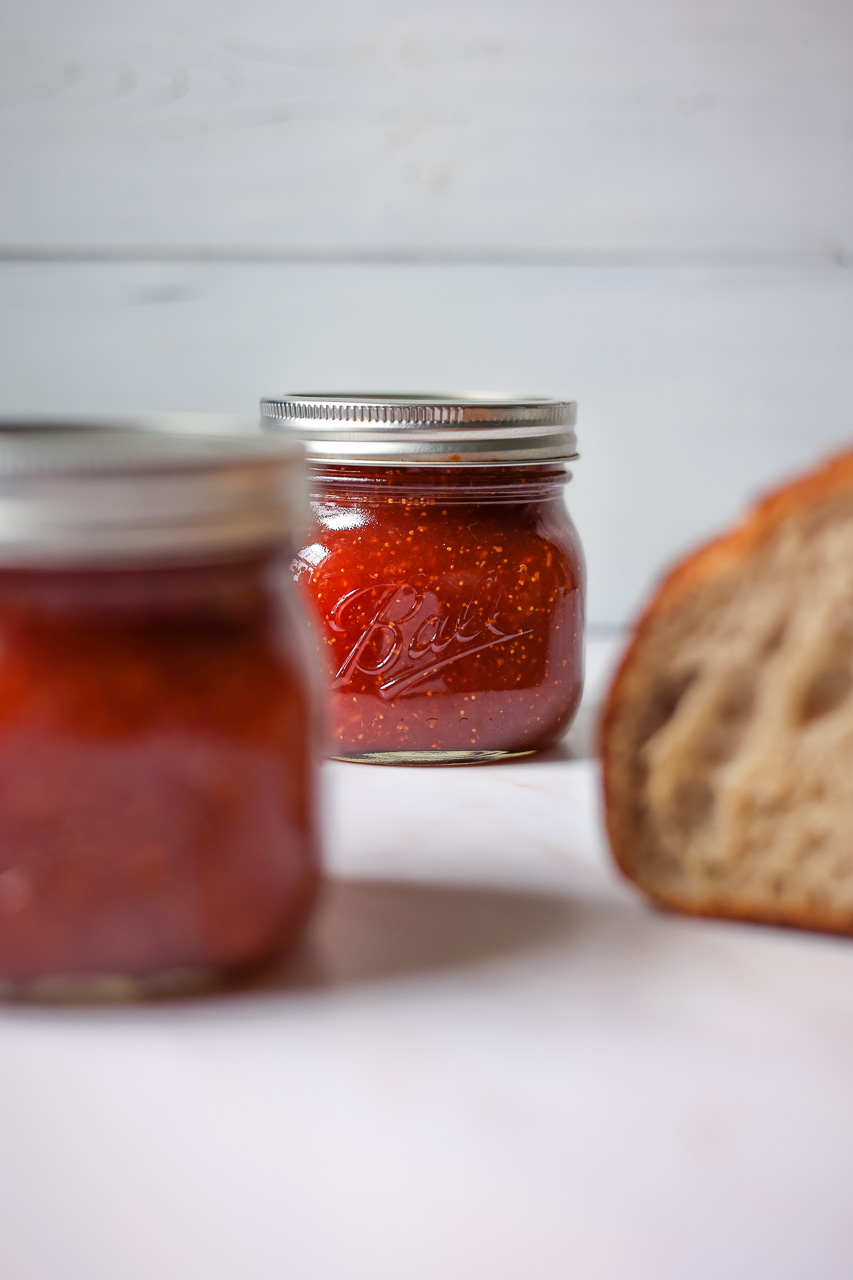
Or give them out as gifts ❤️. Avery has these cute round jar labels and if you go on their website, you can design your very own labels to print at home! This Ginger fig Jam is super delicious. I had just baked a fresh loaf of Sourdough Bread the day before so I covered a slice of sourdough toast with butter and a generous bit of the jam…mmm…heaven! It’s also great poured over the top of warm goat cheese, or cream cheese, topped with toasted walnuts, and scooped up with a rosemary cracker! I have a recipe idea for Ginger Fig Jam Scones brewing in my brain right now too! Oh, the possibilities! Let me know if you try this recipe out and what you think!
Ginger Fig Jam
Equipment
- Granite Ware Canning Pot
- 6 Pint jars
- Colander
- Large Heat-proof Bowl
- Measuring Cups & Spoons
- Large saucepan
- Immersion Blender
- Food Thermometer
- Rubber Spatula
- Jar Lifter
- Jar Funnel or Ladle
Ingredients
- 7 lbs Fresh Figs 11 cups
- 7 Cups Granulated Sugar
- 1 Cup Water
- 1/2 Cup Lemon Juice
- 1/2 Cup Fresh Ginger peeled and sliced
- 1/4 tsp Salt
Instructions
Canning Preparation
- Before starting on the jam, place your canning pot on the stove, fill it with water and begin boiling the water as this can take a while to heat up. Also, make sure you have 6 pint jars as well as their lids and jar rings clean, hot, and ready to be filled once the jam is done.
Ginger Fig Jam
- Bring 7 cups of water to a boil.
- Cut the stems off of the figs and then put them in a colander and rinse under cold water. Once they are rinsed pour the figs into a large heat-proof bowl and pour the boiling water over the top of them. Let them sit in the hot water for 10 minutes and then drain them.
- While the figs are sitting, peel and slice up a 1/2 cup of fresh ginger.
- Next, add the drained figs and sliced ginger to a large saucepan. Add 7 cups of sugar, 1 cup of water, and 1/4 tsp of salt, stir to combine. Cook over medium. Use your immersion blender to carefully blend all of the figs and ginger until no chunks remain and the jam is smooth. Once the jam has been blended increase the heat to medium-high and bring to a boil, stirring constantly so it doesn’t burn. Cook until the jam’s temperature gets to 220 degrees.
- Remove from heat and stir in 1/2 cup of lemon juice.
Canning the Ginger Fig Jam
- Ladle the hot jam into the clean, hot pint jars. Make sure to leave 1/4″ headspace at the top of each jar. Once all the jars are full, use a clean, damp cloth to wipe down each jar rim and then put the lid on and tighten the jar ring only fingertip tight.
- Place all of the jam jars on the elevated jar rack evenly spaced apart and then lower them gently down into the boiling water. Replace the canning pot lid and process the jam for 15 minutes. The water must cover the jars by at least 1″.
- After the 15 minutes is up, turn off the stove and remove the canning pot lid. Let the jars sit in the water for an additional 5 minutes. Then lift the jar rack and use your jar lifter to remove them from the canning pot and set them on either a dishtowel or cooling rack to cool. Do not retighten the jar rings, or press on the lids. Let the jars sit for a full 12 hrs before checking to see if they have sealed.
- The next day, if they are sealed, label them and store them in the pantry!
Affiliate Information
As a part of the Amazon Affiliate program, I have the opportunity to share products and items that I genuinely find useful or interesting. When you come across links to these products on my blog, they're not just recommendations based on my personal experience or research; they also serve a dual purpose. If you decide to click on these links and make a purchase, I earn a small commission from Amazon at no additional cost to you.
This setup helps me to keep generating content that you find helpful and engaging, without bombarding you with irrelevant ads or sponsors. It's a win-win situation: you discover products that could add value to your life, and I get a little support to continue doing what I love. Rest assured, the integrity of my recommendations remains my top priority. I only share links to items that I believe in, and that I think could make a difference for you.
Thank you for your support and understanding. Your trust means the world to me, and I'm committed to maintaining transparency about how I fund my blog. If you have any questions about the Amazon Affiliate program or how it works, feel free to reach out.
©️ 2024 Now From Scratch | Template by Maya Palmer Designs | ©️ Photos by Austin Claire Photography| Privacy Policy | Terms

