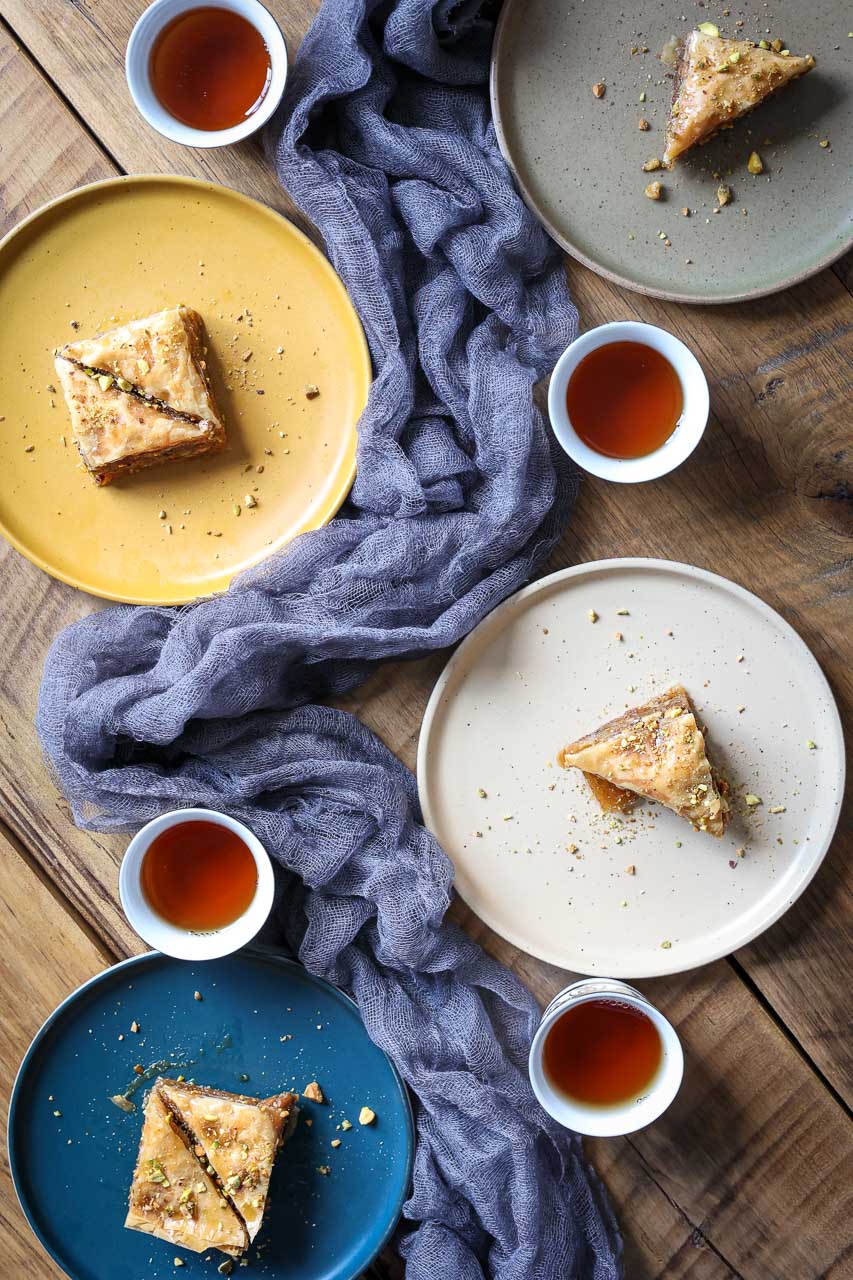
I’ve probably eaten half my weight in baklava over the last three days…
Originally Published 08/09/2021
This Lemon and Earl Grey Tea Baklava is that good!
I was on the elliptical (gotta work off all these desserts) watching Joanna Gaines cooking away in her gorgeous kitchen and got inspired to try making her Baklava recipe! This is my adaptation inspired by hers! Lemon and Earl Grey tea Baklava!
Even since I ate my very first piece of baklava that my hubby had brought back from one of his trips, I’ve been hooked. I mean what’s not to love?! It’s flakey, crispy, crunchy, chewy, nutty, sweet, and honey-filled perfection!
My stomach literally just growled while typing those words… mmmm.
I chose the lemon and Earl Grey tea flavors to add to the honey syrup because there’s a particular one in the variety box Jake’s brought home that we both fight over who gets the last piece! It tastes of lemon and Earl Grey to me, so I was hoping to make something close!
Also, don’t let the phyllo dough scare you away from this. Yes, it is fiddly. Yes, it wants to rip, break and fall apart. Yes, this recipe takes some time to layer up all the layers. But… the phyllo is super forgiving, it doesn’t have to be perfect to come out beautiful and taste delicious. Plus it’s sure to be a crowd-pleaser and get many ooos and ahhhs!
If you also love baklava like me try this recipe out, you’re gonna be addicted to the outcome! ❤️
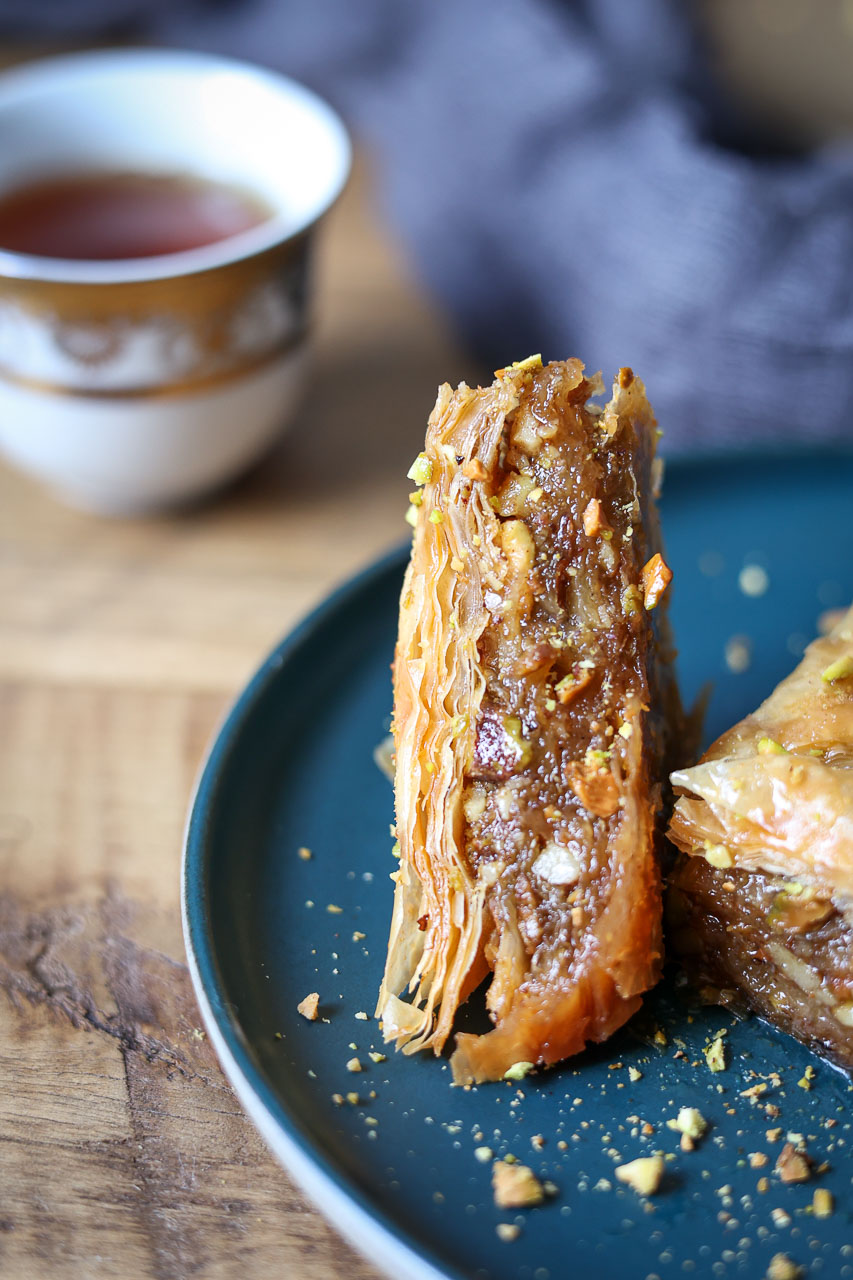
One thing I have to advise upfront is the phyllo dough MUST be fully thawed before you unroll it.
I did not follow this instruction to the T and instead of laying large nice sheets of phyllo in the pan, I felt as if I were wrapping a mummy with tiny strips of parchment.
Start here. Start by unthawing the dough! You’ll thank me later! Next, toast deez nuts!
After they get a light toasting, throw the walnuts and pistachios in the food processor with brown sugar, cinnamon, cardamom, nutmeg, and salt. Give that all a good swirl until it’s mostly ground up with just some bigger chunks of nuts left. That’s it! The filling for the baklava is ready to go! Easy right?
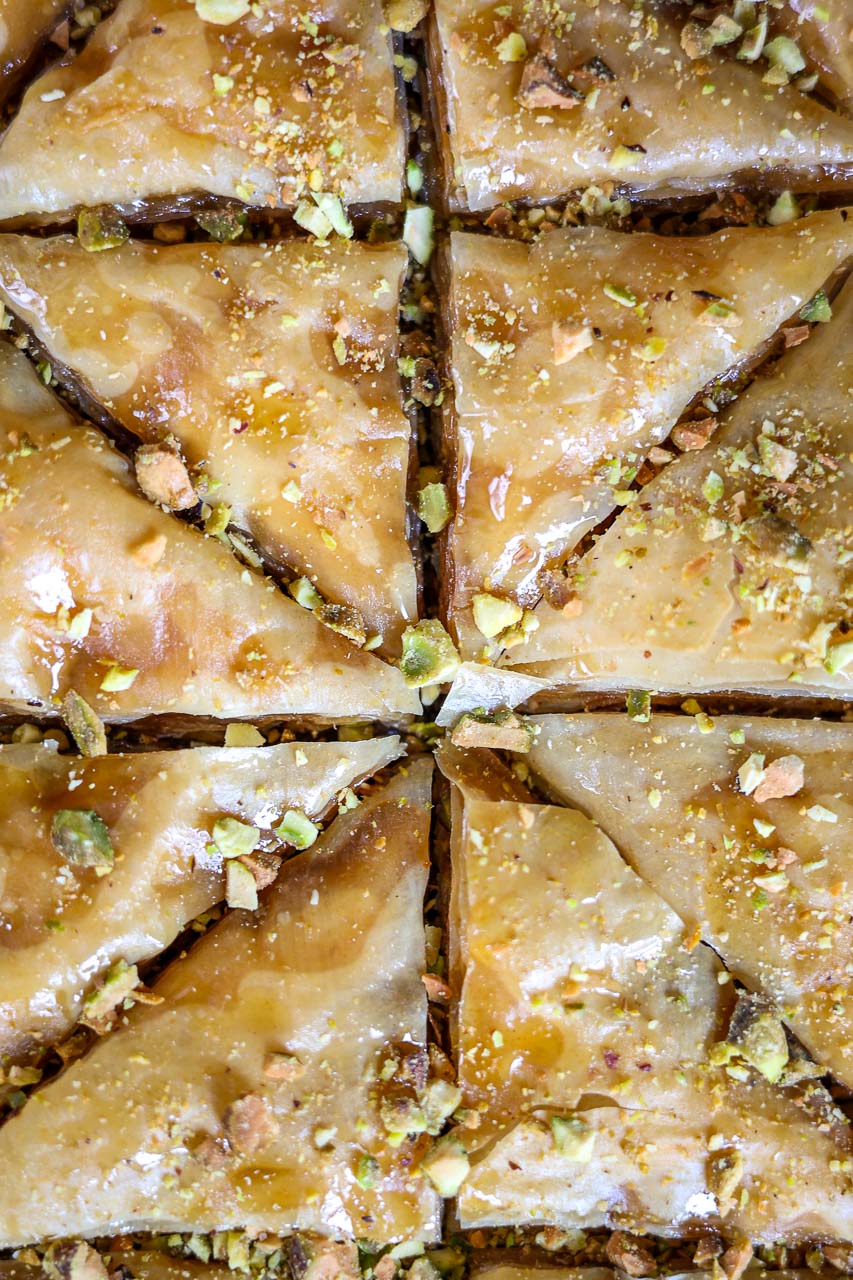
The next step for this Lemon and Earl Grey Tea Baklava is the time consuming part.
Melt 2 1/2 sticks of unsalted butter and get ready to use it all…(secret time I probably got carried away with the butter and ended up melting and using another 1/2 stick)… What!? I was worried it wasn’t all gonna hold together lol!
Anyways… Brush the bottom of a 9″x13″ pan with said butter.
I wish I had the gorgeous metal baking pan Joanna uses. But alas, for now, it’s a plain glass pyrex for me. No worries though, it worked perfectly too!
So after you’ve buttered the bottom of the pan, lay one single sheet of phyllo dough on the buttered bottom and then brush butter across the top. Next, lay another single sheet down and butter the top of that one. Keep doing this until you have around 6 sheets layered up. (it’s ok if you lose count I know I did)
Six layers of phyllo and then sprinkle with about a cup of nut filling. Lay another single sheet on top of the nuts, butter that, then the next sheet for another six deep. Starting to see what’s happening here lol? On the show, Jo said 6 nut, 6 nut, 6 nut, 10! So 6 layers of phyllo, nuts, etc, and then top it off with 10 layers of phyllo.
Just keep buttering in between each sheet, it’s what helps bake everything together!
If the sheets won’t come apart nicely, just do your best. Like I said I was literally hobbling together strips, chunks, pieces with holes in them…it was not pretty, and everything worked out just fine in the end!
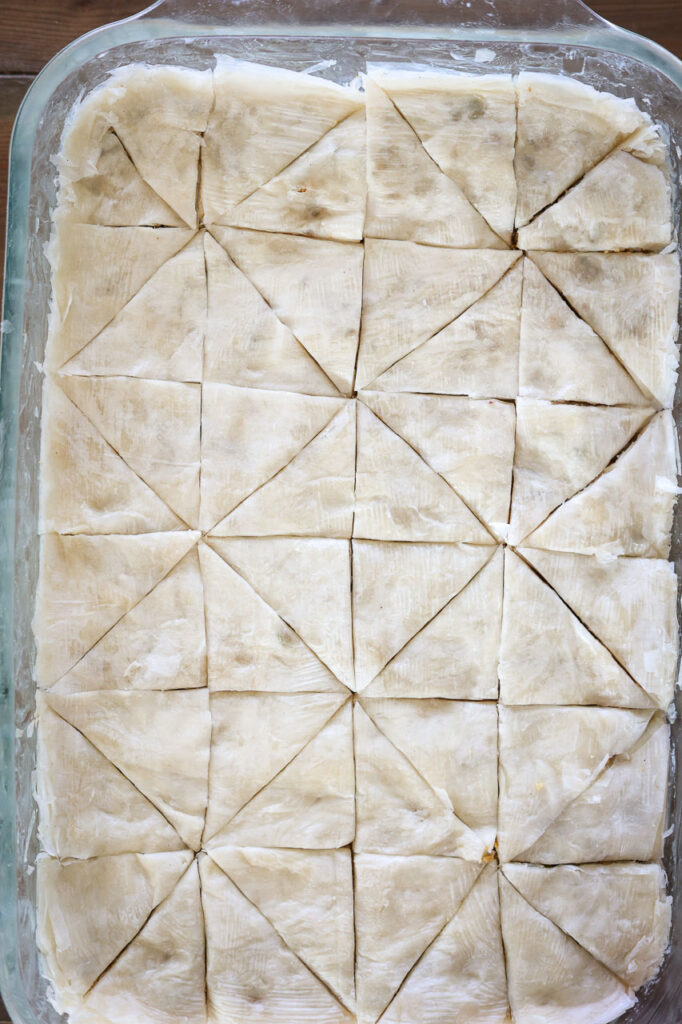
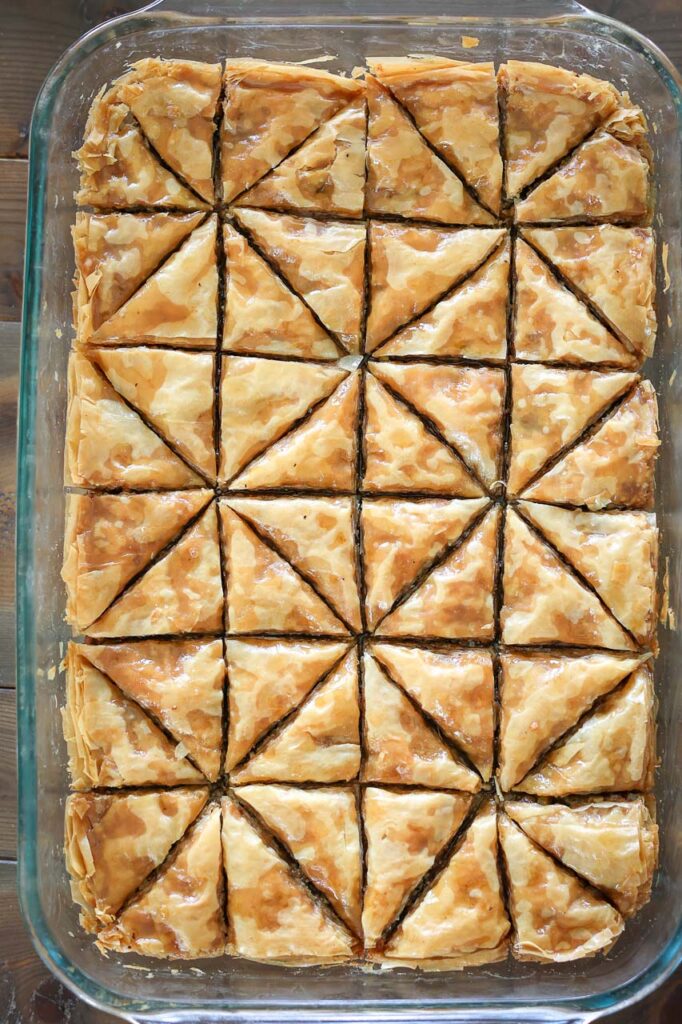
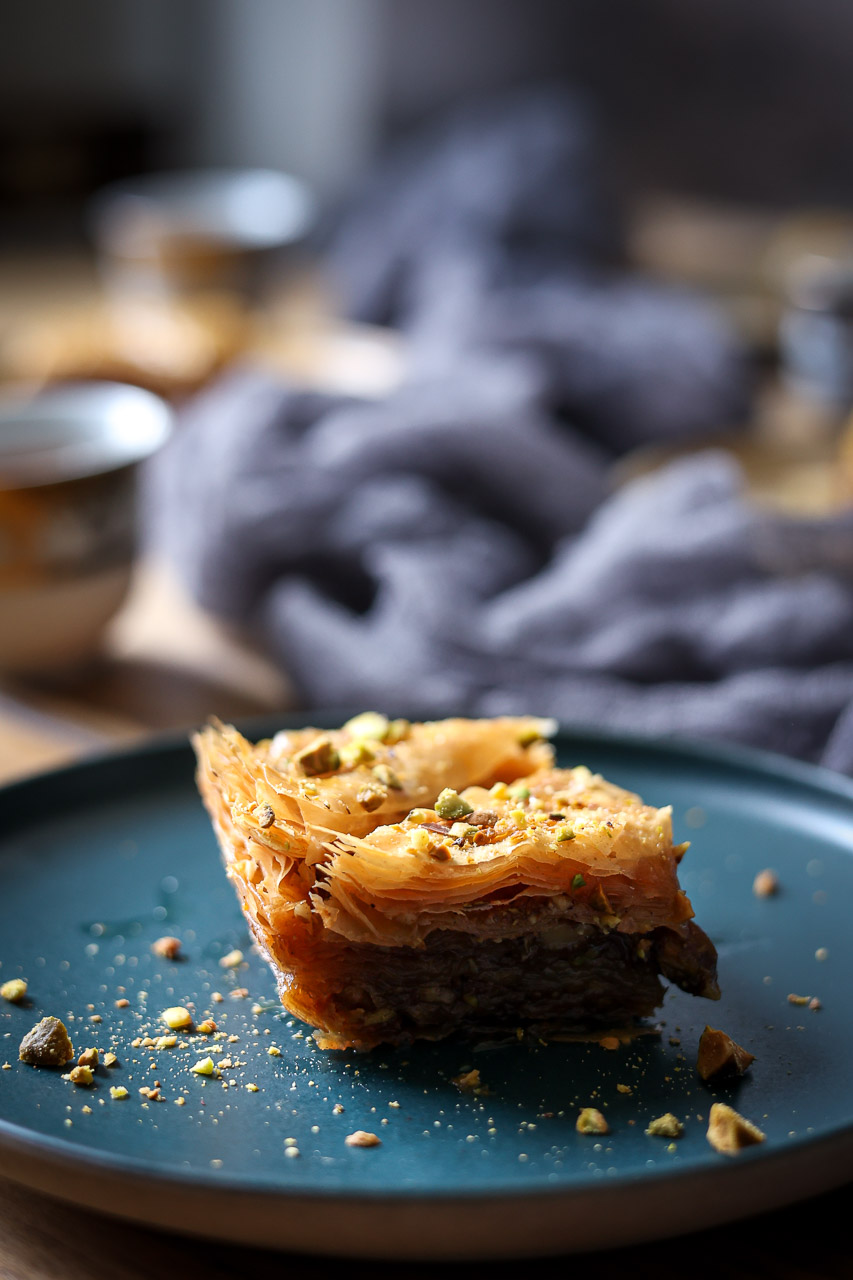
As you can see in the pictures above, the Lemon and Earl Grey Tea Baklava is cut before baking!
I mean, when I stop to think about it, it makes complete sense. Trying to cut a crispy, flakey, gooey dessert after the fact would create a mess.
So get yourself a sharp knife and slice away!
I did three long cuts down, and five across to give me 24 squares. I wanted mine to look as lovely as Jo’s so I also cut those squares in half to create a nice patchwork quilt pattern 😍. So satisfying – like a freshly mowed yard, or vacuum lines in the carpet. What… I’m not OCD or anything?!😂 So after it’s cut, place it in your 350° oven for 40-45 minutes and bake ‘er up!
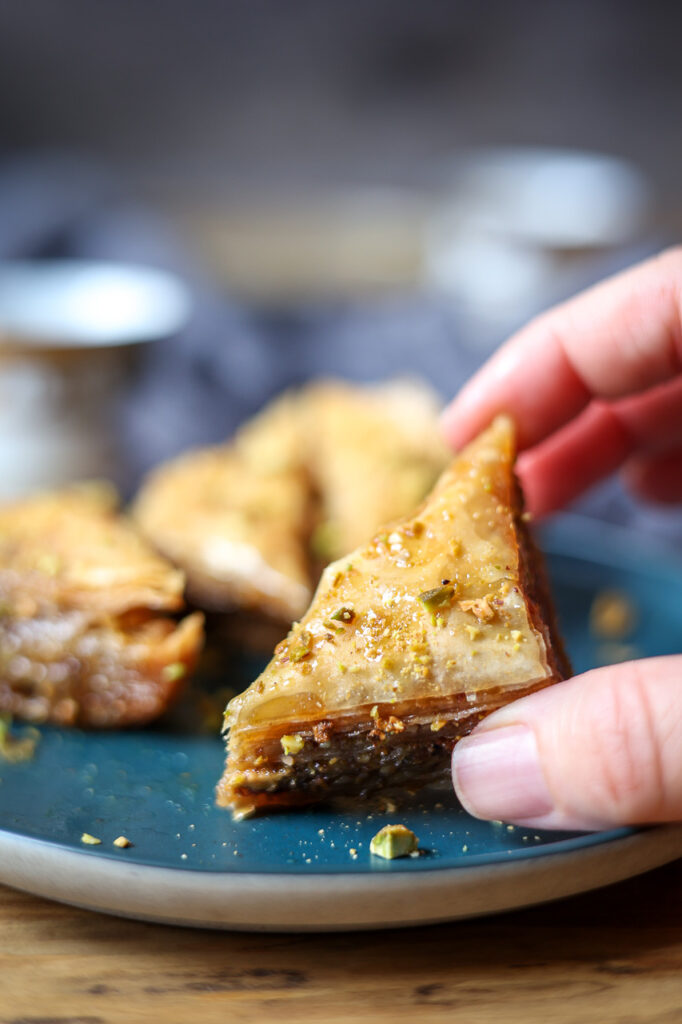
About 10 minutes before your Lemon and Earl Grey Tea Baklava is done baking, it’s time to make the syrup.
In a small saucepan, stir together the water, honey, and sugar. Throw in a chunk of lemon peel and two bags of Earl Grey tea.
Bring all of this to a boil and then turn it down and simmer it for around 10 minutes. Keep coming back to stir it and make sure it’s not burning.
Do be careful when stirring though, that you don’t rip the tea bags open…I wouldn’t know this from experience or anything…cough cough… If your baklava is still baking, just keep the syrup on a low simmer until it’s ready to come out of the oven.
Once the baklava is nice and golden brown, get it out and set it on a cooling rack. Immediately pour the lemon and Earl Grey syrup all over the top of it! The baklava will crackle back in thanks while you’re doing this part!
It’s best to let the Lemon and Earl Grey Tea Baklava sit for 3-4 hours before eating it.
This allows time for proper cooling and for the syrup to soak up into the baked phyllo and set into its finally blessed gooey form. I, however, do not possess the patience of a saint so I ate a piece as soon as I could get it out of the pan.
It is deliciously hot. It tastes amazingly warm. It’s super great at room temperature. Three days later I’m still not complaining about the taste/texture. It’s just the best thing. I’m going to recommend you box half of it up and give it away immediately, or have friends over for coffee to help you eat it! If you try this recipe out and like it, comment below and let me know what you think!
Lemon and Earl Grey Tea Baklava
Equipment
- Measuring Cups and Spoons
- Small Sauté pan
- Food Processor
- 9×13″ Pan
- Sharp Knife
- Small Sauce Pan
- Rubber Spatula
- Pastry Brush
Ingredients
Baklava
- 1 16 oz Package of Thawed Phyllo Dough
- 1 1/2 Cups Walnuts
- 1 1/4 Cups Pistachios 6oz bag lightly salted
- 1/4 Cup Brown Sugar
- 1 tsp Cinnamon
- 1 tsp Ground Cardamom
- 1/4 tsp Ground Nutmeg
- 1/4 tsp Salt
- 1 1/4 Cups Unsalted Butter 2 1/2 sticks melted
Lemon & Earl Grey Tea Syrup
- 1 Cup Water
- 1 Cup Honey
- 3/4 Cup Sugar
- 1 large strip of lemon peel with pith
- 2 bags Earl Grey Tea
- Topping
- 3 tbsp chopped pistachios
Instructions
Baklava
- Make sure your phyllo dough is completely thawed! It won’t unroll correctly and will stick together, rip, tear and be a mess (trust me I know from experience)!
- Preheat the oven to 350 degrees.
- Pour whole walnuts and pistachios into the sauté pan, place them over medium heat, and toast. Keep stirring occasionally so they don’t burn, this should only take 5 minutes. They’re done when you can smell the toasty nut smell!
- Add the toasted walnuts, pistachios, brown sugar, cinnamon, cardamom, nutmeg, and salt to the food processor. Pulse until the mix is fairly fine, although you do want some bigger pieces of nuts left in the mix.
- Coat the bottom of the 9×13″ baking dish with butter. Unroll both packages of thawed phyllo dough. Use the pan as a ruler and trim both stacks of phyllo dough to fit the pan. Lay one single sheet of phyllo in the bottom of the buttered pan and then brush the top of the sheet with butter too. Lay down a second phyllo sheet and brush with butter. Repeat this until you’ve stacked up 6 sheets of phyllo then take about a cup of the nut filling and sprinkle it evenly over the top of the phyllo dough.
- After you’ve sprinkled the phyllo with nuts, lay another sheet on top of the nut layer and butter the top of that sheet. Continue the pattern of laying down a sheet and buttering the top of it with another 6 sheets. Then sprinkle again with a layer of nuts. Repeat with 6 more sheets, a layer of nuts, and then finish off by layering 10 of the phyllo sheets on top, buttering between each layer. Make sure to also butter the top of the final phyllo sheet.
- The baklava needs to be cut into pieces before being baked. Use a sharp knife and make three cuts across the length of the pan, and then 5 cuts across the width giving you 24 – 2 1/4″ pieces. If you feel like getting fancy you can also cut these squares in half to give you triangles.
- Place the baklava on the middle rack of the preheated oven and bake for 40-45 minutes at 350 degrees. It will be a nice golden brown color when it’s done!
Lemon & Earl Grey Tea Syrup
- Towards the end of the baklava baking, it’s time to make the syrup. In a small saucepan stir together the cup of water, a cup of honey, 3/4 cup sugar, lemon peel, and two bags of earl grey tea. Bring the pan to a boil, make sure to stir occasionally so it doesn’t burn. Be careful not to tear the tea bags while stirring. Once the syrup is boiling, reduce it to a simmer and continue cooking for at least 10 minutes. After this remove the tea bags, and the lemon peel and set to the side until your baklava comes out of the oven.
Finish
- Immediately after the baklava comes out of the oven pour the still warm/hot syrup all over the top of it. Sprinkle with 2-3 tbsp of chopped pistachios and let the baklava cool for 3-4 hours before serving. (I couldn’t wait that long and ate a piece while it was still warm…yum!!) Keep in an airtight container at room temperature for up to 3 days.
Notes
Affiliate Information
As a part of the Amazon Affiliate program, I have the opportunity to share products and items that I genuinely find useful or interesting. When you come across links to these products on my blog, they're not just recommendations based on my personal experience or research; they also serve a dual purpose. If you decide to click on these links and make a purchase, I earn a small commission from Amazon at no additional cost to you.
This setup helps me to keep generating content that you find helpful and engaging, without bombarding you with irrelevant ads or sponsors. It's a win-win situation: you discover products that could add value to your life, and I get a little support to continue doing what I love. Rest assured, the integrity of my recommendations remains my top priority. I only share links to items that I believe in, and that I think could make a difference for you.
Thank you for your support and understanding. Your trust means the world to me, and I'm committed to maintaining transparency about how I fund my blog. If you have any questions about the Amazon Affiliate program or how it works, feel free to reach out.
©️ 2024 Now From Scratch | Template by Maya Palmer Designs | ©️ Photos by Austin Claire Photography| Privacy Policy | Terms
