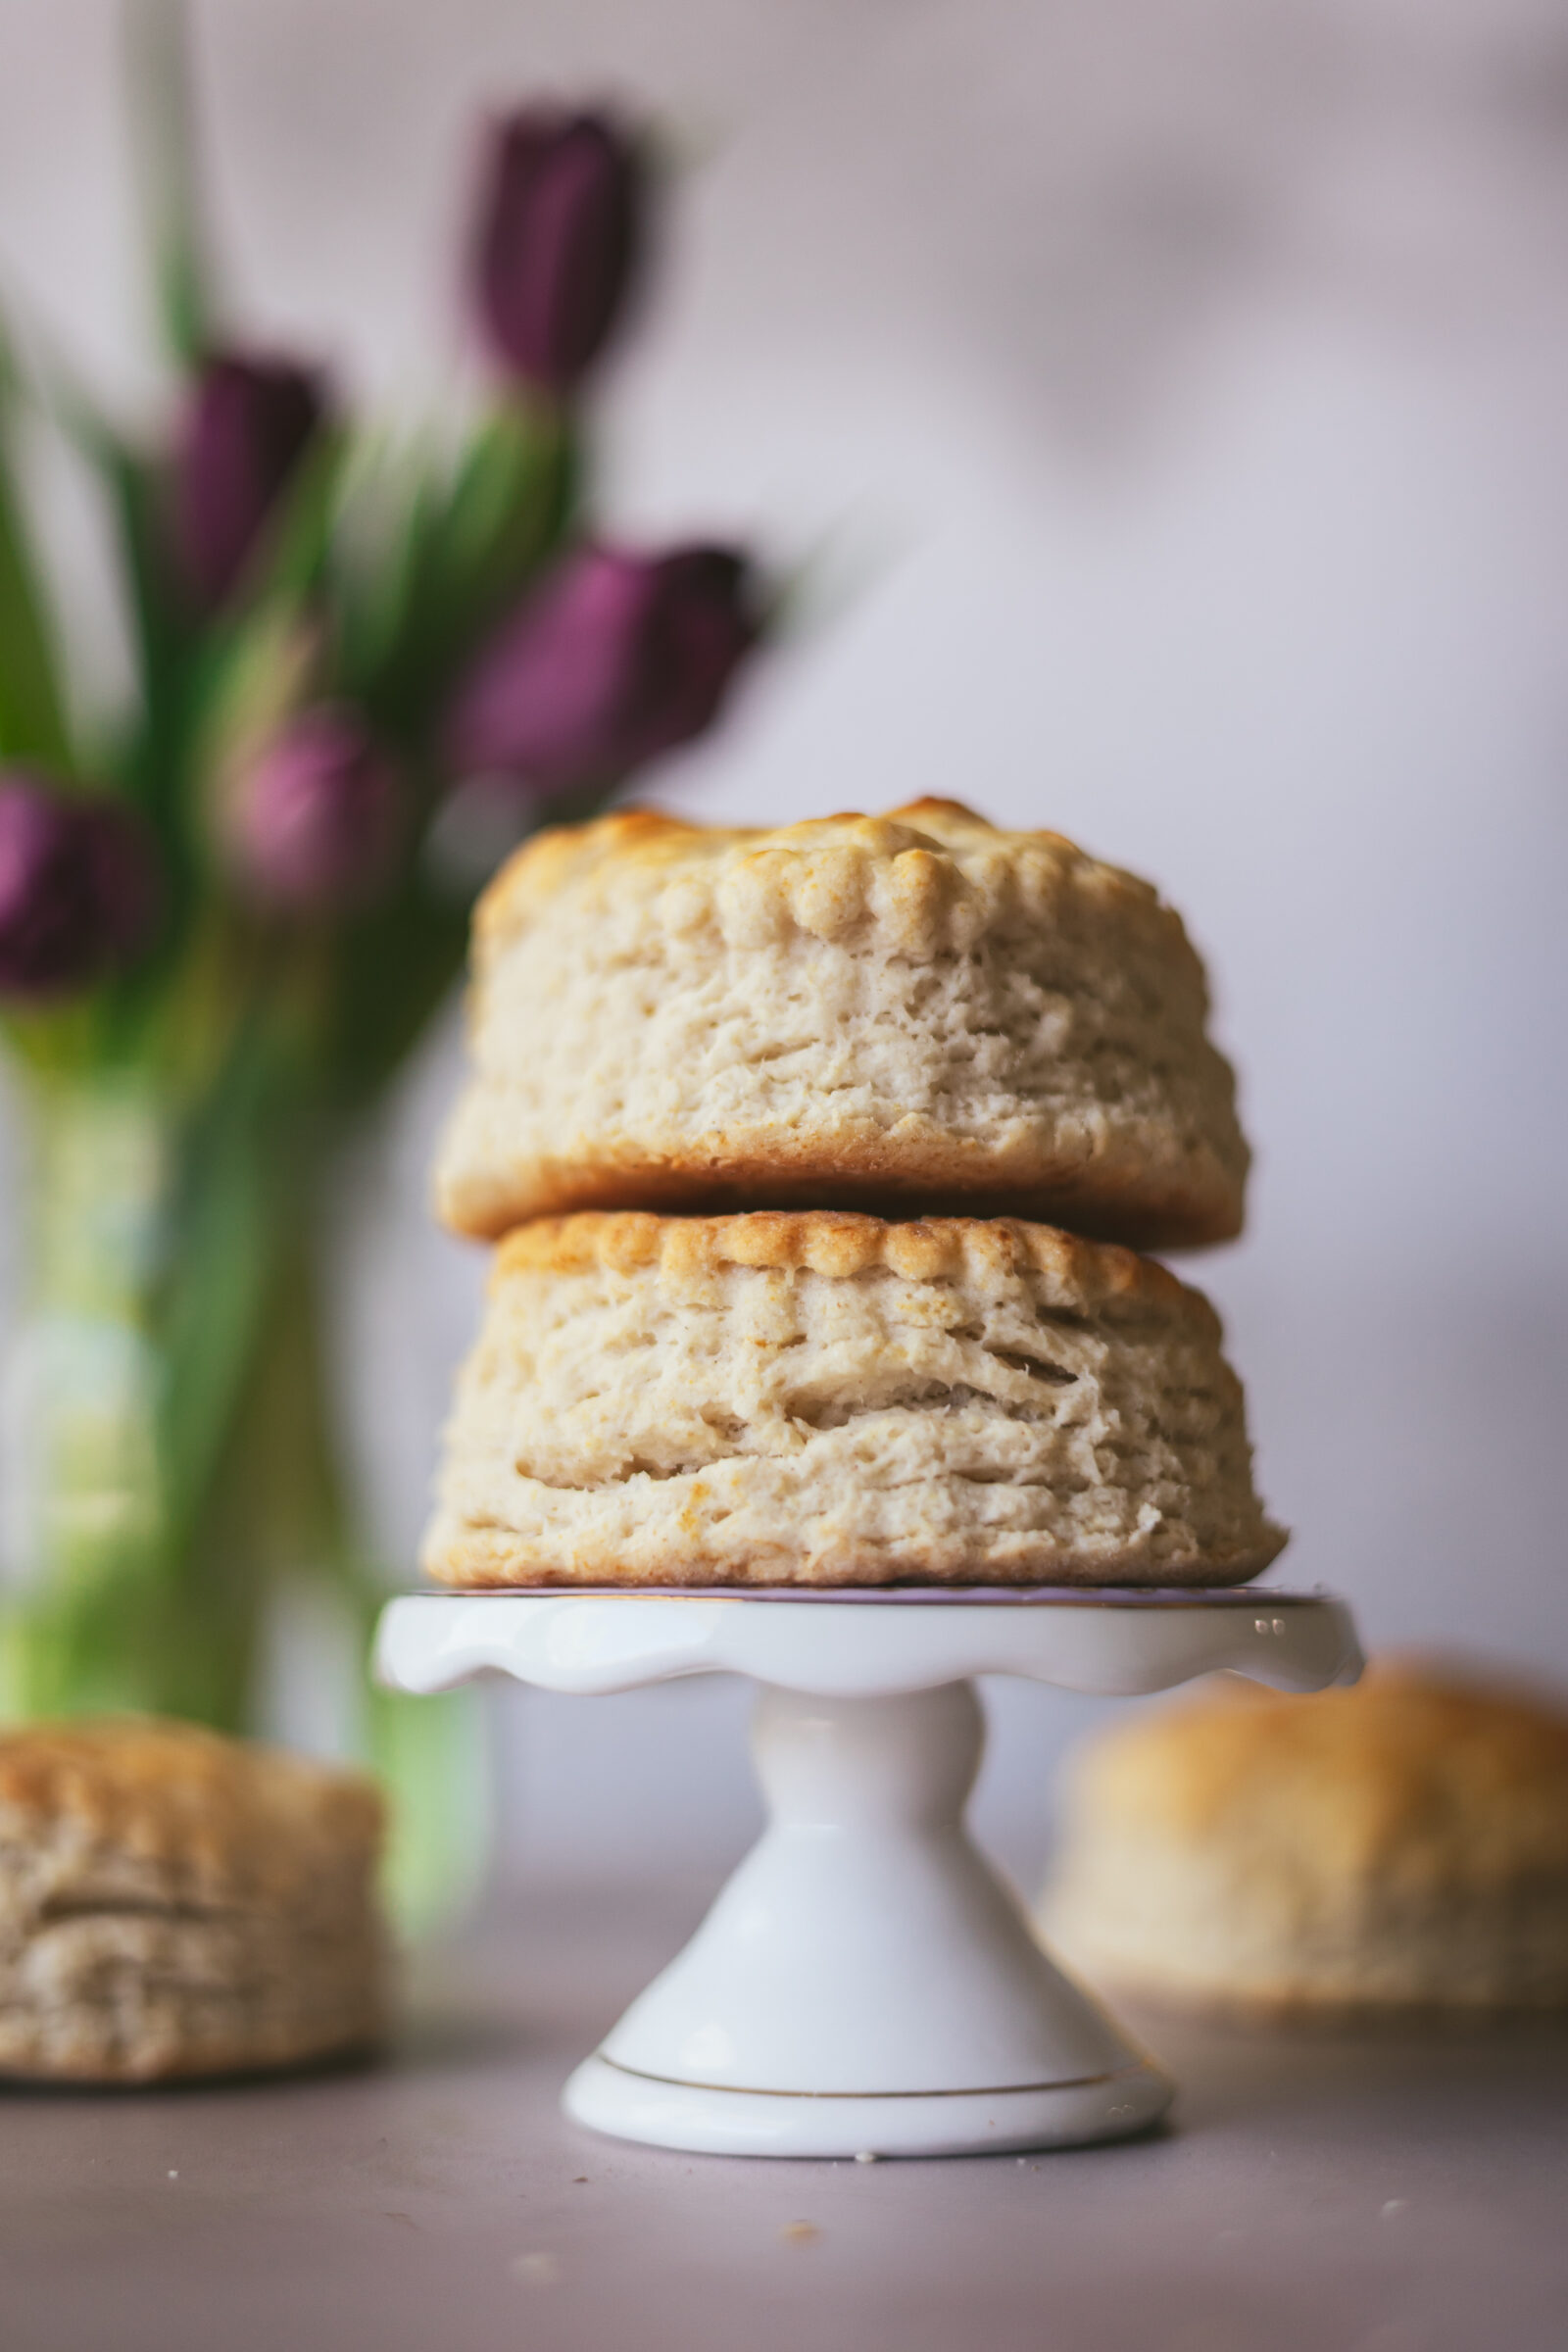
Sourdough Buttermilk Biscuits… is there anything Sourdough Discard can’t make better?
That’s a rhetorical question in case you were wondering lol. This recipe is a seriously delicious way to use a whopping 400 grams (1 1/4 cups) of sourdough discard.
I saw an Instagram meme today that said, “My goal for 2024 is to achieve my 2023 goals which I wasted in 2022 because I wasn’t ready in 2021 due to the 2020 pandemic even though I had set them in 2019.” 100% relatable! I feel like I blinked and we went from 2019 to 2024! Also, Easter is this weekend, my 12-year wedding anniversary is this weekend and we are already 1/4 of the way through 2024, and we move again in less than three months. Insert blinking eye emoji here. I do feel like I am starting to make headway on certain things though haha, thankfully.
Anyway, back to these Sourdough Buttermilk Biscuits – if you need another carb for your Easter table – may I highly suggest these! They’re tangy, savory, and could easily make the perfect vehicle for butter, jam, gravy, a sandwich, and whatever else you’d like to do with them!
If you’d like some other ideas for your sourdough discard, you can check out more recipes here.
Maybe you’re wondering why you’d want to use both Sourdough discard and buttermilk?
Regular milk is an option too if you don’t have buttermilk, but I think buttermilk biscuits are always better! Both buttermilk and sourdough discard are tangy, but in different ways. Using both can add a more complex flavor!
Buttermilk, when combined with baking soda (a common ingredient in biscuit recipes), creates a chemical reaction that produces carbon dioxide, which also helps in leavening the biscuits. Using both means the biscuits can get a nice lift and become light and fluffy.
Also, The acidity in both sourdough starter and buttermilk can tenderize the gluten in the flour, resulting in a tender crumb. It’s just a win, win situation using both!
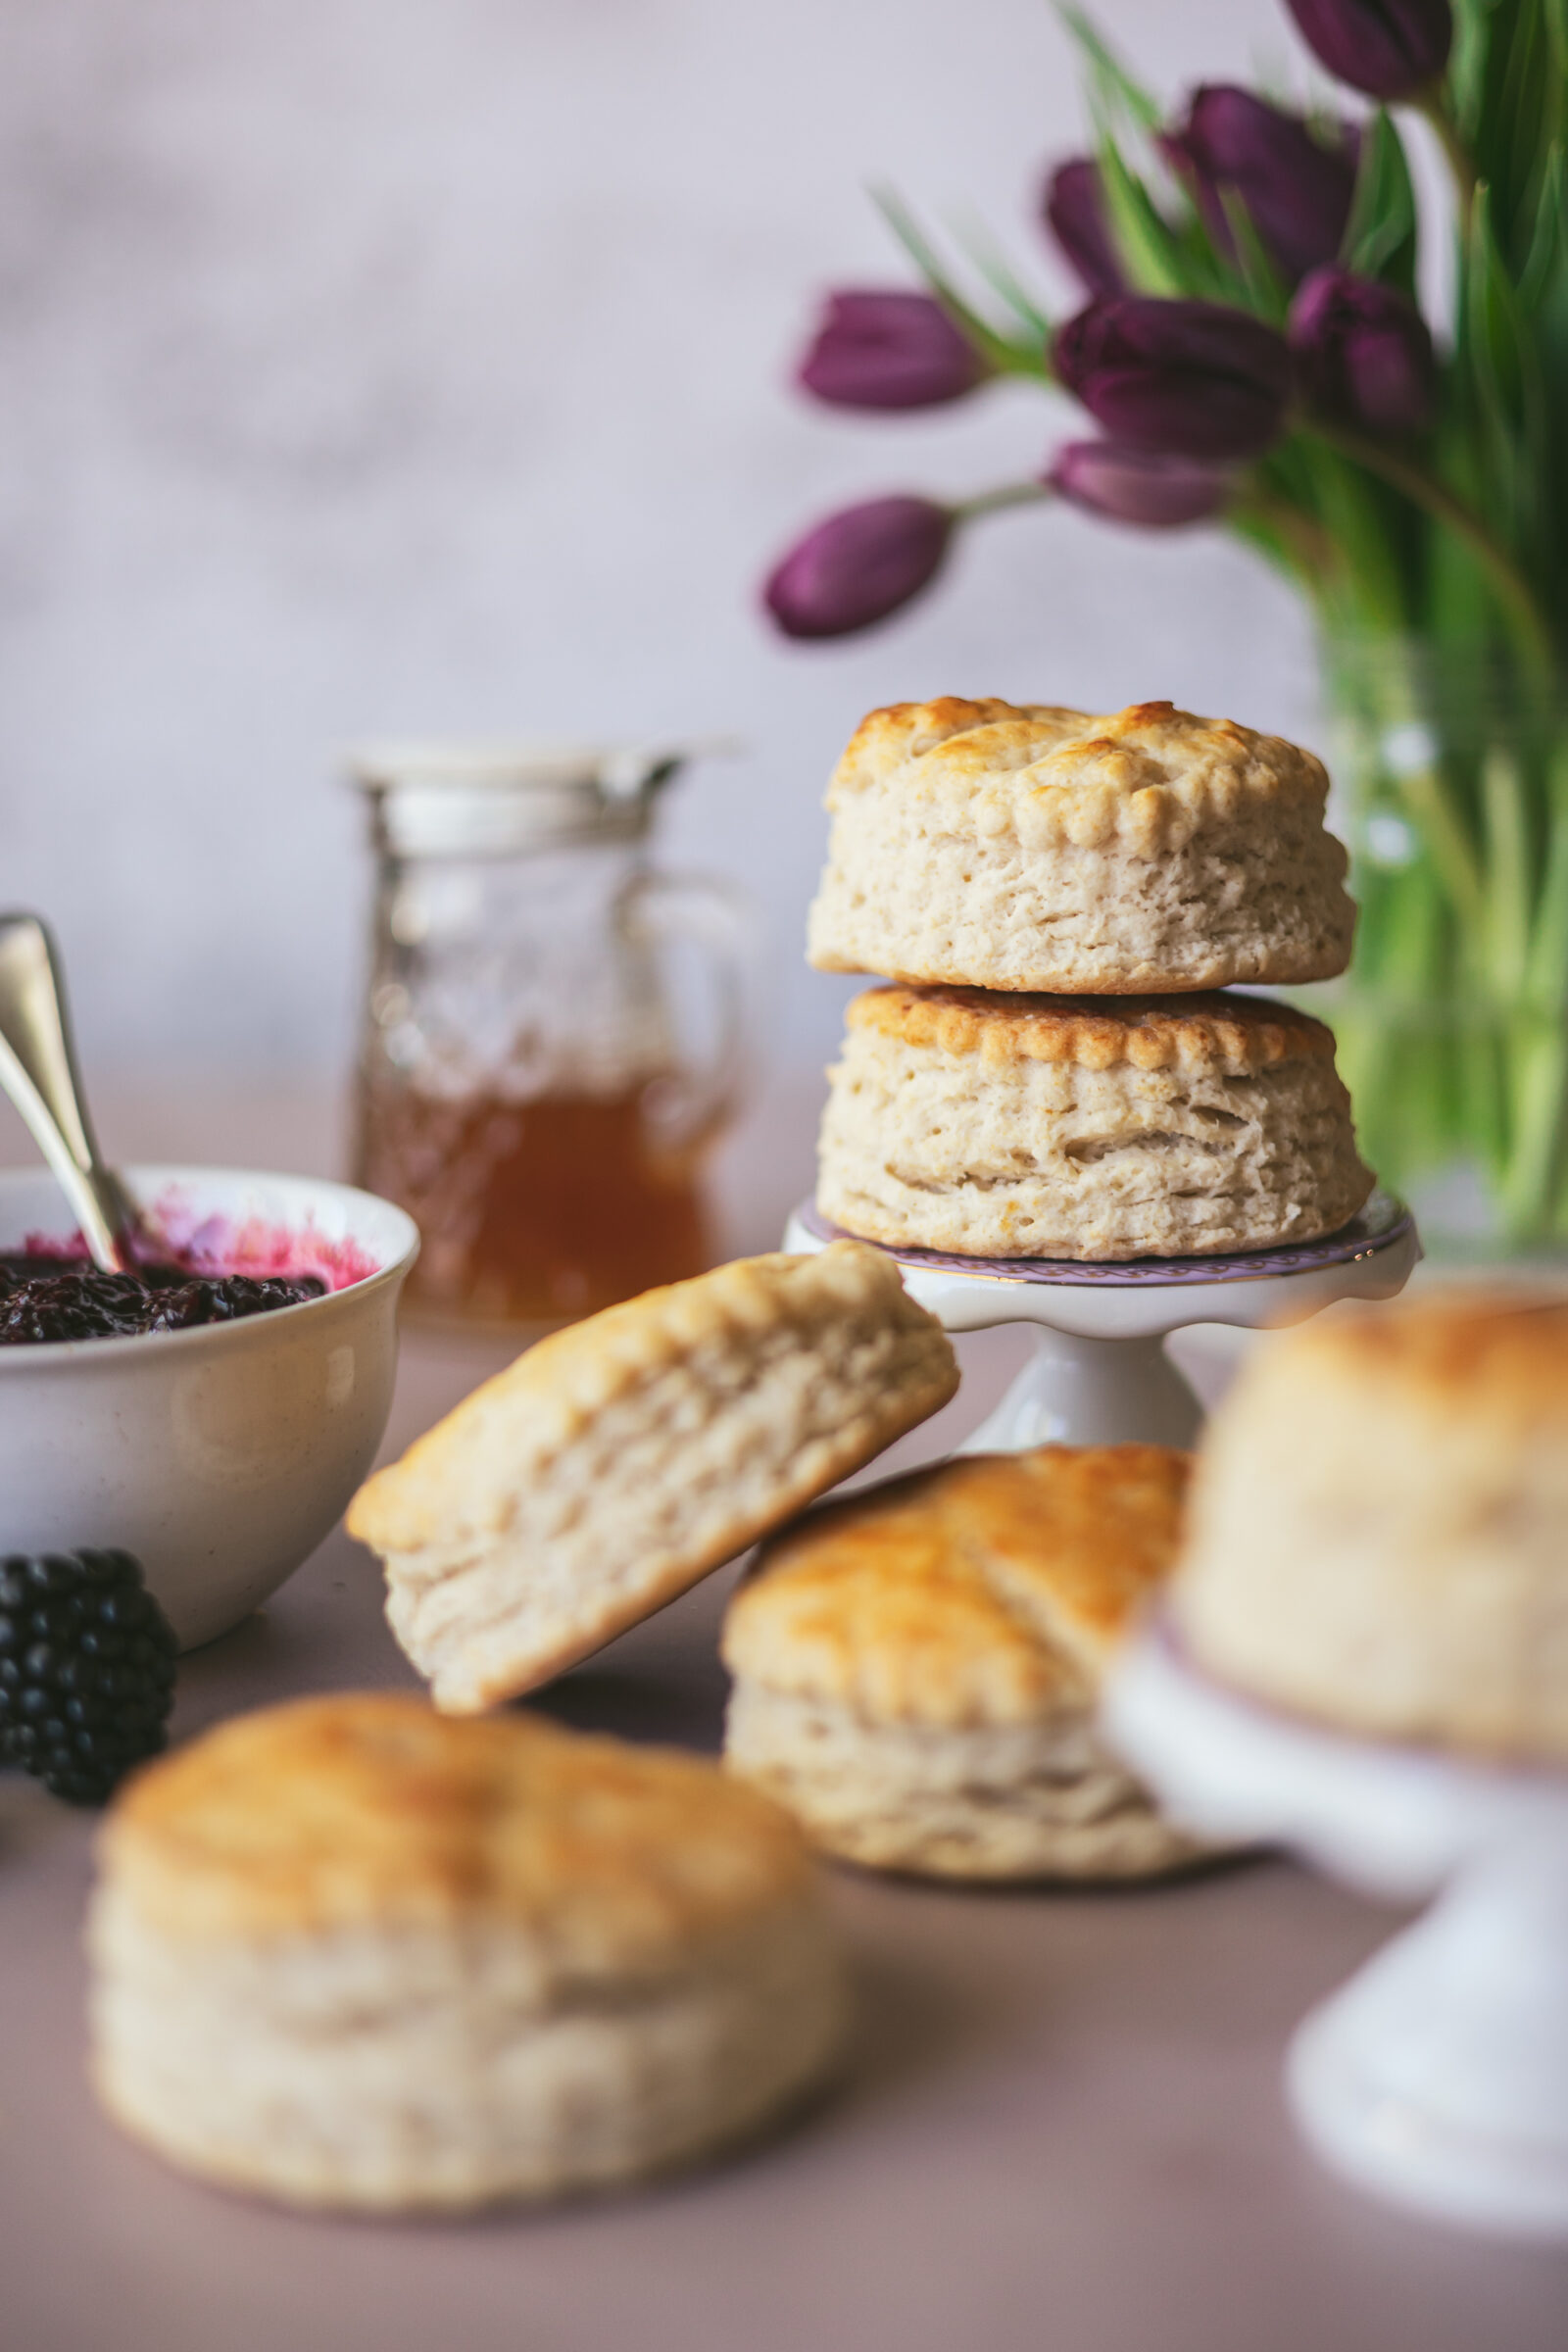
Here are some tips and tricks to making amazing biscuits every time!
The Foundation: Cold Ingredients and Precise Measurements
The journey to biscuit perfection begins with two crucial steps: keeping your ingredients cold and measuring them accurately. Why cold? Because those little bits of butter need to melt in the oven, not in the bowl, creating steam pockets that lead to our beloved flaky layers. And as for accuracy, weighing your ingredients ensures that you get the same delicious results every time. This is especially true for the flour and the sourdough starter.
The Technique: Minimal Handling and Folding for Layers
The key to achieving those dreamy layers lies in how you handle the dough. Here, less is truly more. Mix until just combined to avoid developing too much gluten, which can lead to tough biscuits.
I’ve found that grating the butter and then freezing it for a few minutes before incorporation can be a game-changer. It disperses evenly and keeps everything cold. When rolling out your dough, aim for a thickness of about ¾ to 1 inch, and remember, when cutting your biscuits, pushing straight down without twisting the cutter will prevent sealing the edges, ensuring your biscuits can rise to their full, glorious potential.
Folding the dough creates additional layers, enhancing the flaky texture. Resting the dough for a few minutes before this process can make it more manageable and contribute to a tender final product.
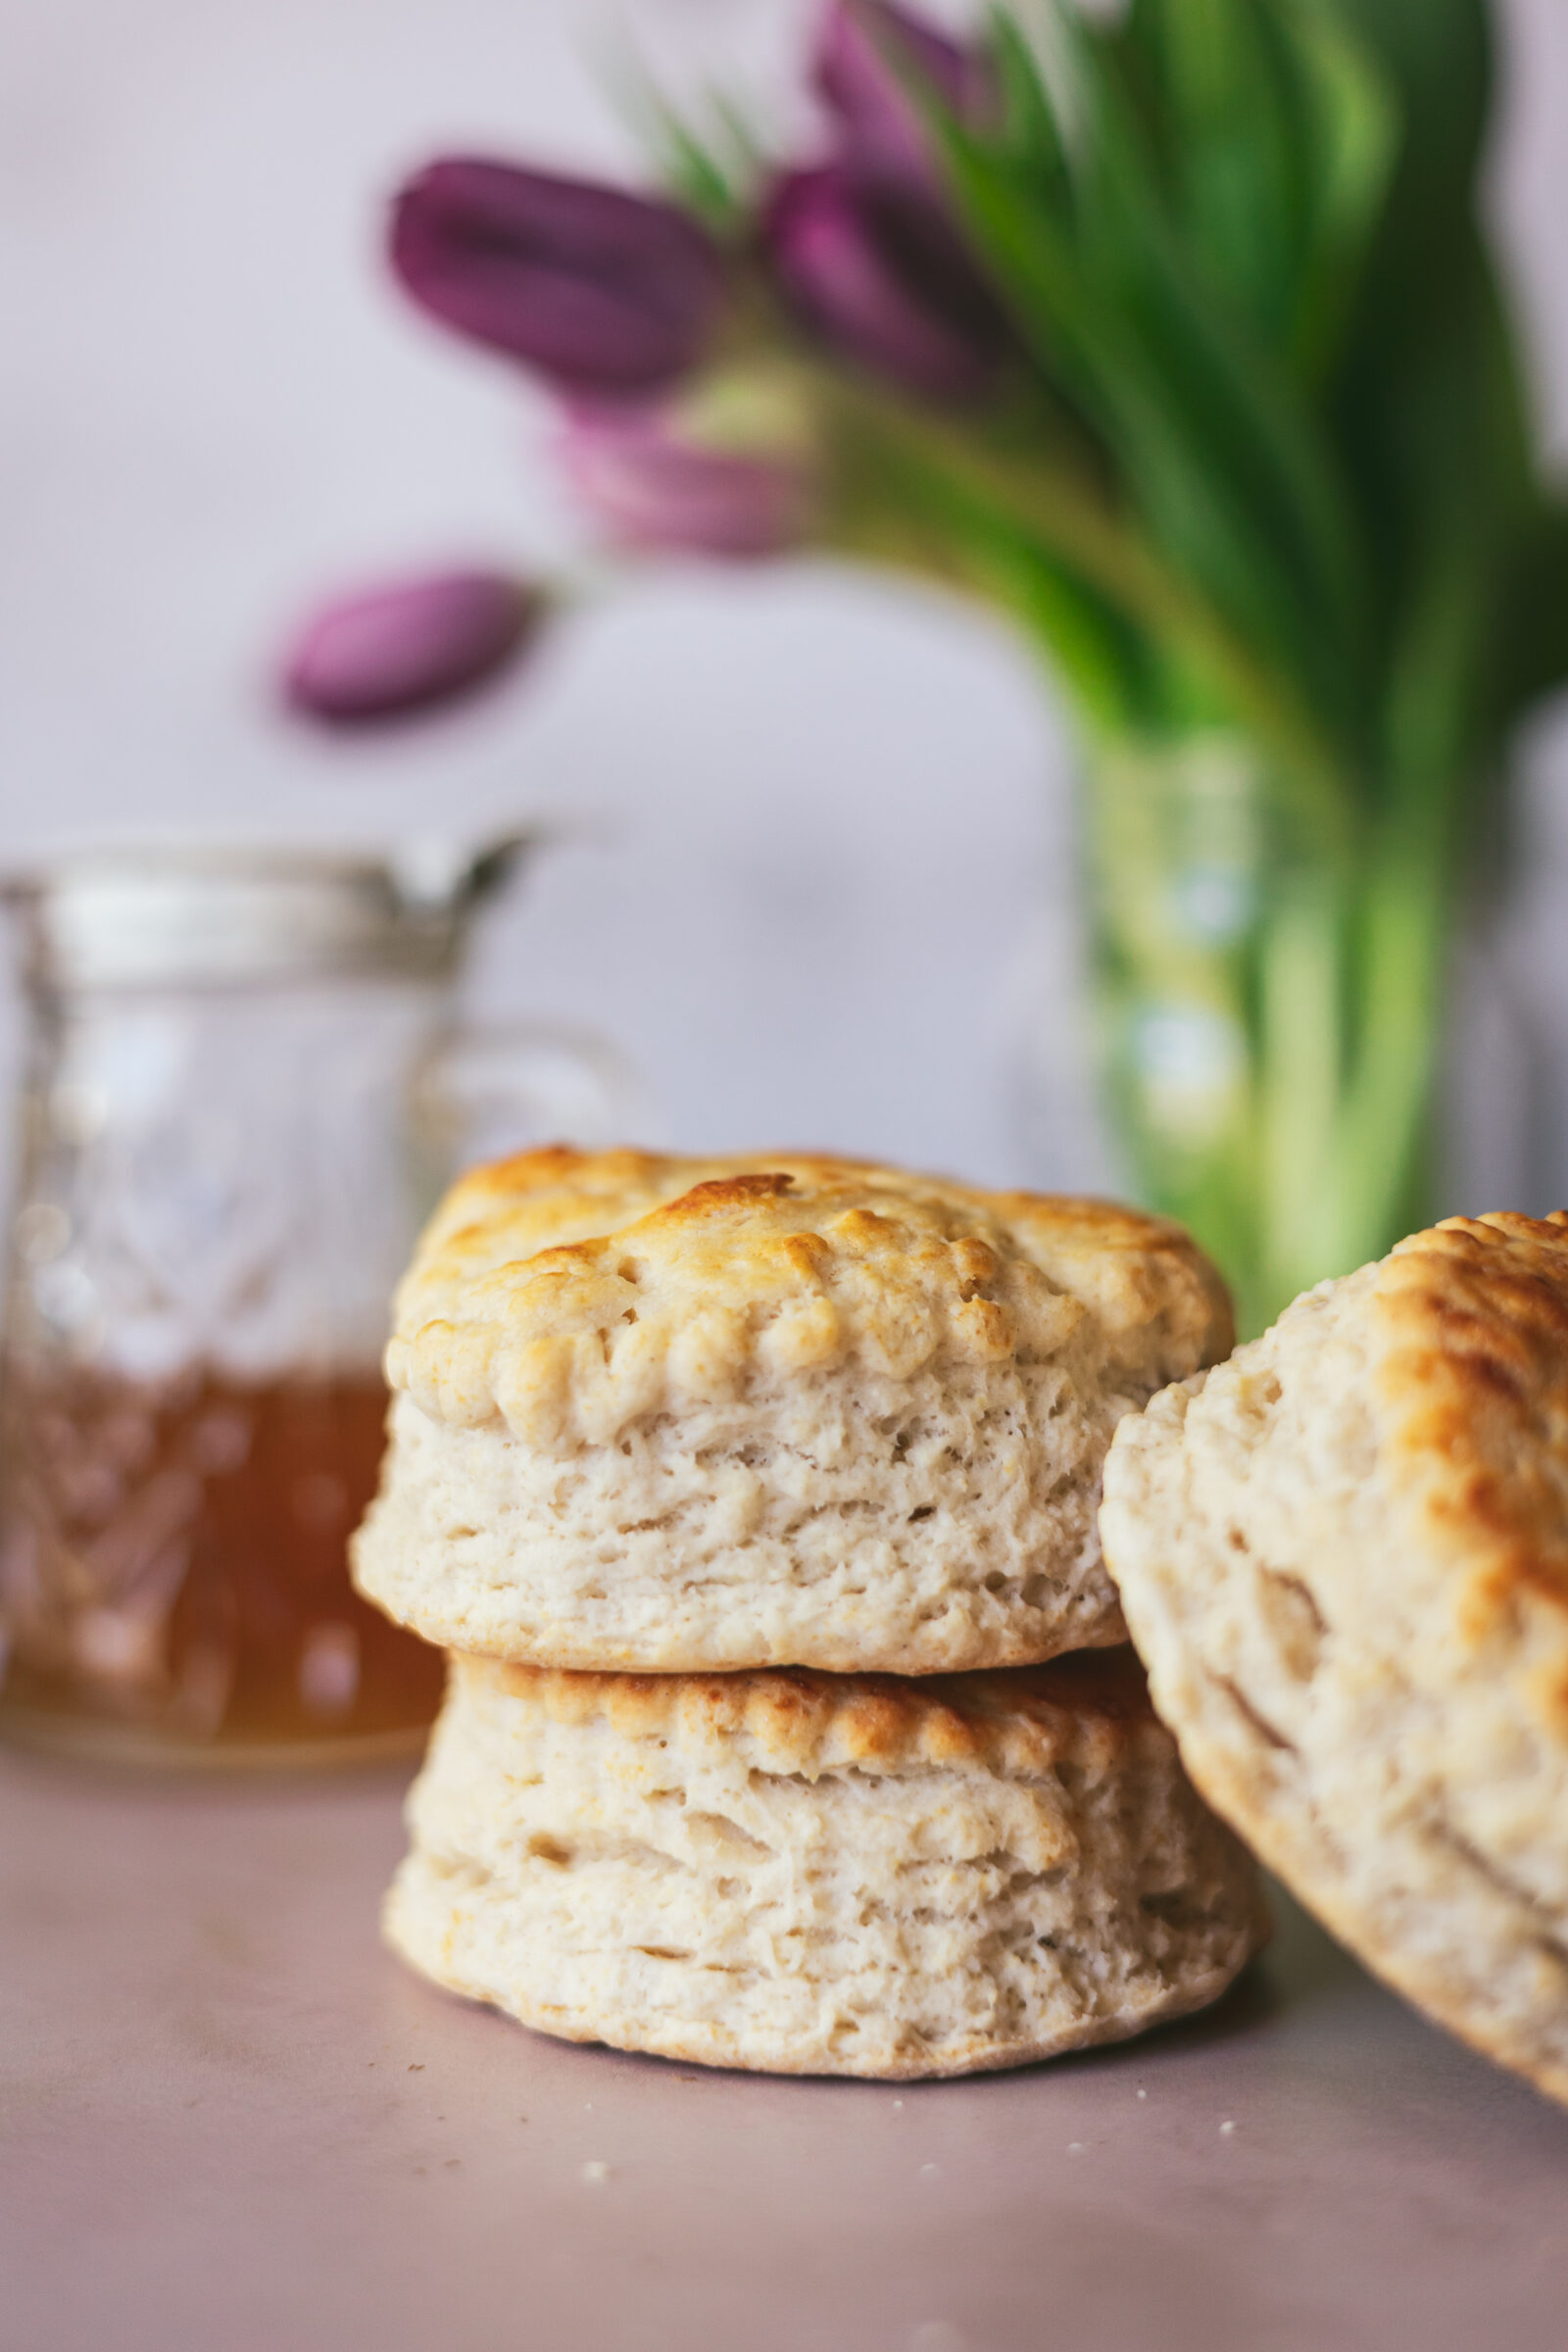
The Finish: Brushing and Baking
Before these beauties go into the oven, I like to brush the tops with a bit of buttermilk or melted butter for that perfect golden finish. Bake them in a preheated oven to ensure they start puffing up the moment they hit the heat, locking in those layers you worked so hard to create.
The Extras: Flavor and Storage
Don’t be afraid to experiment with flavors. Adding herbs or grated cheese into the dough can elevate your biscuits to a new level. And if you’re lucky enough to have leftovers, storing them properly ensures you can enjoy them just as much the next day. Wrap them tightly and give them a quick warm-up in the oven to revive that just-baked taste and texture.
Enjoy the process!
Biscuits are one of my favorite things to make. It’s minimal effort for great reward! It also reminds me of Jake’s grandma Ginny who was one of the best ladies I’ve ever met. Her biscuits were legendary just like her and it makes me proud to continue on a tradition handed down through the generations… even if I have put my own little spin on it.
I promise, good biscuits will make you a kitchen hero every time lol.
Happy Easter weekend! I hope it’s one full of good food, good people, and warm sunshine! 💛
Sourdough Buttermilk Biscuits
Equipment
- Kitchenaid Mixer
- Measuring Cups and Spoons
- Rolling Pin
- Cheese Grater
- 2 1/2 round Biscuit Cutter
- Baking Trays
- Parchment Paper
Ingredients
- 4 1/2 Cups Self Rising Flour (chilled) 562 grams
- 1/2 tsp Baking Soda
- 12 tbsp Salted Butter 170 grams
- 1 1/4 Cup Sourdough Discard (chilled) 400 grams
- 3/8 Cup Buttermilk 95-100 grams
- 2 tbsp Butter (melted for brushing tops of biscuits) 29 grams
Instructions
- Measure 1 1/4 cups of Sourdough Discard and place it in the fridge for 15-20 mins before you start this recipe. Also, it helps if your flour is cold. Measure out 4 1/2 cups of flour and the 1/2 tsp of baking powder into a bowl and place it in the freezer for 15-20 minutes as well.
- Line a large baking sheet with parchment paper. Preheat the oven to 450°.
- *** Grab your Kitchenaid Mixing bowl and pour in the chilled 4 1/2 cups of Flour, 1/2 tsp of Baking Soda, 1 1/4 cup chilled Sourdough Discard, and 3/8 cup Buttermilk.
- Next, grate the 12 tbsp of butter with your cheese grater and scoop all of that into the mixing bowl too. Use the dough hook attachment and mix just until the dough comes together. Do not overmix. You may need to add more buttermilk if the dough seems dry. Everyone's discard will be of different thickness (hydration) causing variation in the dough.
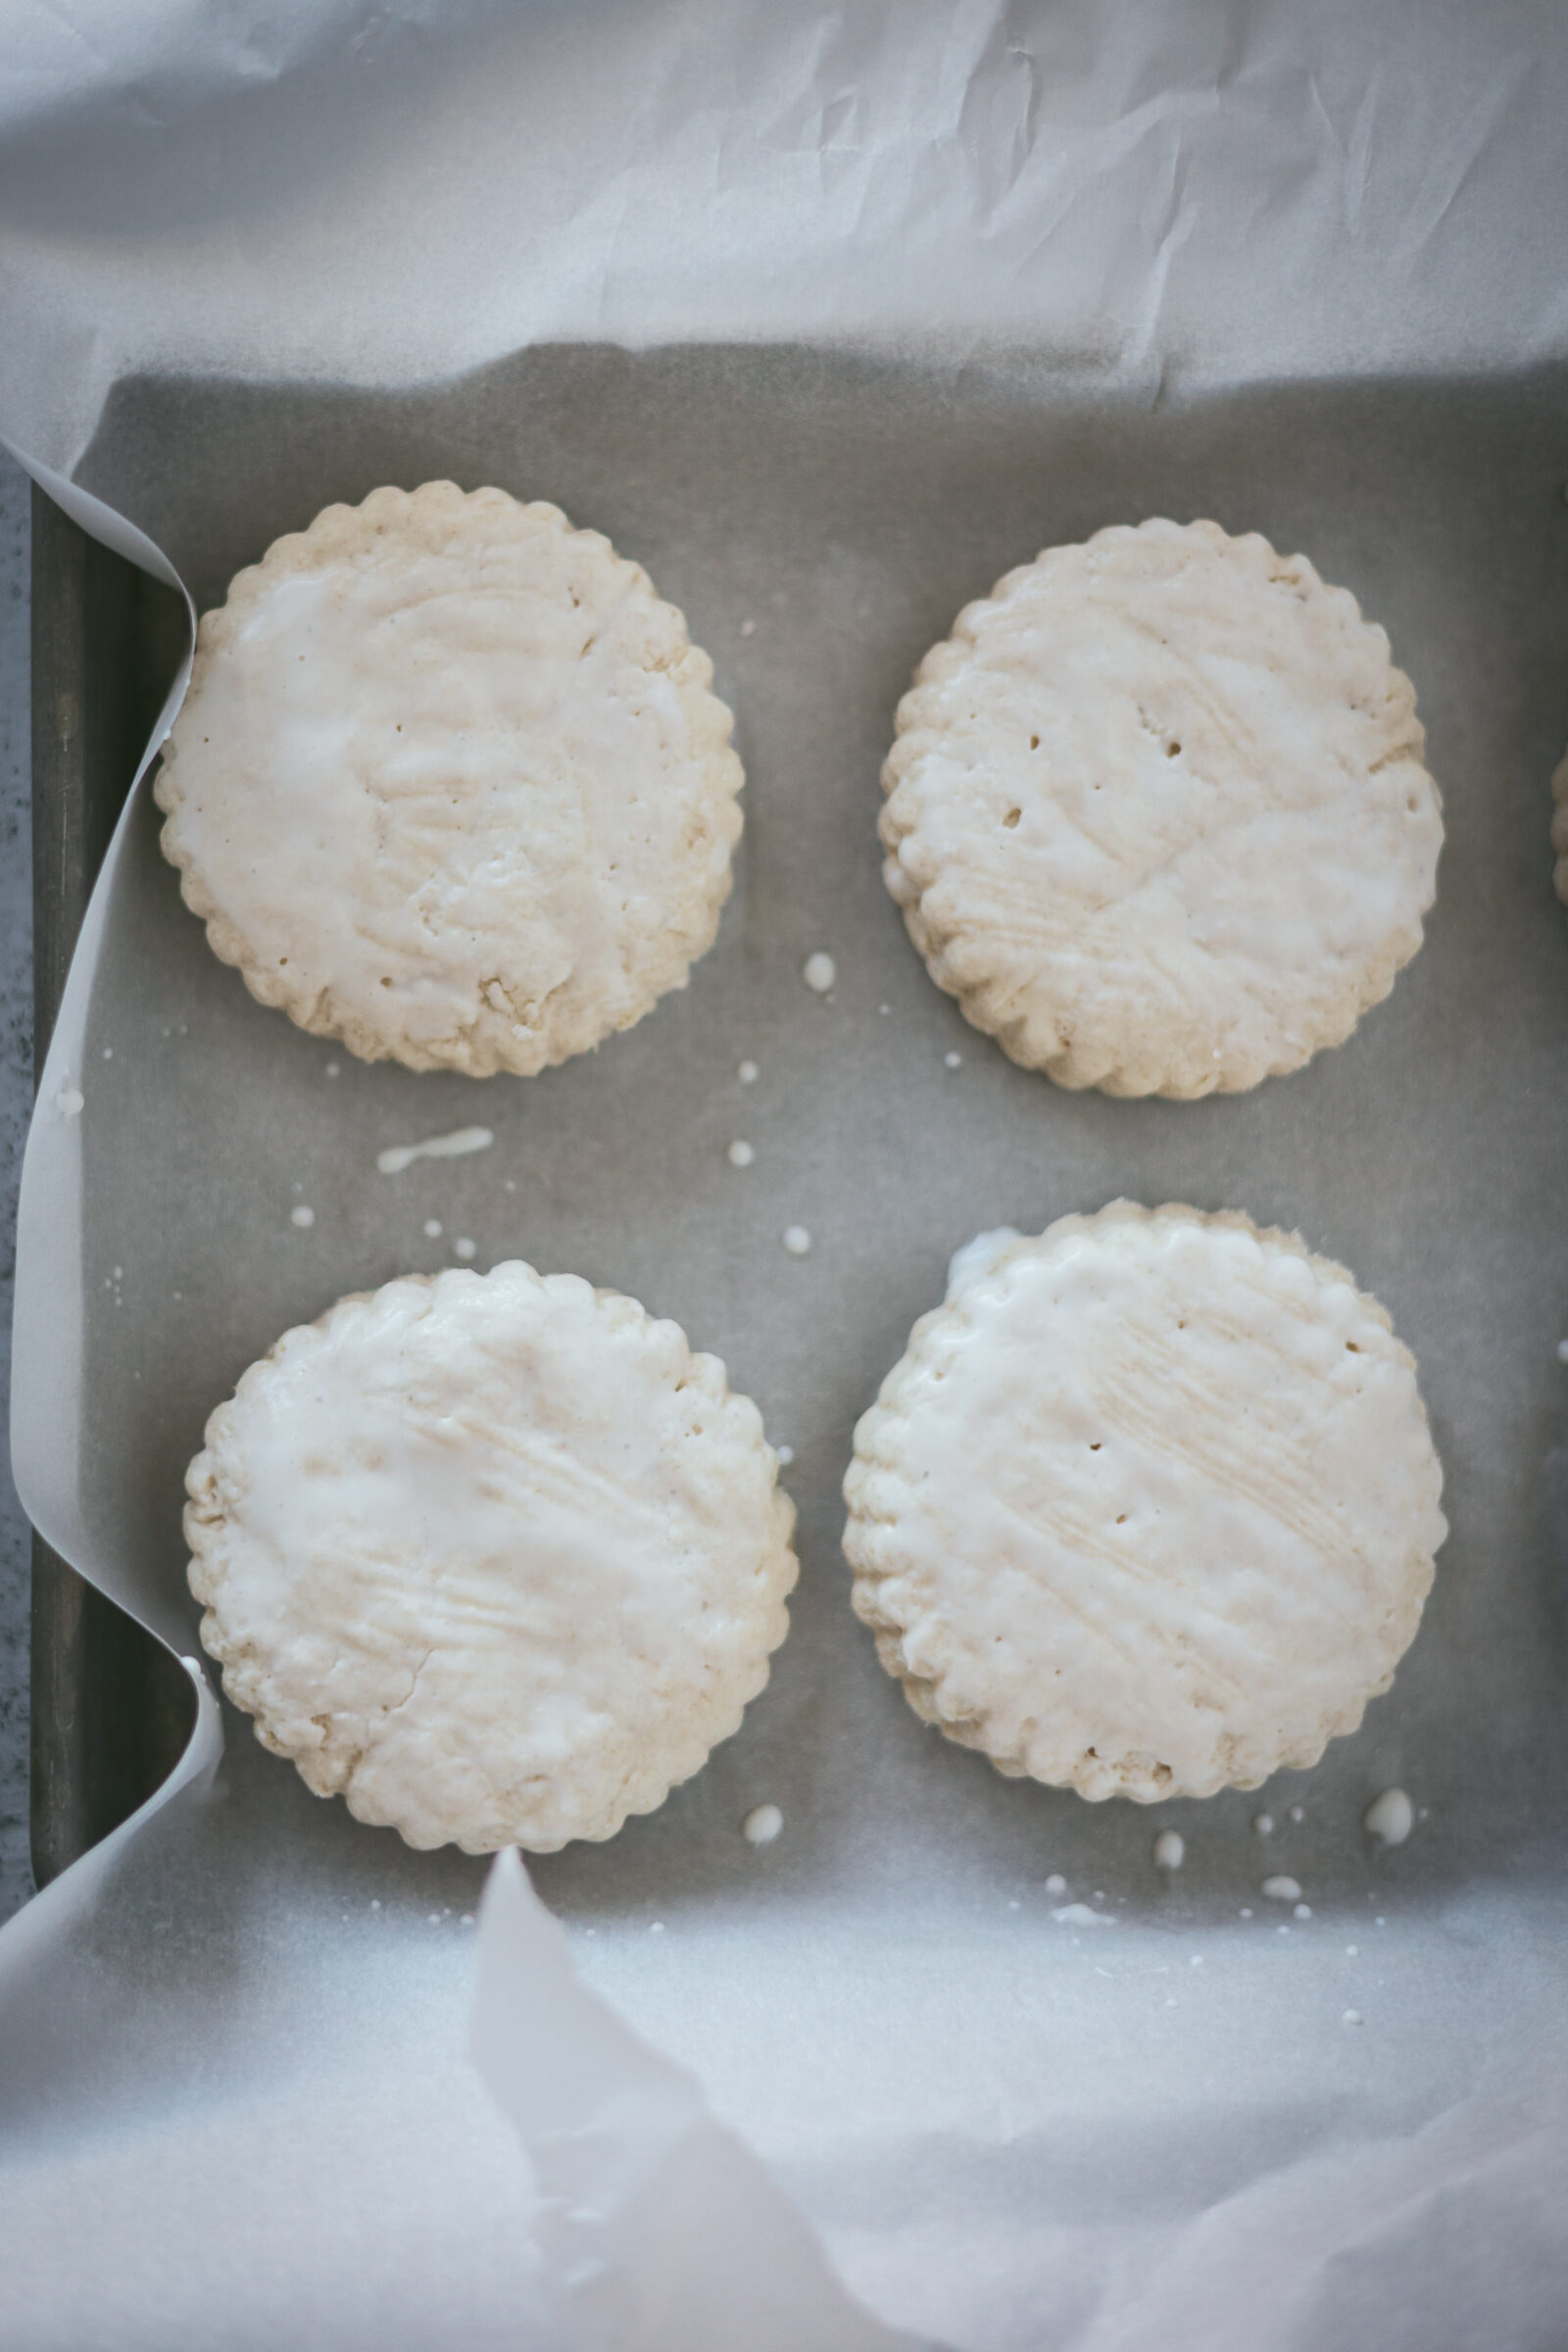
- Dump the dough out onto a floured counter and flour your rolling pin, roll the dough out into a 12×6 rectangle. Fold each of the long edges into the middle, and then fold the bottom short edge up, and the top short edge all the way down over the bottom fold you just made. Then roll the dough out again until it is 1" thick. Use your 2 1/2" cutter to cut out the biscuits. Press firmly down, but do not twist the cutter as this will cause the layers you just made to seal and the biscuits won't rise as well. Gather up the scraps, re-roll, and cut more biscuits until the dough is gone.
- Place the biscuits on the baking sheet leaving 1" of room between them. Brush the tops of the biscuits with buttermilk. Place them in the oven, on the middle rack, and bake them for 15-20 minutes or until golden brown. Remove them from the oven, brush them with the melted 2 tbsp of butter, and enjoy once they're cool enough to pick up!
Notes
Affiliate Information
As a part of the Amazon Affiliate program, I have the opportunity to share products and items that I genuinely find useful or interesting. When you come across links to these products on my blog, they're not just recommendations based on my personal experience or research; they also serve a dual purpose. If you decide to click on these links and make a purchase, I earn a small commission from Amazon at no additional cost to you.
This setup helps me to keep generating content that you find helpful and engaging, without bombarding you with irrelevant ads or sponsors. It's a win-win situation: you discover products that could add value to your life, and I get a little support to continue doing what I love. Rest assured, the integrity of my recommendations remains my top priority. I only share links to items that I believe in, and that I think could make a difference for you.
Thank you for your support and understanding. Your trust means the world to me, and I'm committed to maintaining transparency about how I fund my blog. If you have any questions about the Amazon Affiliate program or how it works, feel free to reach out.
©️ 2024 Now From Scratch | Template by Maya Palmer Designs | ©️ Photos by Austin Claire Photography| Privacy Policy | Terms
