")


The Elegant Treat That’s Easier Than It Looks
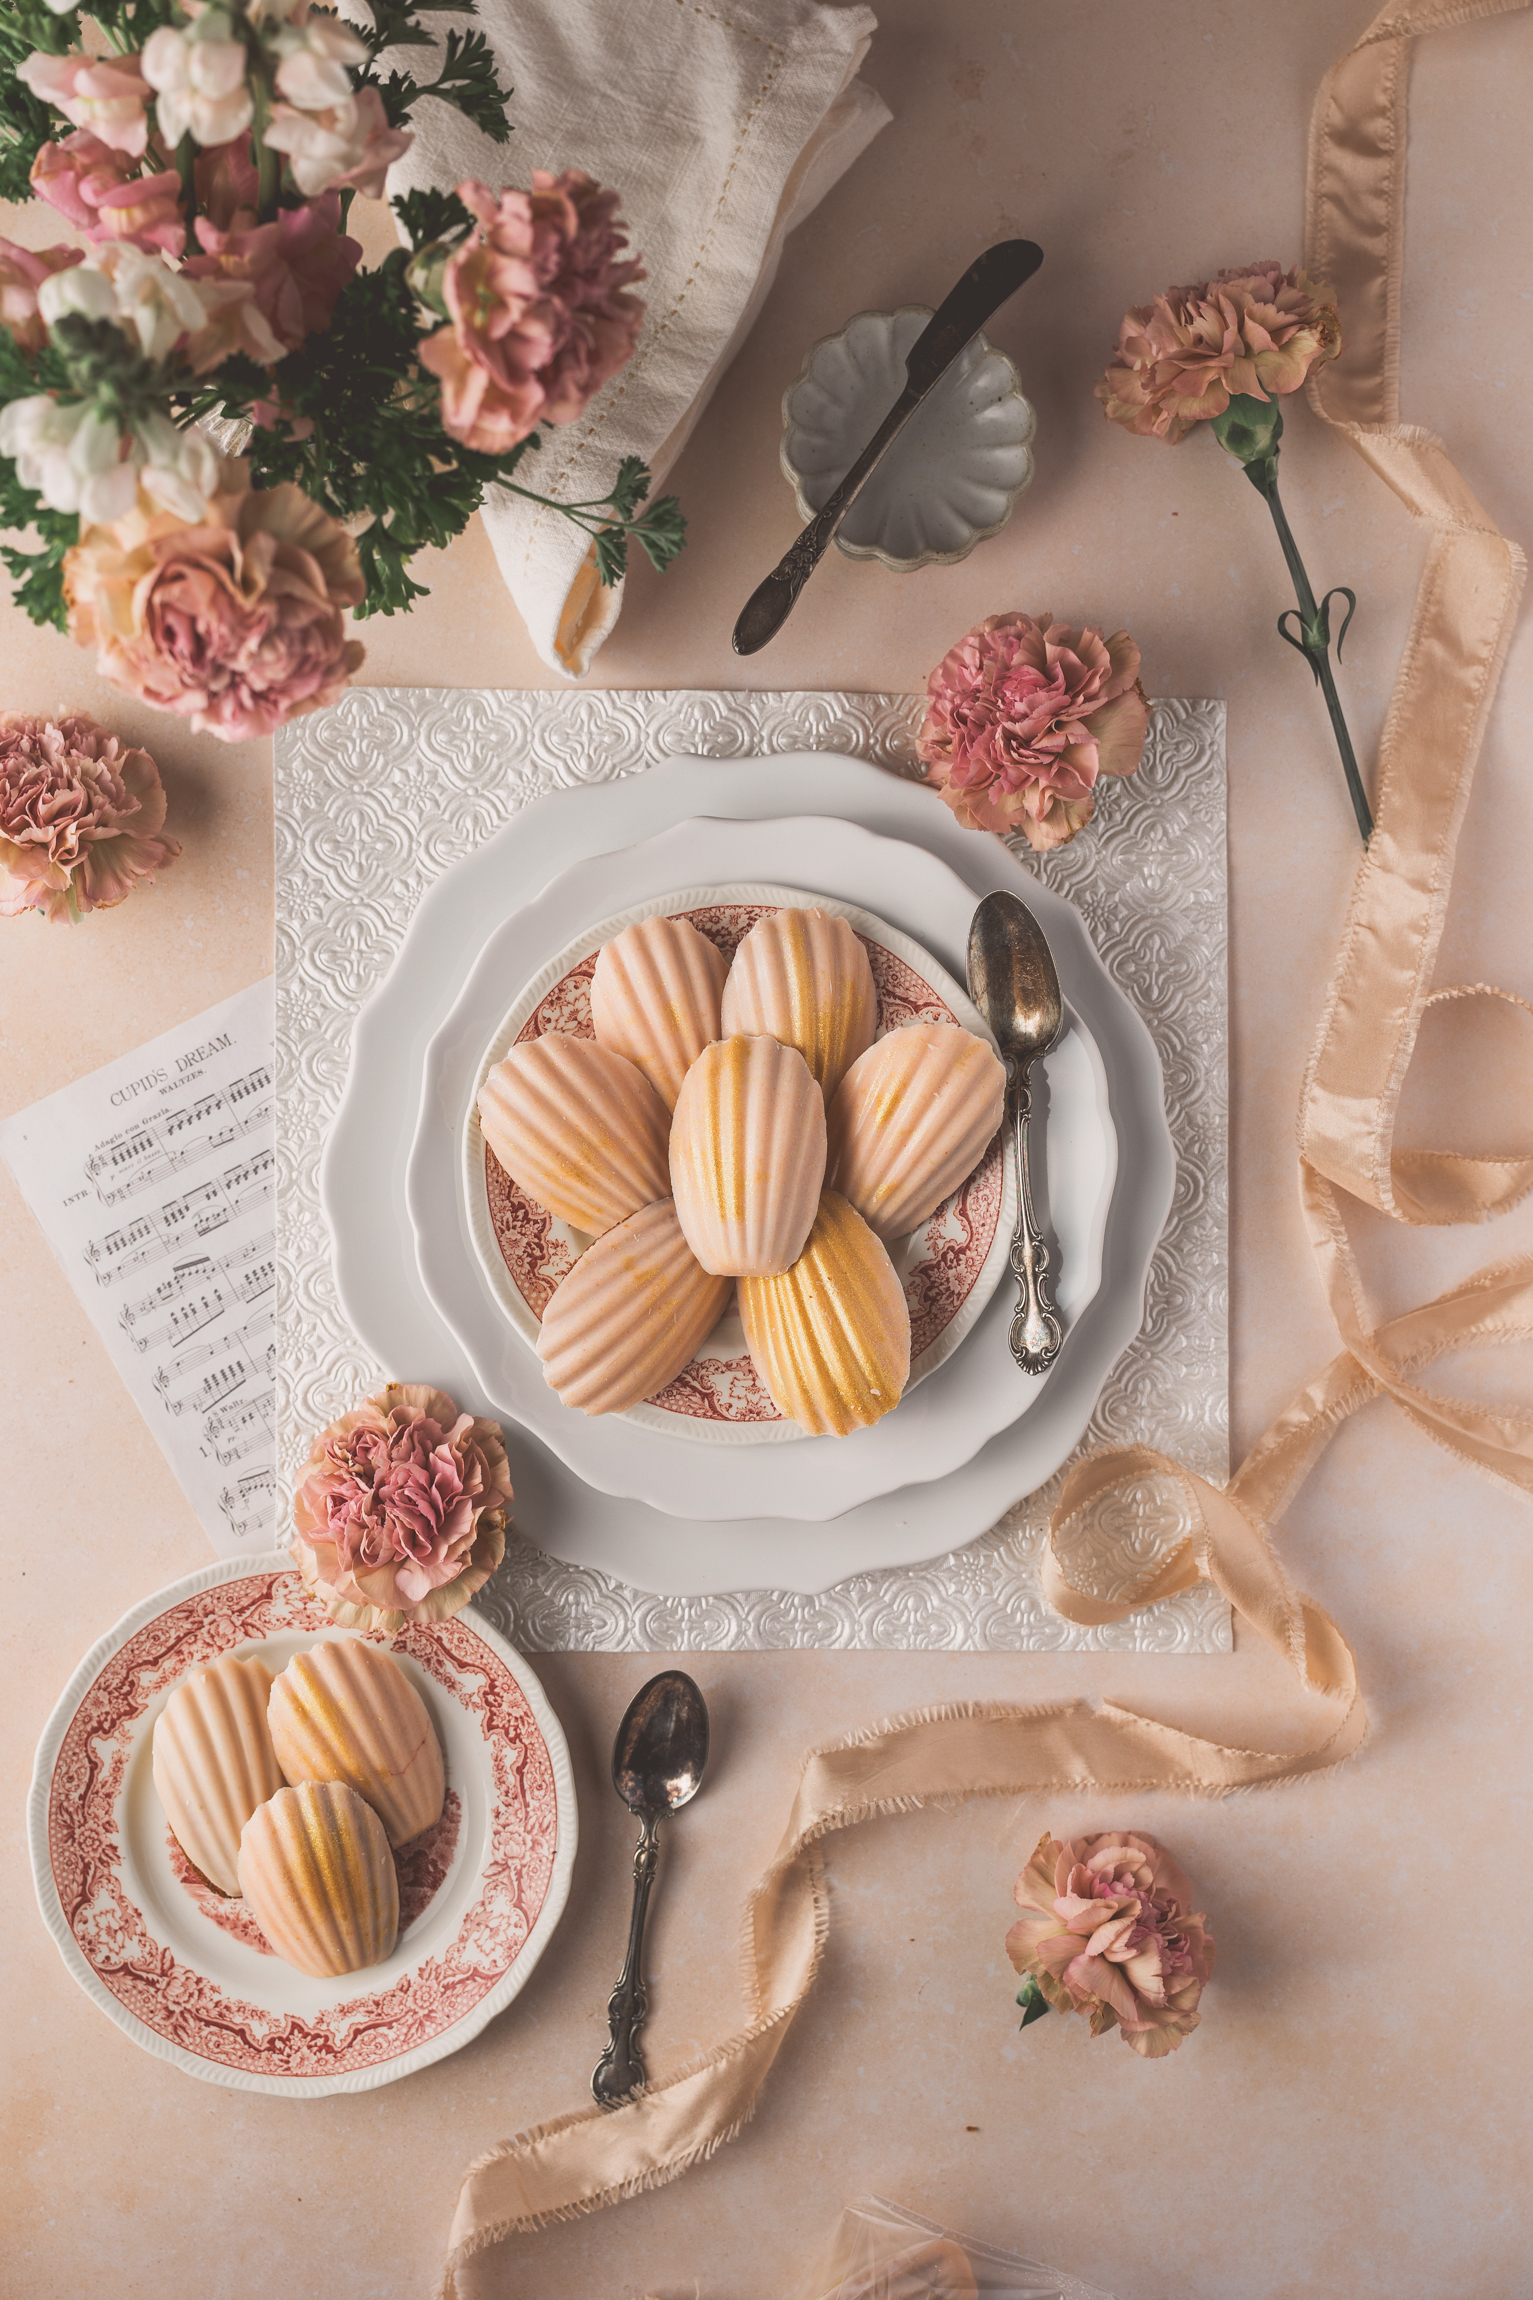
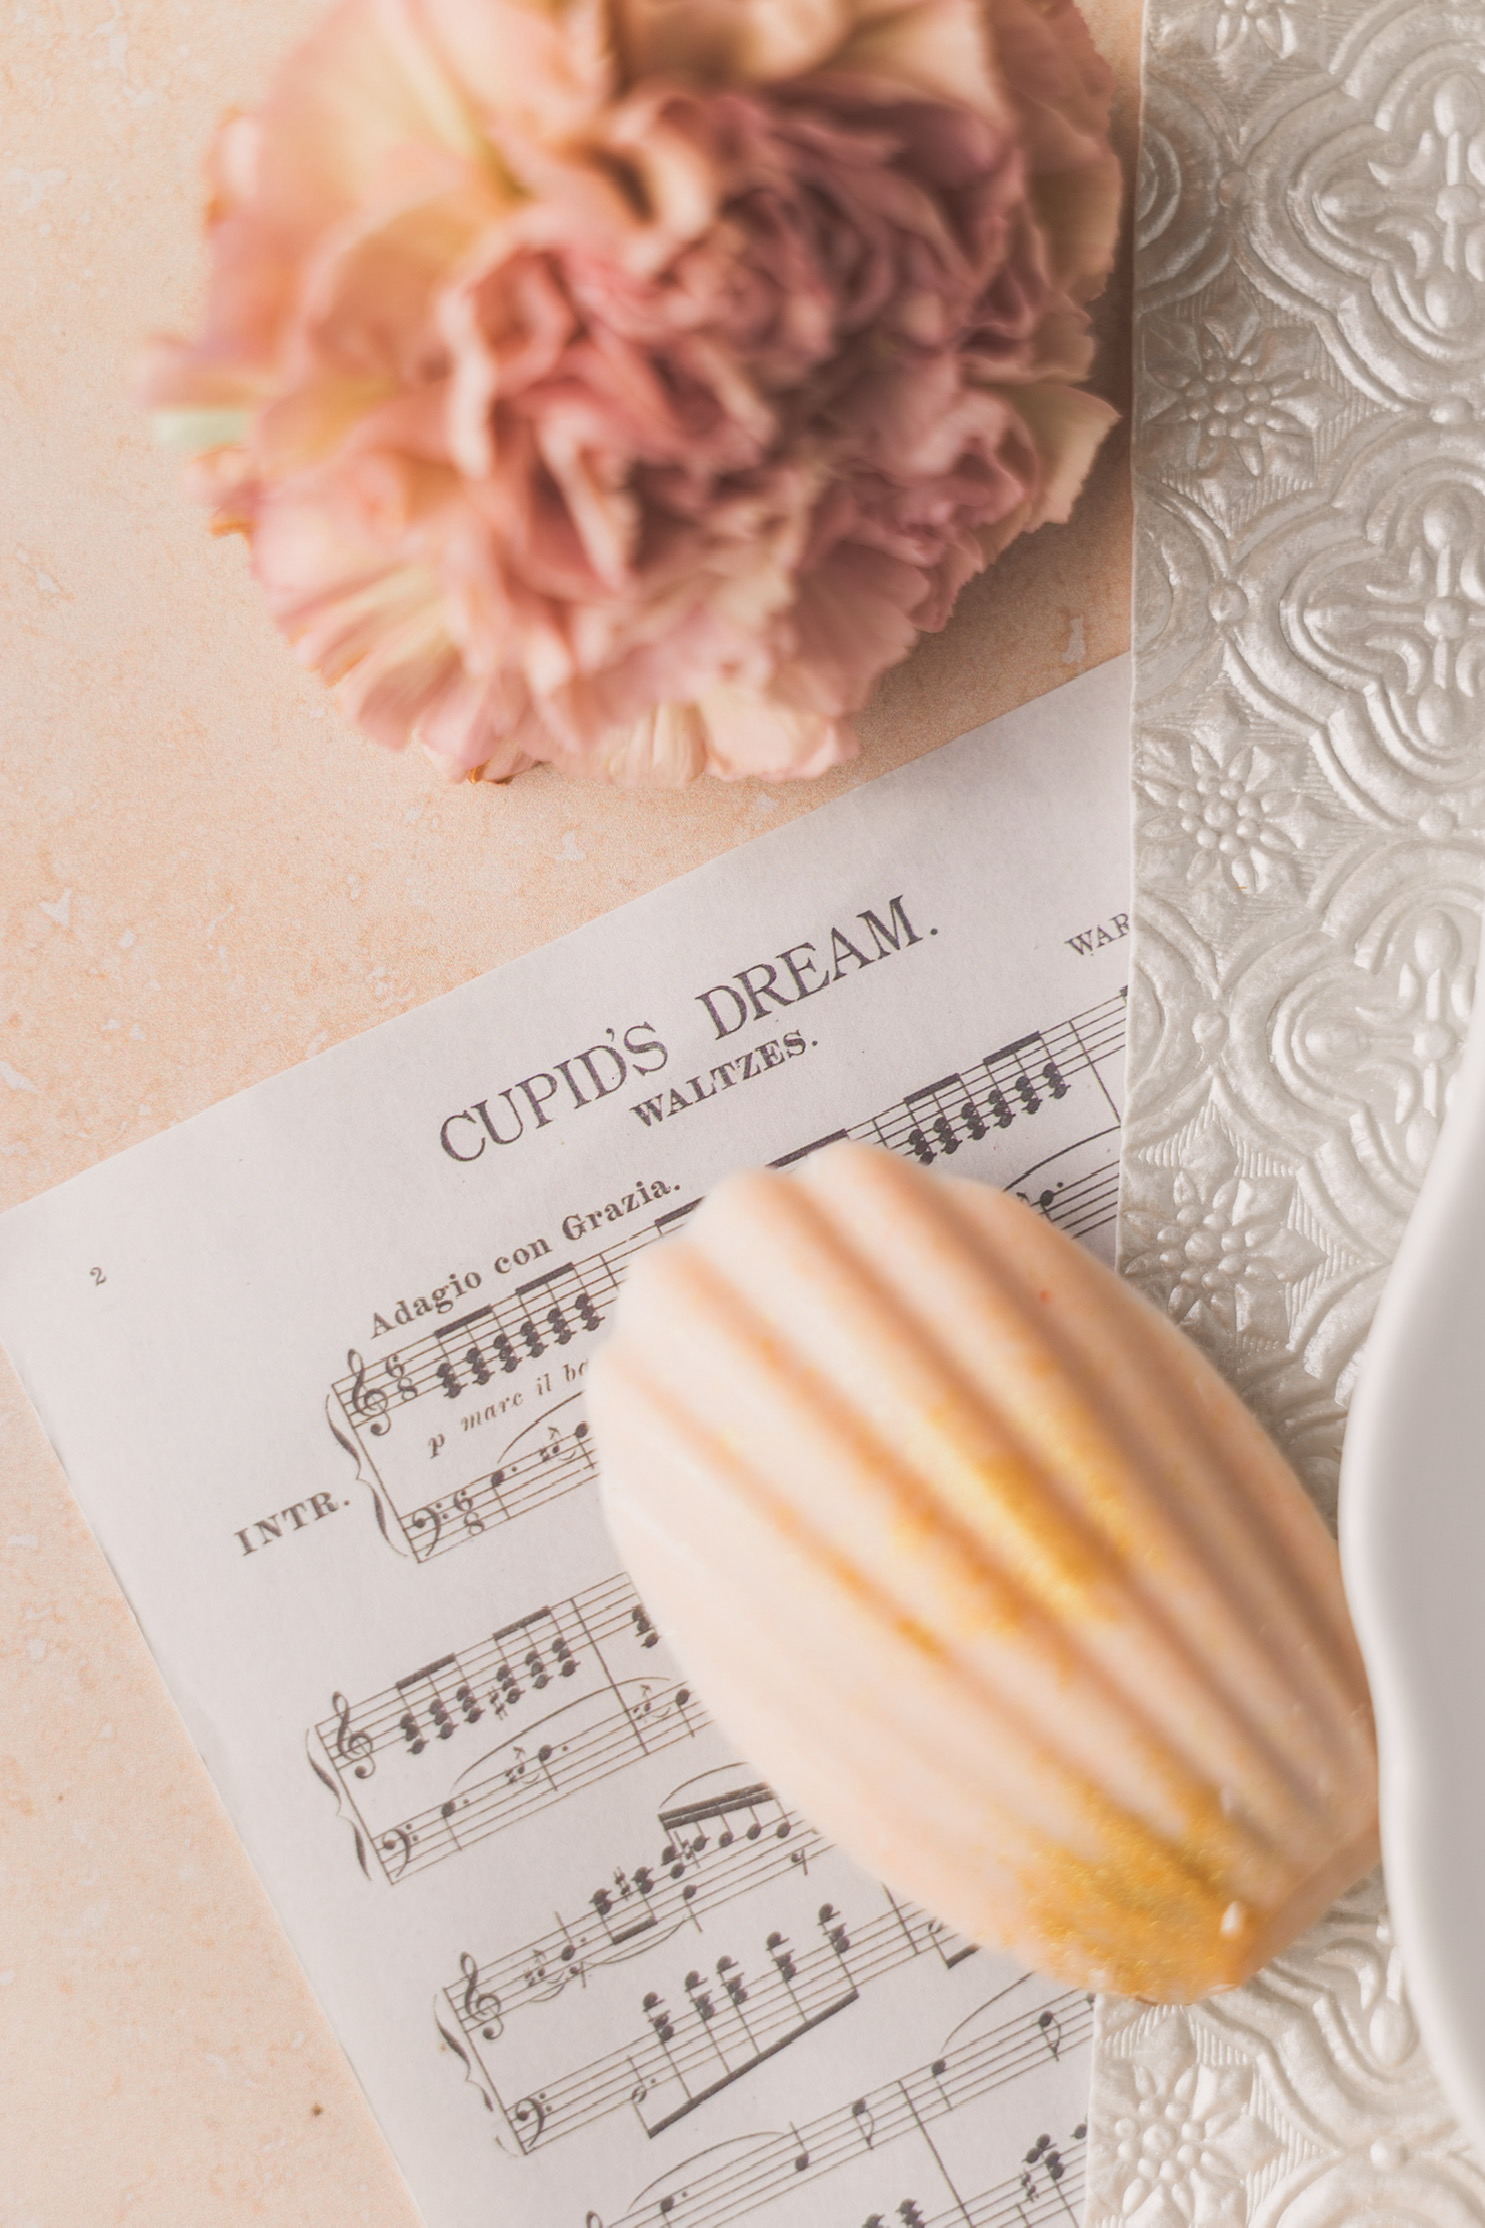
Vanilla Bean Honey Madeleines with a White Chocolate Shell – This recipe is perfect for Valentine’s Day (or any time you want to feel a little fancy). I blame Starbucks for my love of madeleines. Back when I worked there, they sold them in little plastic-wrapped packs of four, and I swear, every break I had, I grabbed one to dunk in my Americano. Even those store-bought ones—dry as they were—had a charm to them. But homemade? Freshly baked, lightly crisp on the edges, soft in the middle? Absolute game-changer. And when you coat them in a thin shell of peach-tinted white chocolate, they go from classic to showstopper.
The white chocolate shell gives them a polished, elegant look, but let me tell you—the process is way easier than you’d think. These little scalloped beauties may seem delicate and sophisticated, but they come together without much fuss.
If you’ve never made madeleines before, don’t worry—I’ve got all the details, tips, and tricks to make sure they turn out flawless. Let’s talk about how to get that signature hump, why freezing the chocolate shell is non-negotiable, and the little details that take them from good to bakery-worthy.
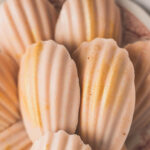
These Vanilla Bean Honey Madeleines are so cute, tasty, and worth the little bit of effort.
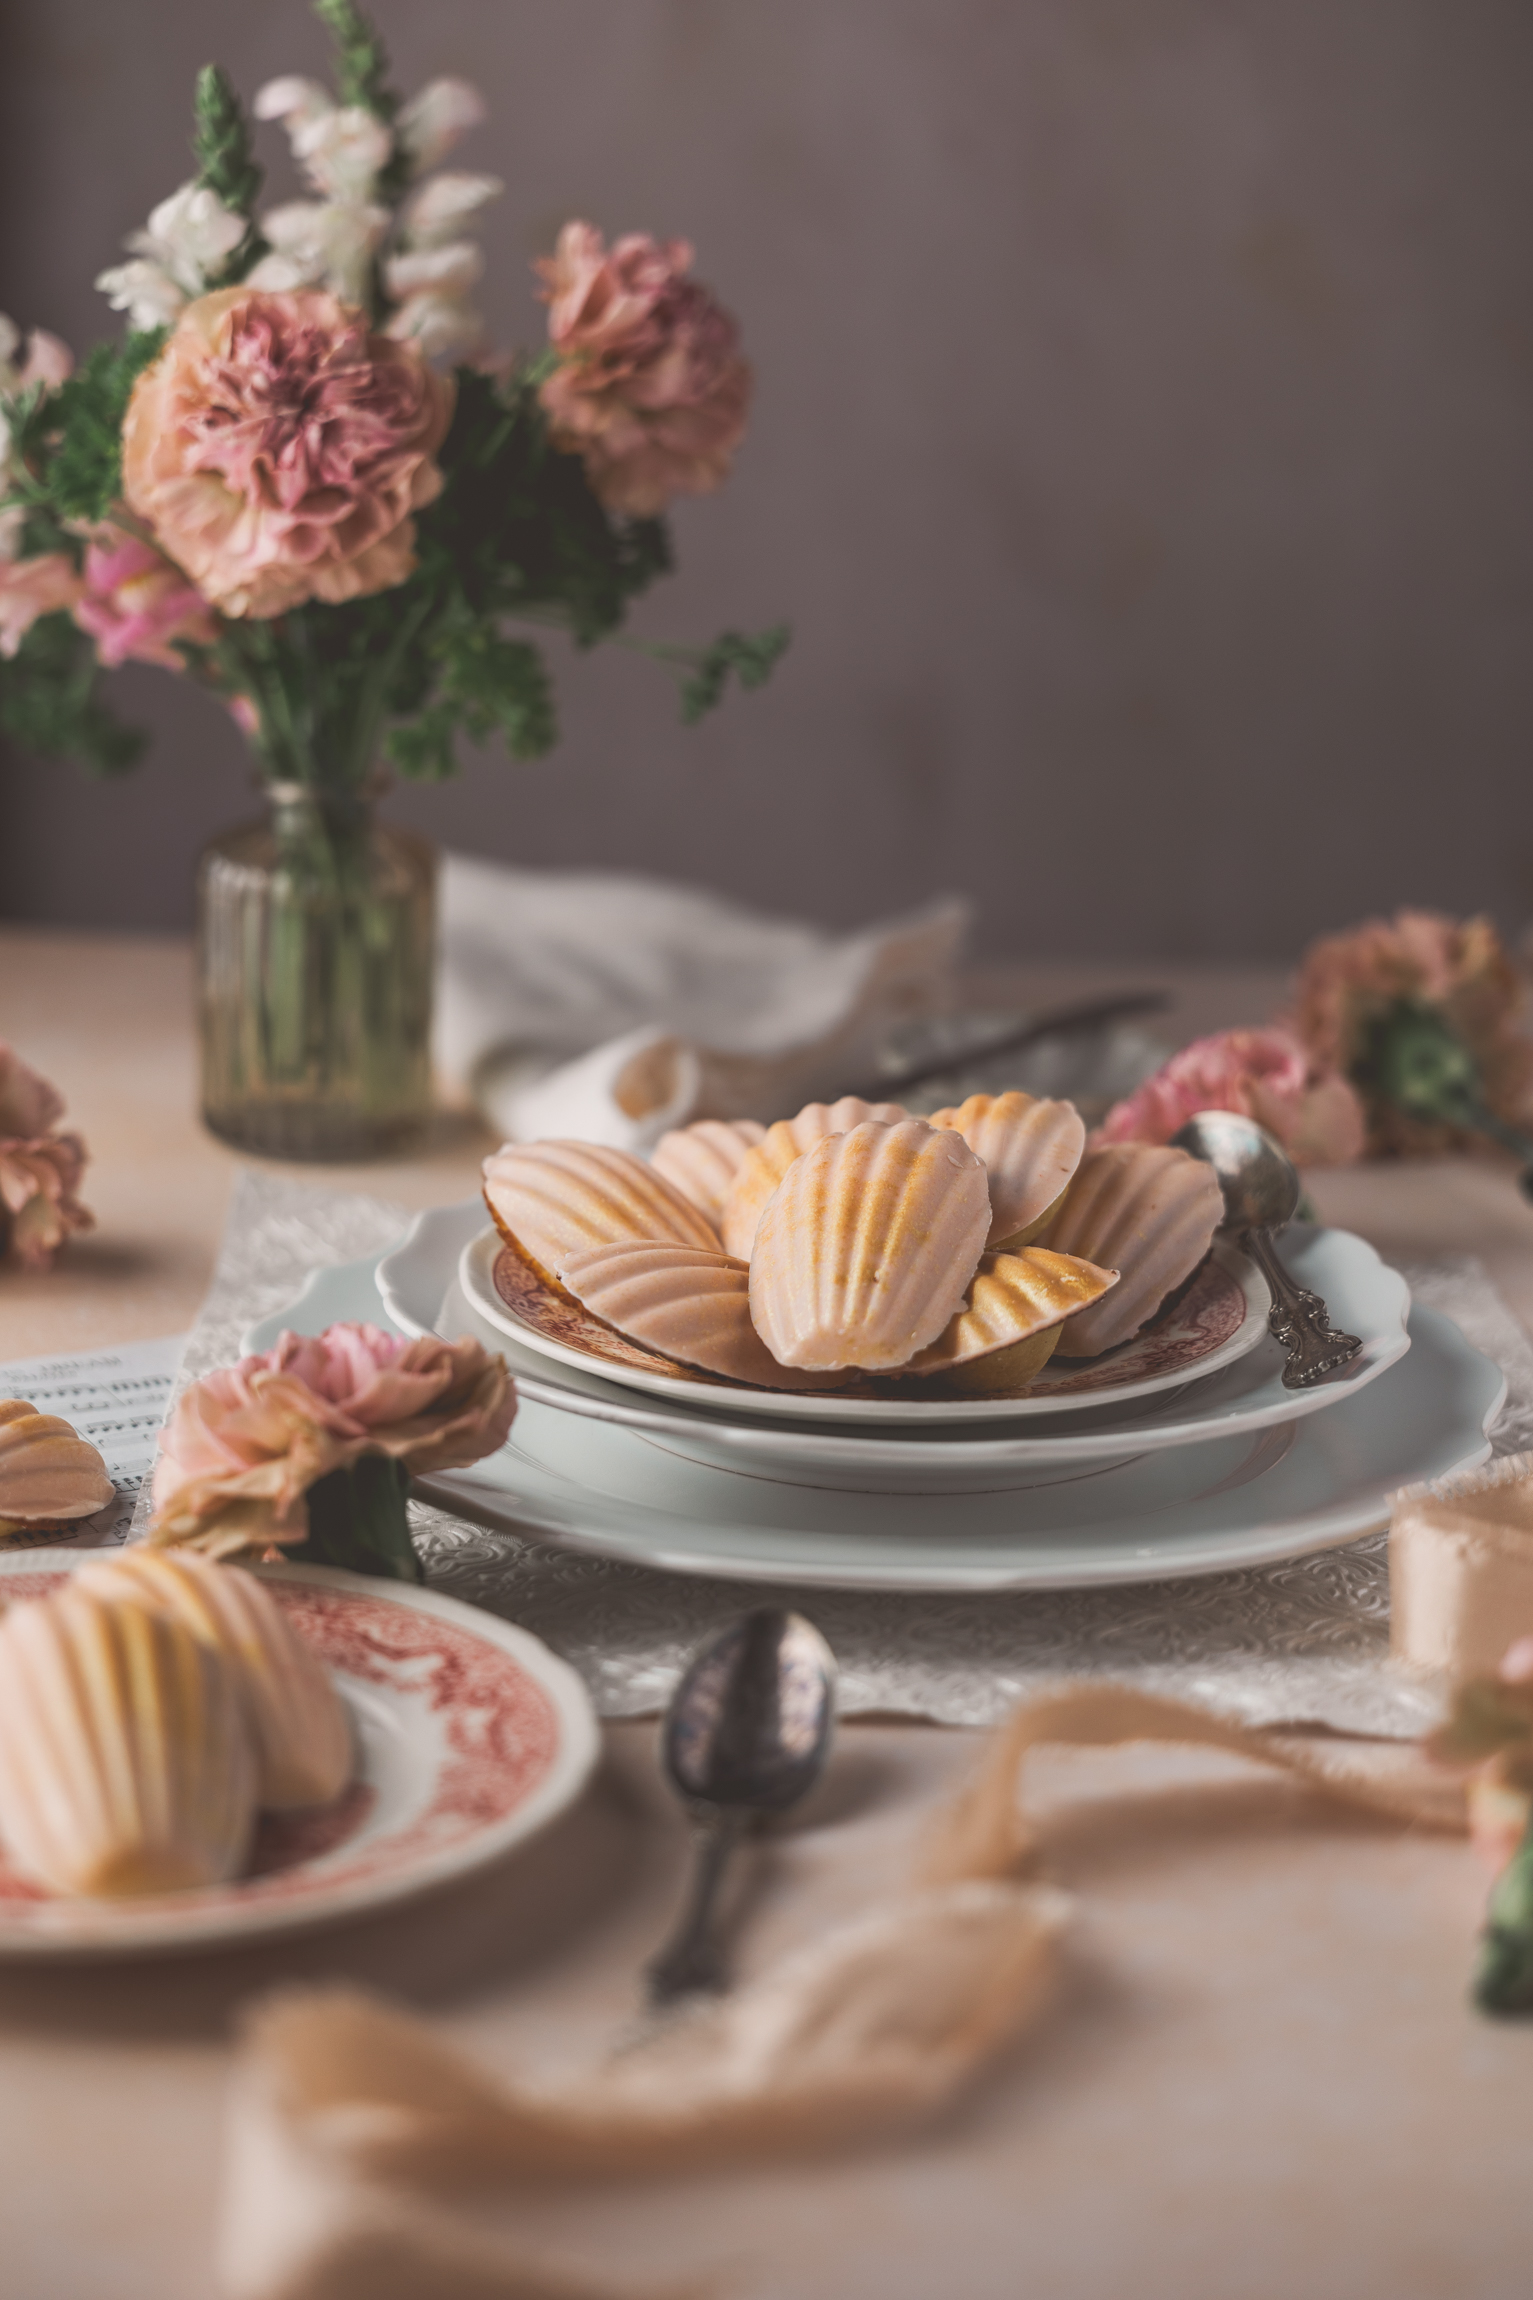
They’re ridiculously elegant. If you want to impress someone, these will do it. They look like you spent hours on them, but the reality? They’re simple.
That vanilla bean + honey combo? Unreal. The honey adds a subtle depth to the flavor, while the vanilla bean gives them that warm, floral sweetness that just feels luxurious.
They have the best texture. Light, airy, buttery. Everything a madeleine should be.
They’re dipped in coffee like a dream. Honestly, they’re practically made for it.
The Secret to That Signature Madeleine “Hump”
If you’ve ever seen a classic madeleine, you know they have that little hump in the center. It’s a sign of a well-made one, and it’s all about chilling the batter before baking. The shock of the cold batter hitting the hot oven creates steam, which helps give them that puff. If you skip this step, they’ll still taste good, but you won’t get that classic rise.
I chill my batter for at least an hour (overnight is even better). Don’t rush it!
The White Chocolate Shell Trick You Can’t Skip
Here’s the deal: If you don’t freeze the white chocolate shell before trying to remove the madeleines from the mold, you’re setting yourself up for heartbreak. The chocolate will crack. Or worse, the madeleines won’t come out at all, and you’ll be stuck digging them out piece by piece.
So, after you spoon the melted white chocolate into the madeleine molds and gently press the cooled cakes into it, pop the tray in the freezer for 30 minutes. This ensures the shell hardens properly and releases cleanly when you turn them out. Don’t rush this step, or you’ll regret it.
Piping vs. Spooning: Which Works Best for Filling the Molds?
You can spoon the batter into the molds, but if you want a cleaner, more even bake, a piping bag is the way to go. It makes portioning the batter so much easier, and you’re less likely to overfill or have uneven madeleines. If you don’t have a piping bag, a Ziploc with the tip cut off works just fine.
Getting That Smooth, Even White Chocolate Shell
If you want a seamless chocolate shell with no streaks or weird texture, here’s what you need to do:
- Use good-quality white chocolate. I used a whole bag of Ghirardelli melting wafers because they melt smoothly and don’t seize up.
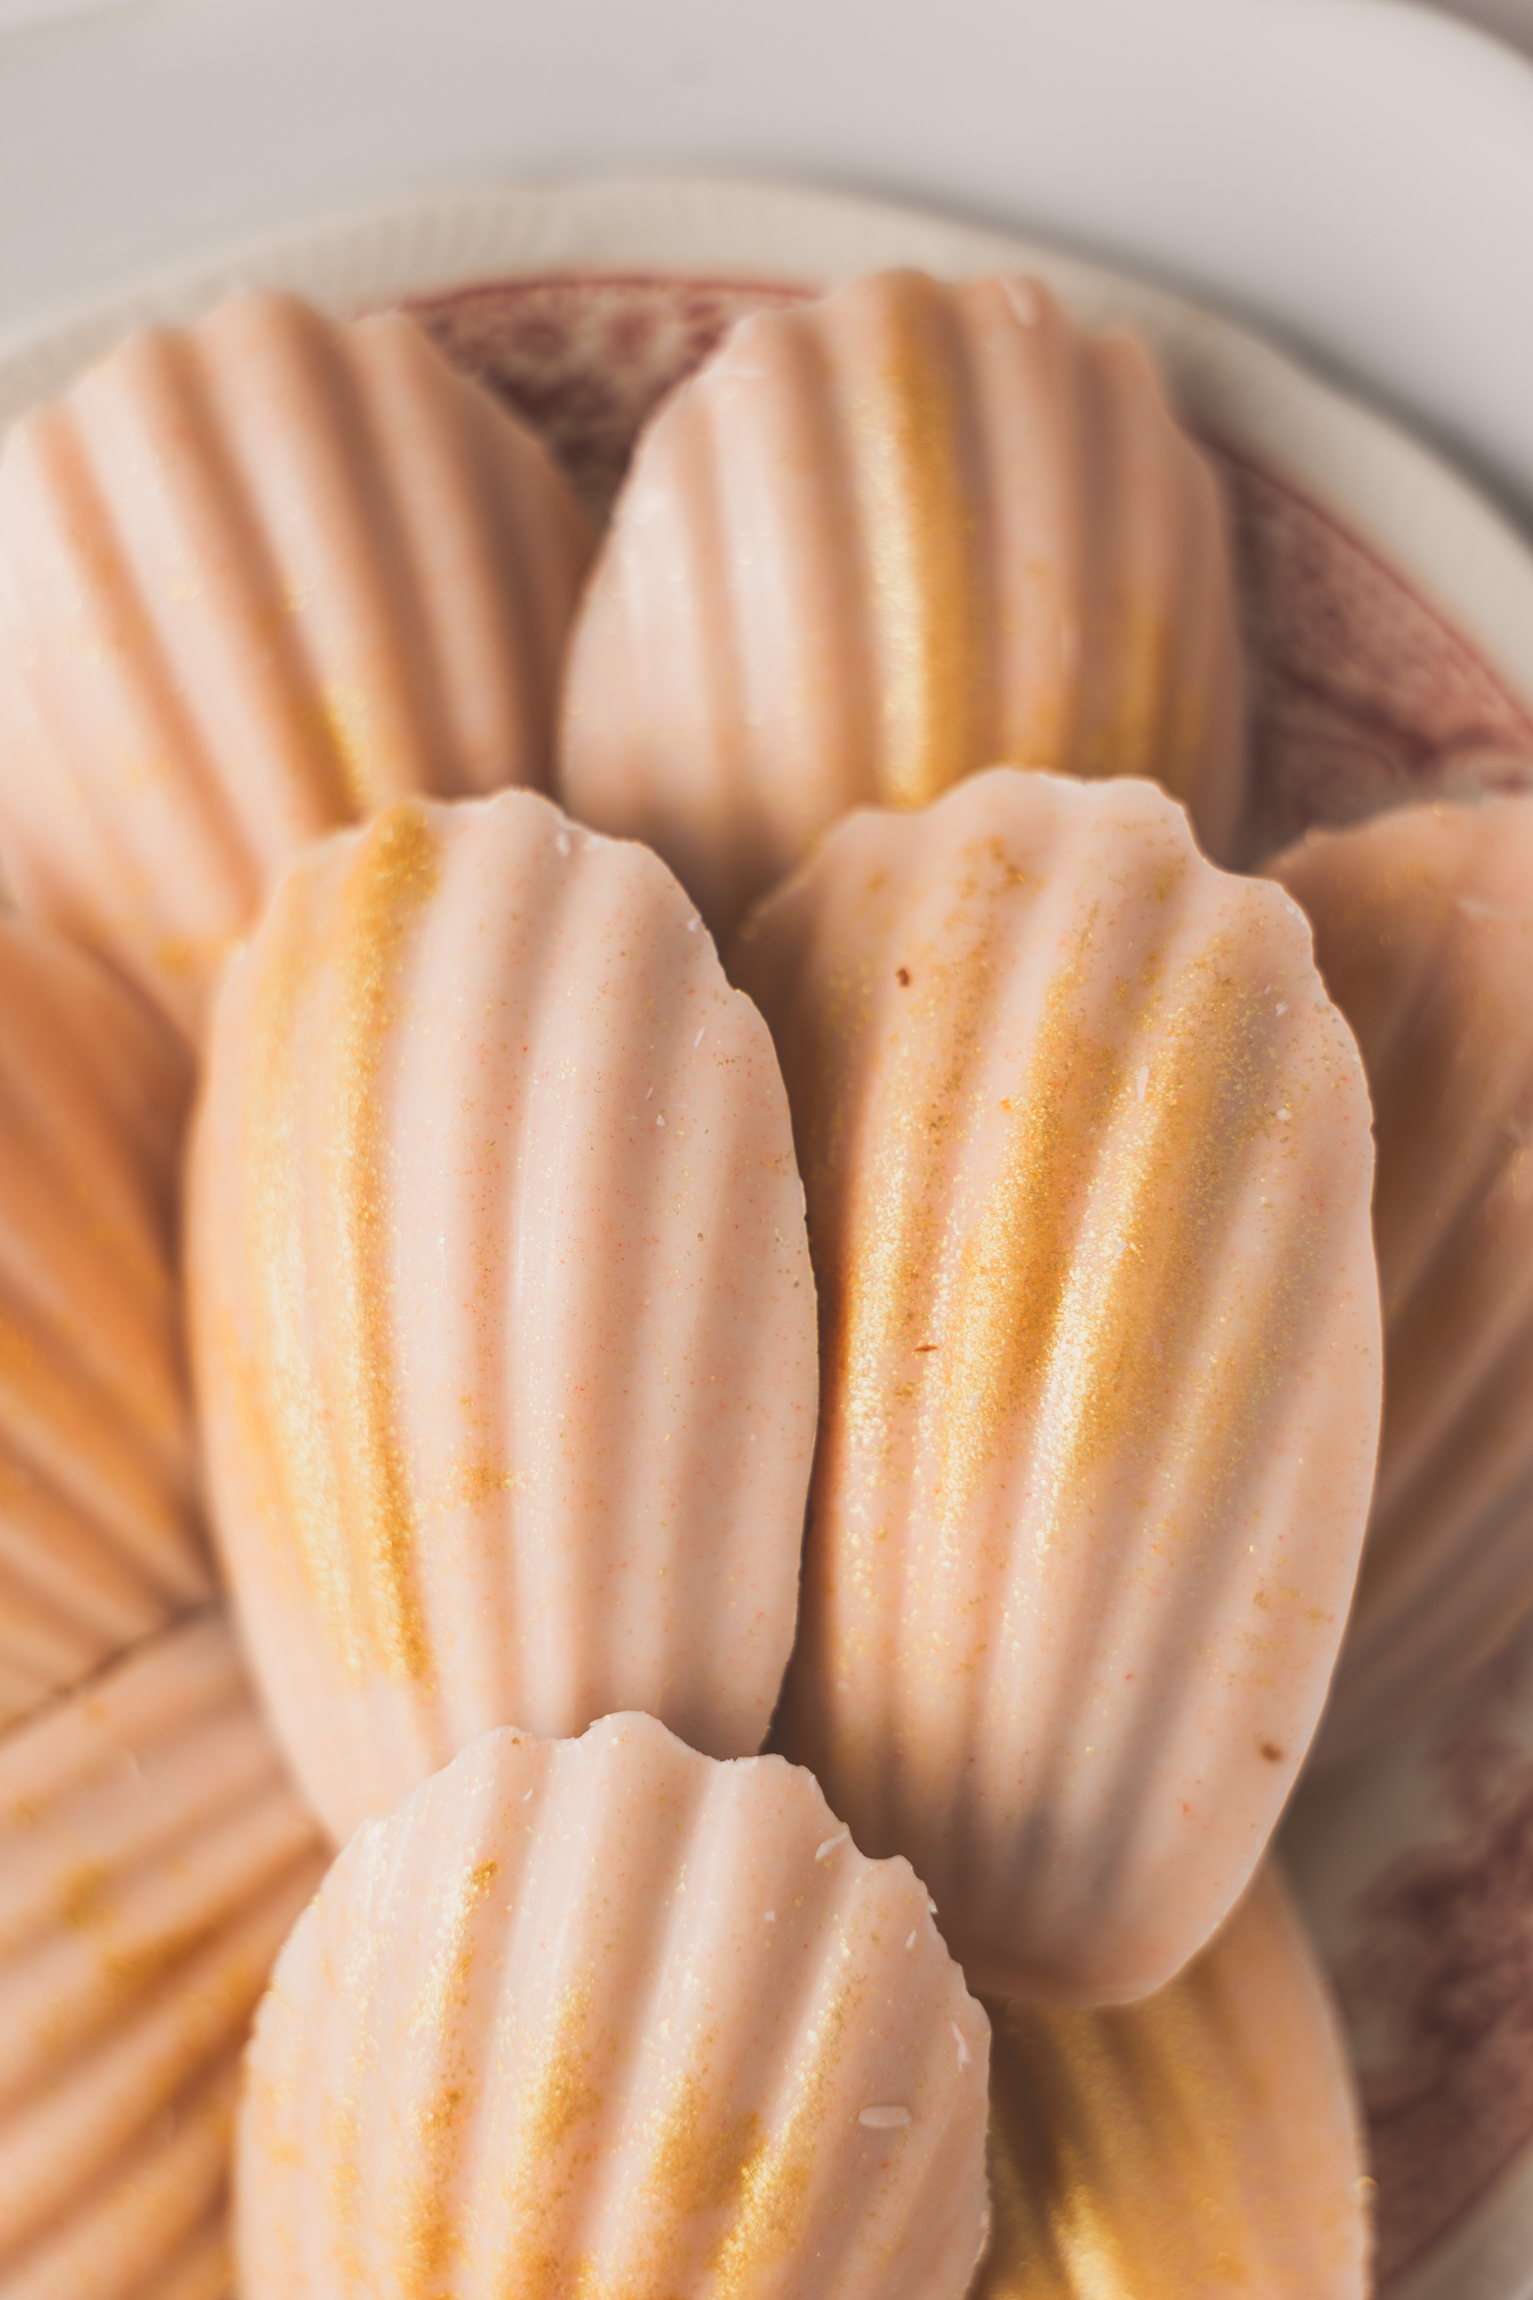
- Add gel food coloring before melting. If you want to tint your shell (I went for a light peach color), mix in a drop or two of gel food coloring before heating the chocolate.
- Sprinkle the edible gold glitter before adding the chocolate. This ensures the glitter is evenly distributed and catches the light beautifully.
- Fill the molds halfway with melted chocolate, then press the madeleines in. This coats them evenly and gives a much cleaner shell than dipping.
- Freeze for 30 minutes before unmolding. Yes, I’m repeating this. It’s that important.
What to Serve with These Vanilla Bean Honey Madeleines
While they’re incredible on their own, here are a few ideas to make them even better:
- Coffee, obviously. The slight crisp on the edges softens when dunked in an espresso or Americano, and it’s chef’s kiss.
- Tea. A floral or citrusy tea pairs beautifully with the vanilla and honey flavors.
- Champagne or sparkling wine. If you’re making these for Valentine’s Day, serve them with a glass of bubbly for an elegant pairing.
- Berry compote. A tart berry sauce (raspberries or blackberries) balances the sweetness of the white chocolate perfectly.
Troubleshooting: Common Madeleine Mistakes & How to Avoid Them
✔ They didn’t rise! → Your batter probably wasn’t cold enough. Chill it longer next time.
✔ They stuck to the pan! → Always butter AND FLOUR your madeleine molds before baking. If they’re still sticking, use a nonstick spray and flour.
✔ The chocolate shell cracked! → You didn’t freeze them long enough before unmolding. Try again and give them the full 30 minutes.
✔ The white chocolate was too thick! → Add a teaspoon of coconut oil while melting to thin it out.
Vanilla Bean Honey Madeleines are a perfect Valentine’s Day Treat
If you’ve never made madeleines before, this is your sign to go for it. They’re surprisingly easy, look beautiful, and taste so much better than anything store-bought. Plus, that white chocolate shell takes them to another level—elegant, polished, and perfect for a Valentine’s treat.
So, what do you think? Are you giving these a go? Let me know if you try them, and don’t forget to freeze that chocolate shell. You’ll thank me later!
In need of more dessert inspiration? Check out my other recipes here!
Vanilla Bean Honey Madeleines with a White Chocolate Shell
Equipment
- Mixing Bowls
- Hand Mixer or whisk
- Spatula
- Sifter
- Madeleine Pan
- Measuring Cups & Spoons
- Piping bag (optional)
- Wire rack
- Heatproof bowl
- Double boiler or microwave
- Freezer
Ingredients
For the Madeleines:
- ½ cup unsalted butter melted and slightly cooled (113g)
- ¾ cup all-purpose flour 95g
- ½ tsp baking powder
- ¼ tsp salt
- 2 large eggs room temperature
- ⅓ cup granulated sugar 70g
- 2 tbsp honey
- 1 tsp vanilla bean paste or seeds from 1 vanilla bean
- 1 tbsp whole milk
For the White Chocolate Shell:
- 1 10 oz bag Ghirardelli white chocolate melting wafers
- 1-2 drops burgundy gel food coloring
- 1 tsp coconut oil for smoother melting
- ⅛ tsp edible gold glitter
Instructions
Prepare the Madeleine Batter:
- In a small bowl, whisk together the flour, baking powder, and salt. Set aside.
- In a large mixing bowl, beat the eggs and sugar together with a hand mixer for about 3-4 minutes until pale and slightly thickened.
- Add the honey and vanilla bean paste, mixing until combined.
- Sift in the dry ingredients and fold gently with a spatula.
- Drizzle in the melted butter and milk, folding just until incorporated.
- Cover and refrigerate the batter for at least 1 hour (or overnight for better flavor).
Bake the Madeleines:
- Preheat the oven to 350°F (190°C). Grease a madeleine pan with butter and lightly dust with flour.
- Spoon or pipe about 1 tablespoon of batter into each shell mold, filling it about ¾ full.
- Bake for 10-12 minutes, or until the edges are golden brown and the centers spring back when lightly pressed.
- Immediately transfer the madeleines to a wire rack to cool.
Prepare the White Chocolate Shell:
- Melt the white chocolate wafers in a heatproof bowl over a double boiler or in the microwave in 15-second intervals, stirring between each until smooth.
- Stir in 1-2 drops of burgundy gel food coloring until evenly incorporated.
- Add coconut oil for a more fluid consistency.
Coat the Madeleines in the Mold:
- Lightly sprinkle ⅛ tsp edible gold glitter into the clean, dry madeleine molds.
- Spoon the melted burgundy white chocolate into each shell mold, filling each about halfway.
- Gently press each cooled madeleine into the chocolate, ensuring it spreads evenly around the edges.
- Freeze the tray for 30 minutes to set the chocolate completely.
Unmold & Serve:
- Remove the tray from the freezer and carefully turn it over onto the counter. Tap the back of the tray to release the madeleines with their perfect white chocolate shell.
- Let them sit at room temperature for a few minutes before serving.
Notes
Best enjoyed the same day for the freshest texture.
Store in an airtight container at room temperature for up to 2 days.
If refrigerated, let them come to room temperature before serving. Optional Finishing Touches: A light dusting of extra gold glitter or freeze-dried raspberry powder for added Valentine’s flair.
Serve with tea, espresso, or champagne for a romantic pairing.

")
")


Affiliate Information
As a part of the Amazon Affiliate program, I have the opportunity to share products and items that I genuinely find useful or interesting. When you come across links to these products on my blog, they're not just recommendations based on my personal experience or research; they also serve a dual purpose. If you decide to click on these links and make a purchase, I earn a small commission from Amazon at no additional cost to you.
This setup helps me to keep generating content that you find helpful and engaging, without bombarding you with irrelevant ads or sponsors. It's a win-win situation: you discover products that could add value to your life, and I get a little support to continue doing what I love. Rest assured, the integrity of my recommendations remains my top priority. I only share links to items that I believe in, and that I think could make a difference for you.
Thank you for your support and understanding. Your trust means the world to me, and I'm committed to maintaining transparency about how I fund my blog. If you have any questions about the Amazon Affiliate program or how it works, feel free to reach out.
")
©️ 2024 Now From Scratch | Template by Maya Palmer Designs | ©️ Photos by Austin Claire Photography| Privacy Policy | Terms