I’ve wanted to make a basque cheesecake for a while now.
Originally Published 06/16/2021
Pinterest sends out these “trending now” newsletters and a basque cheesecake was included in one of the most searched foods for this last year.
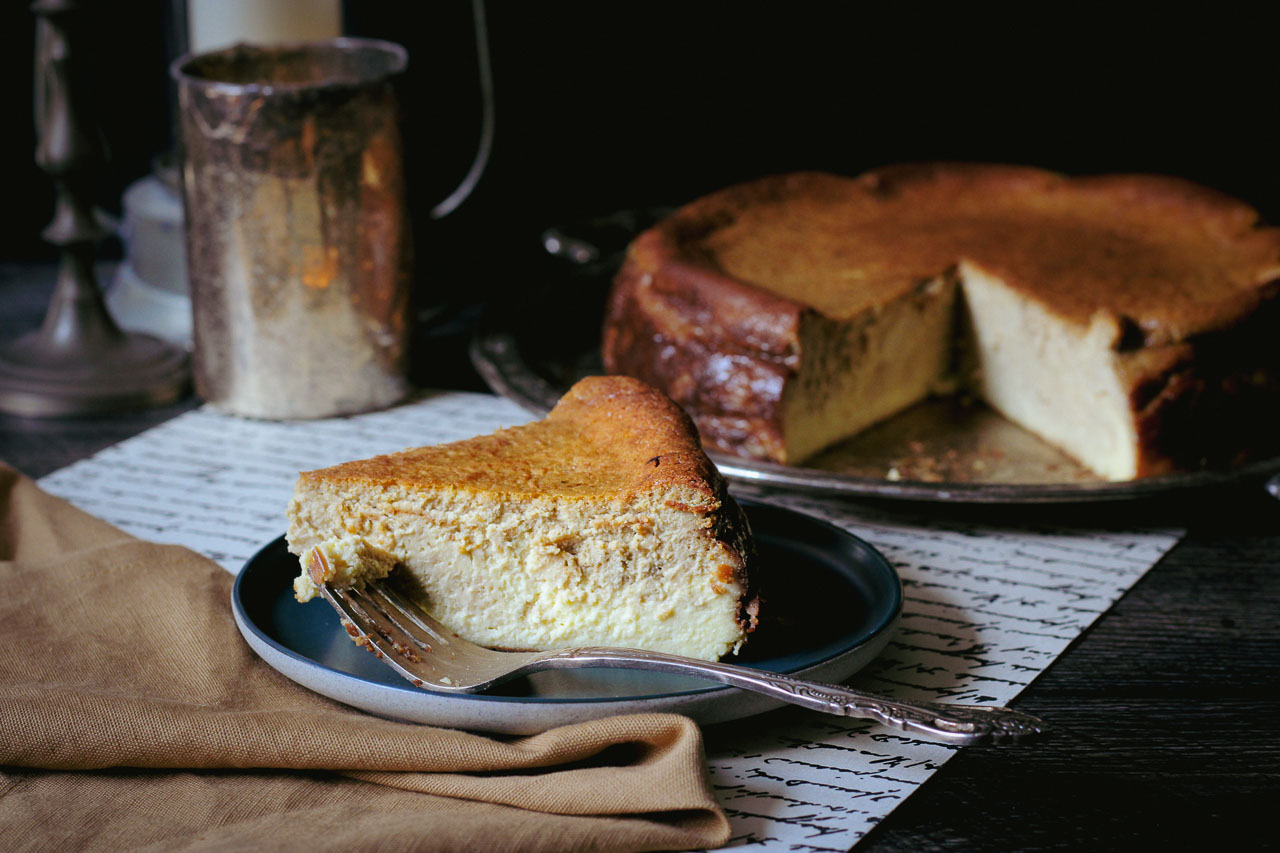
After eating a slice of this Vanilla Latte Basque Cheesecake, I can totally see why!
First off, no crust. This can totally be a negative if you love graham crackers, but it can also be a plus if you’re like, “oh, no crust, that means fewer carbs…so this cheesecake is basically healthy!” (I’m just gonna keep telling myself that 🤫) Secondly, it takes about 15 minutes to put the ingredients together. So easy!
Thirdly, no crazy water bath, worrying about the cheesecake cracking, cooling forever with the door cracked open. For real, just stick the cheesecake in the oven and bake. Simple. Fourth, the caramelly outside of this cake is just so stinking delicious! As well as the texture, the egg to cream cheese to sour cream ratio.
It is just a really, really good cheesecake. The hardest part about this recipe is lining the cake tin with parchment paper. 🤷🏼♀️ So if you love coffee, love cheesecake, and don’t wanna work that hard for a really good slice of cake, this one is for you!
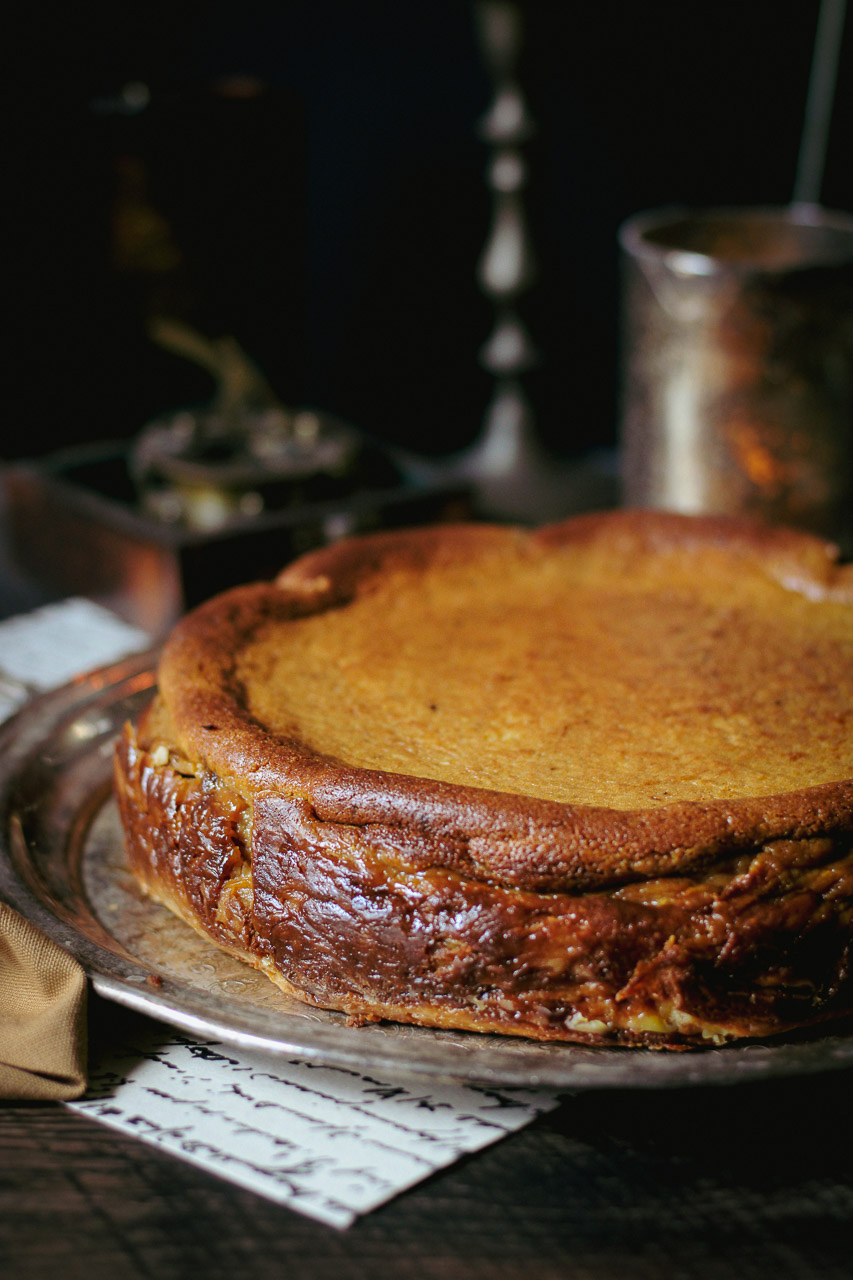
Maybe you’re wondering, “What is a basque cheesecake?”
According to a blog post on The Little Epicurean, “Basque cheesecake is a relatively new dish. It is said to have originated in 1990 in San Sebastian, Spain… The Basque region is situated between the border of France and Spain.”
Serious Eats explains that this lovely cheesecake was, “inspired by the famous “tarta de queso” by Santiago Riviera of La Viña in Donostia-San Sebastián, Spain. Its defining features are a burnt top and barely set center.”
If a New York Cheesecake and a Creme Brûlée had a baby – the basque cheesecake would be it! So now that introductions are out of the way, let’s make some cheesecake!
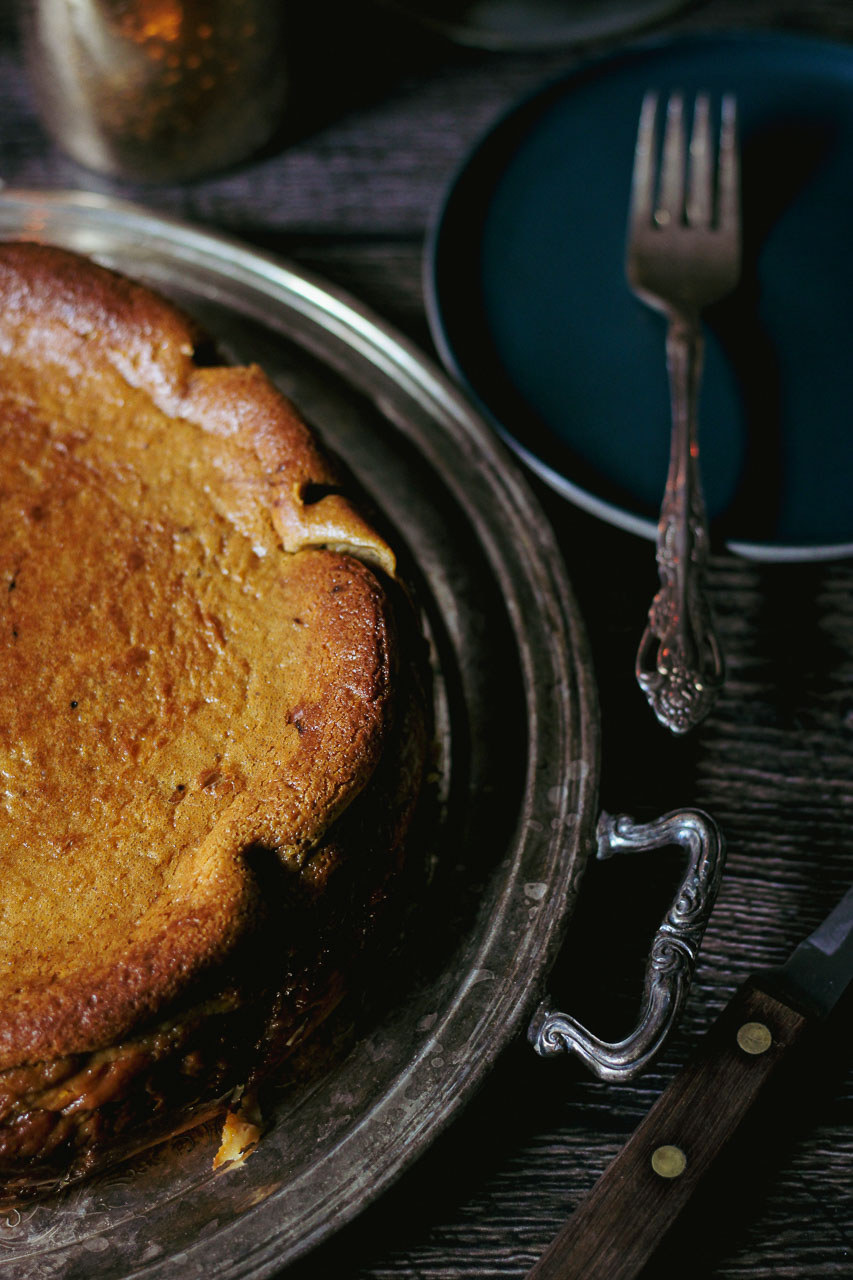
The first and only difficult thing about this recipe is lining the cake tin.
You can use a springform pan if you have one. I used a 9″x3″ cake tin. You’ll want something with deep sides for sure as the batter does rise up quite a bit while it’s baking!
I’ll be honest, I enlisted the help of my husband and he’s the one who lined the cake tin with parchment paper. I am not a puzzle person. If it requires a lot of strategy and the piecing together of fiddly things … ugh.
So I didn’t even get a great picture of how he did it but if you want to check out some other bakers lined pans here are some examples! Serious Eats / The Little Epicurean / Butternut Bakery
Essentially, you’ll need two pieces of parchment. Overlap them to create the least amount of leakage of the batter into the rest of the pan as possible. And, keep the edges of the parchment tall to hold the cheesecake as it rises. So once you get your cake tin lined, preheat the oven to 350 degrees and you’re done with the prep work.
To make the basque cheesecake batter
start by adding the room temperature cream cheese, sour cream, and granulated sugar to your mixer.
Once those three ingredients are mixed, throw in the 6 eggs and vanilla extract. You’ll probably have to scrape down the sides at some point to get all the ingredients mixed thoroughly.
Next comes the heavy whipping cream. Before you pour that in though, mix the 2 tbsp of cornstarch into it.
Cornstarch is always less lumpy and combines better with cold liquid.
Add this to the batter and mix!
This should give you about 8 cups of basque cheesecake batter.
To make this vanilla latte basque cheesecake, we need to add the coffee part of things. Pour half of the cheesecake batter into a separate bowl. Then, add 2 tbsp of instant coffee to the mixing bowl and mix it until most of the coffee is dissolved.
I just used generic instant coffee, but I do find Starbucks Via packets are great for baking because the powder is so fine and it dissolves great in all types of liquid.
There may be some bits of the coffee that don’t dissolve. Don’t stress, some of it will dissolve more while the cake is baking.
Start by pouring the coffee basque cheesecake batter into the bottom of the lined cake tin. Follow it with the vanilla batter, pouring it around the cake tin in a circle as you go. I also gave mine a gentle swirl with a butter knife after they were combined in hopes of a marbled effect.
Don’t over swirl though or you’ll just have a delicious coffee basque cheesecake!
Place the tin on the middle rack of the oven and bake at 350 degrees for 55-60 minutes. It’s finished baking when the outside is a dark golden brown, the edges are set, but the middle is still very jiggly if you give it a shake. If you’d prefer the more traditional burnt basque cheesecake, you can preheat your oven to 375 or 400 to get that darker outer bake. I went for a more caramelized look overall 🤷🏼♀️.
Once it’s finished baking,
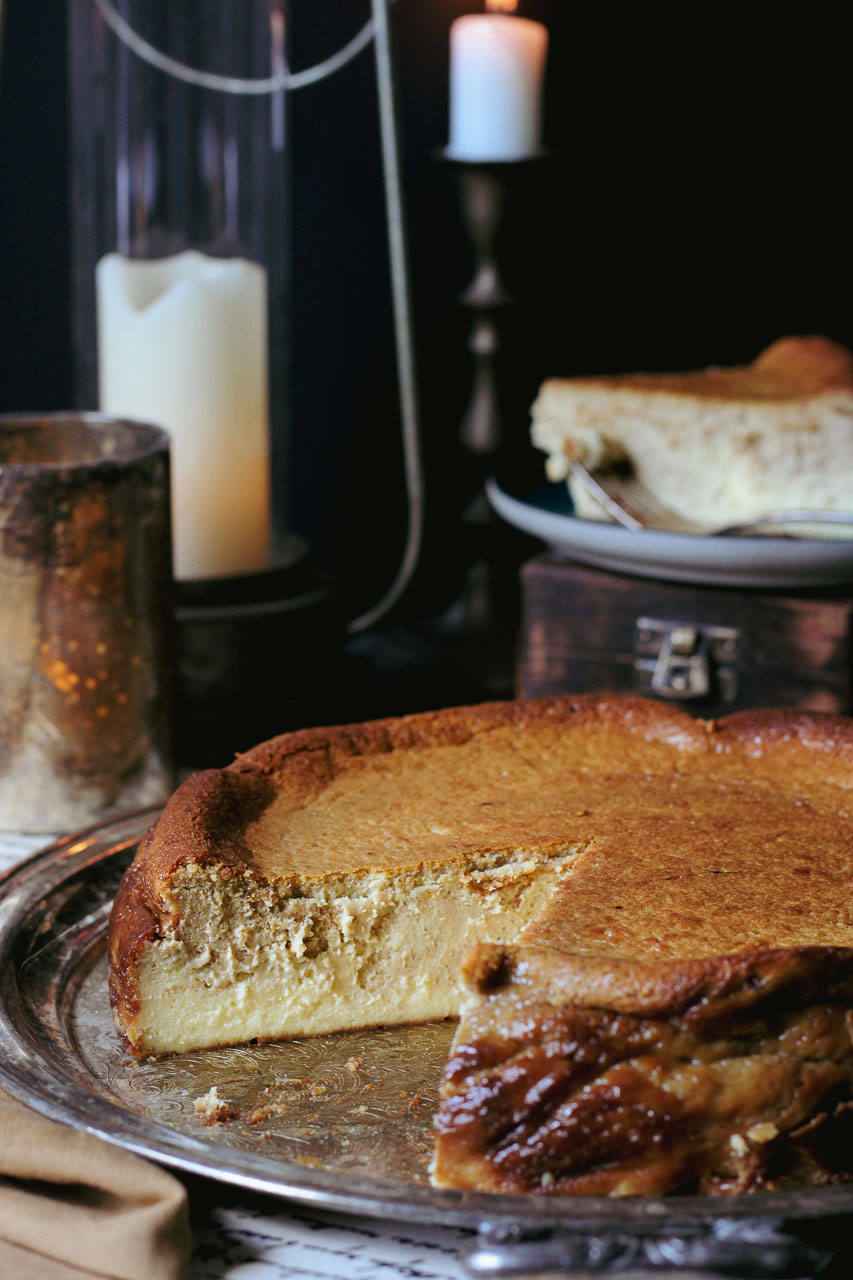
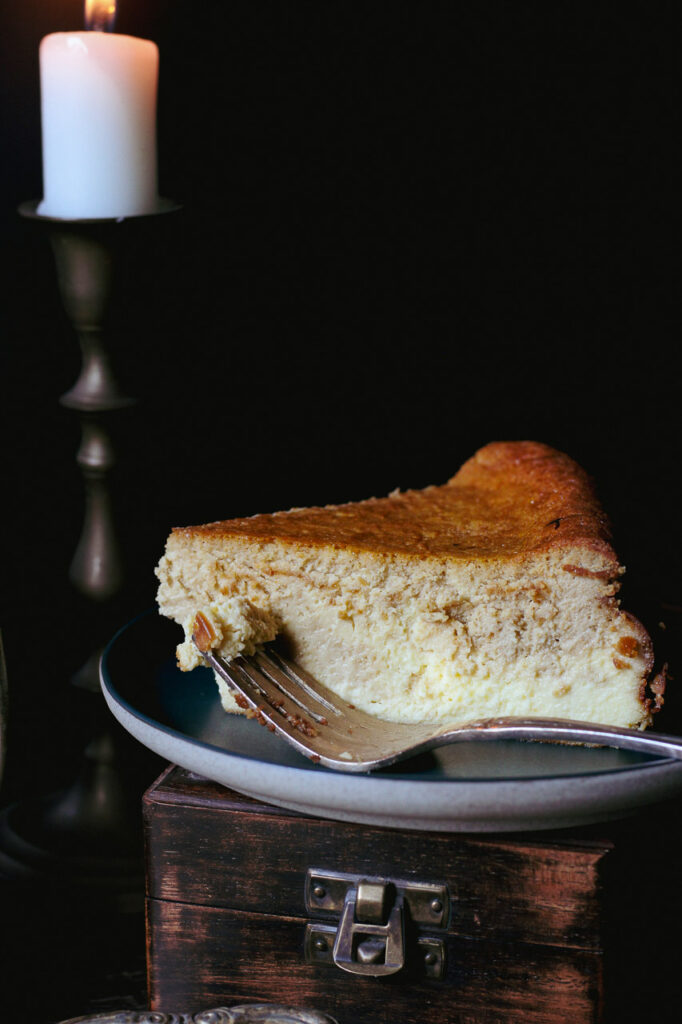
remove it from the oven and let it cool in the pan on a cooling rack. I let mine sit for about 2 hours before throwing it in the freezer for about an hour. (I was anxious to get a bite!) After two hours, or when it’s just a little warm still, put the pan in the fridge and let it cool completely. This will cause the cheesecake center to set up perfectly and be the most amazing, tasty, custard-like cake ever!
When it’s fully cool, cut slices and serve your family and friends this beautiful, decadent, and easy dessert!I just ate it plain, but I think it would be fantastic with whipped cream, raspberries, caramel drizzle, chocolate drizzle, and a myriad of other toppings!
I hope you give this Vanilla Latte Basque Cheesecake a shot! Let me know how it turns out and if you love it!?
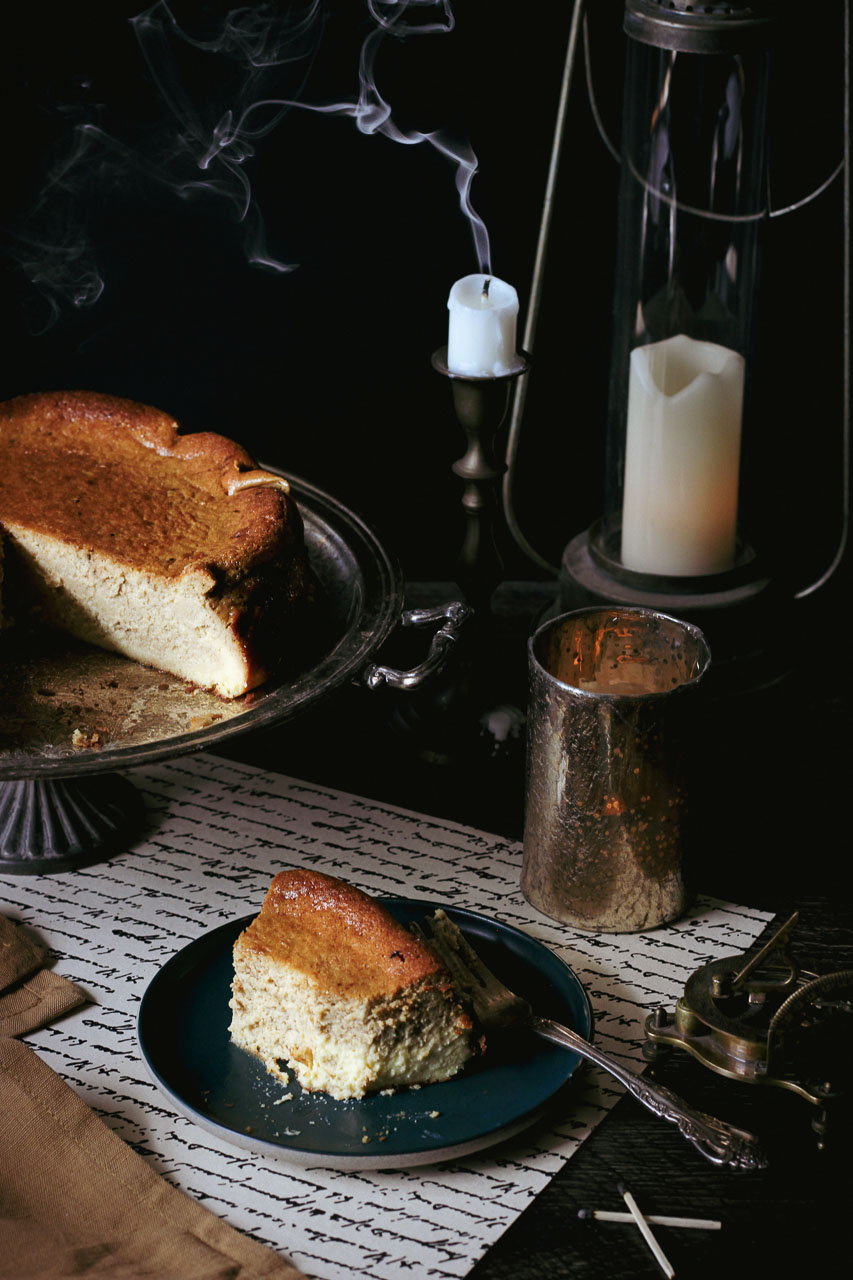
Vanilla Latte Basque Cheesecake
Equipment
- Kitchenaid Mixer with Paddle Attachment
- Measuring Cups & Spoons
- Rubber Spatula
- 9″x3″ Round Cake Tin
- Parchment Paper
- Medium-size bowl
Ingredients
- 3 packages Cream Cheese room temperature 675 grams
- 1/2 Cup Sour Cream room temperature 125 grams
- 1 1/2 Cups Granulated Sugar 320 grams
- 6 Eggs room temperature 300 grams
- 1 3/4 Cup Heavy Whipping Cream 400 grams
- 2 tsp Vanilla Extract
- 2 tbsp Cornstarch
- 2 tbsp Instant Coffee
Instructions
- Preheat the oven to 350 degrees and line a 9″x3″ cake tin with parchment paper making sure to cover the bottom as well as the sides.
- In your Kitchenaid mixer fitted with the paddle attachment, add in the 3 packages of cream cheese, 1/2 cup sour cream, and 1 1/2 cups of sugar and mix thoroughly.
- Next, add in the 6 room temperature eggs and mix until combined. Also, add in the 2 tsp of vanilla. You may need to scrape down the sides of the bowl with a rubber spatula to make sure everything is mixing together smoothly.
- Before adding the heavy whipping cream, measure it out and then stir in the 2 tbsp of cornstarch into the cold whipping cream. Add the heavy whipping cream/cornstarch to the batter, mix together well.
- The cheesecake batter should equal about 8 cups now. Pour half of the batter into another medium-size bowl and keep half in the mixing bowl. Now add two tbsp of instant coffee to the mixing bowl, return to the stand and mix until the instant coffee is dissolved. There may be some bigger specks left in the batter that don’t dissolve, it’s ok they will dissolve while the cheesecake is baking.
- Start by pouring the coffee-flavored batter into the bottom of the parchment-lined cake tin, followed by the vanilla. Swirl together with a butter knife, but don’t mix too much or you’ll just have a coffee cheesecake!
- Place it on the middle rack of the oven and bake at 350 degrees for 55-60 minutes. The cheesecake will turn a really nice dark golden brown. It’s done with the edges are set, but the middle is still somewhat jiggly.
- Remove it from the oven and allow it to cool on a cooling rack still in the pan for a few hours until it’s just barely warm and then chill for at least 2-3 hours in the fridge before serving. After chilling in the fridge, carefully lift the cheesecake out of the tin using the parchment paper, and transfer it to a serving tray!
- This cake was delicious all on its own but of course could be served topped with fresh whipped cream, raspberries, or anything you want! Hope you enjoy it!
Affiliate Information
As a part of the Amazon Affiliate program, I have the opportunity to share products and items that I genuinely find useful or interesting. When you come across links to these products on my blog, they're not just recommendations based on my personal experience or research; they also serve a dual purpose. If you decide to click on these links and make a purchase, I earn a small commission from Amazon at no additional cost to you.
This setup helps me to keep generating content that you find helpful and engaging, without bombarding you with irrelevant ads or sponsors. It's a win-win situation: you discover products that could add value to your life, and I get a little support to continue doing what I love. Rest assured, the integrity of my recommendations remains my top priority. I only share links to items that I believe in, and that I think could make a difference for you.
Thank you for your support and understanding. Your trust means the world to me, and I'm committed to maintaining transparency about how I fund my blog. If you have any questions about the Amazon Affiliate program or how it works, feel free to reach out.
©️ 2024 Now From Scratch | Template by Maya Palmer Designs | ©️ Photos by Austin Claire Photography| Privacy Policy | Terms
