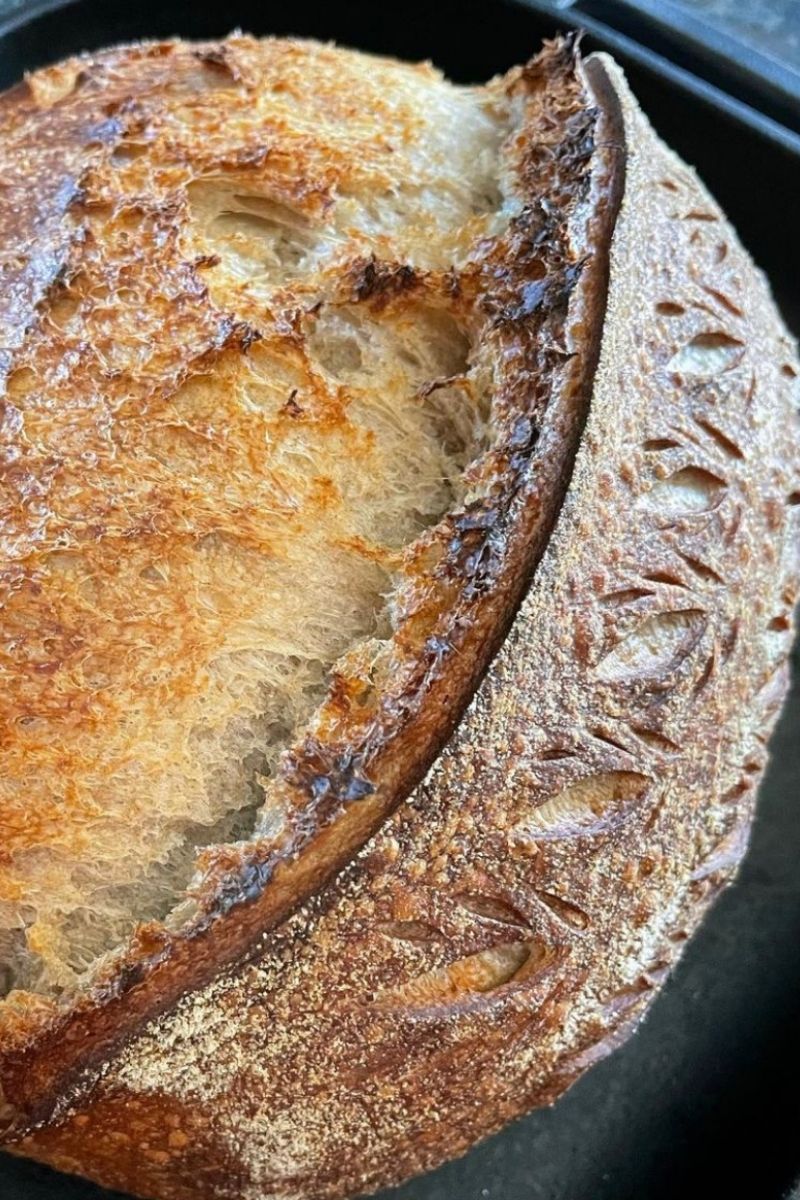
This is my go-to Sourdough Bread Recipe!
Originally Published 09/08/2021
As long as I’m patient and take my time, this recipe always produces a lovely, crusty, tangy chewy loaf of risen Sourdough Bread!
I can’t even tell you how many terrible loaves I’ve baked over the years trying to get one loaf that had any oven spring at all. The coveted sourdough ear seemed extremely out of reach!
I wish I had pictures of all the mishaps so we could laugh at them together! Dense, flat, underproofed, misshapen… I mean, my chickens were big fans!
While my Sourdough Bread loaves are still far from perfect, I’ve figured out a system that seems to work for me and I’d love to share what little knowledge I have!
Maybe it will help you round the corner in your Sourdough Bread journey and avoid some of the flat loaf struggles lol.
So here’s what I know…
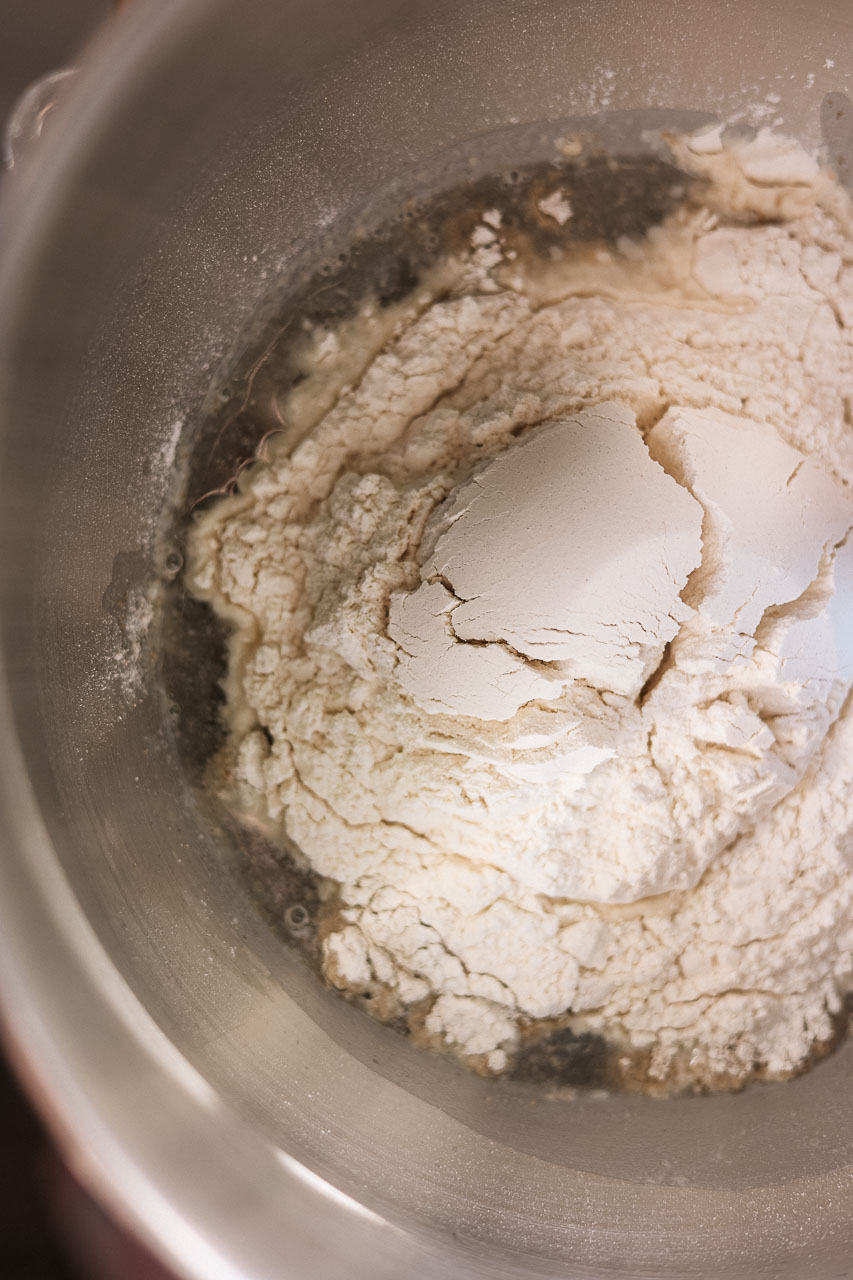
If you aren’t implementing some sort of autolyze, you should be!
Using an autolyze will help you bake a better loaf of Sourdough Bread!
First, what is an autolyze? Autolyse takes place at the beginning of bread baking. Mix your flour and water and then let it sit! The only thing it takes from you to accomplish this step is time and patience! And the rewards for your patience are great! Autolysing allows the flour to fully hydrate while it’s sitting there. It helps jumpstart gluten formation which in turn will give you a dough that is stretchier and more capable of holding air which in turn will equal a more open crumb and a lovely risen loaf!
The science behind it is cool! If you’re interested in delving deeper King Arthur’s article on Using the Autolyse Method has even more information on the subject!
For my Sourdough Bread recipe, I start by adding 300 grams of water, 10 grams of salt, 50 grams of rye bread flour, and 400 grams of regular bread flour to my mixing bowl. Technically, in a true autolyze, the salt would be added later as salt can hinder the autolyzing process.
I let the dough come together, cover it, and let it sit for at least 30 minutes, but sometimes up to an hour.
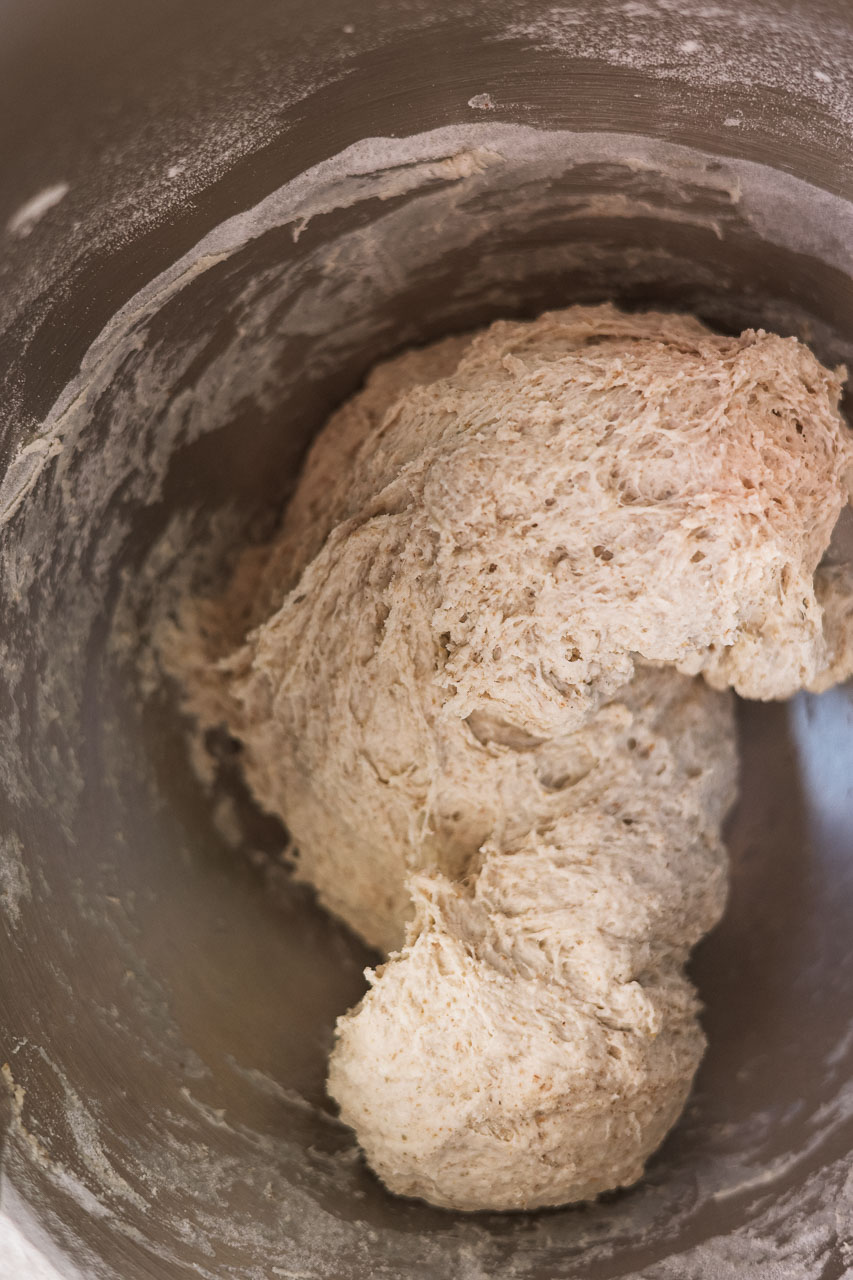
The next two helpful notes about my Sourdough Bread recipe
have to do with the addition of rye flour and the hydration level of this loaf.
So, why add 50 grams of rye flour? Rye is one of the sourdough’s favorite snacks!
“Naturally rich in amylases, nutrients, and microbes, this cereal flour enables a starter to quickly convert sugars for faster, more efficient fermentation.” (The Best Flour for Sourdough Starters) In other words, it’s like a Red Bull for your sourdough loaf. The addition of some rye flour will help your loaf rise faster and better. Also, it adds a nice subtle flavor to the bread that I love!
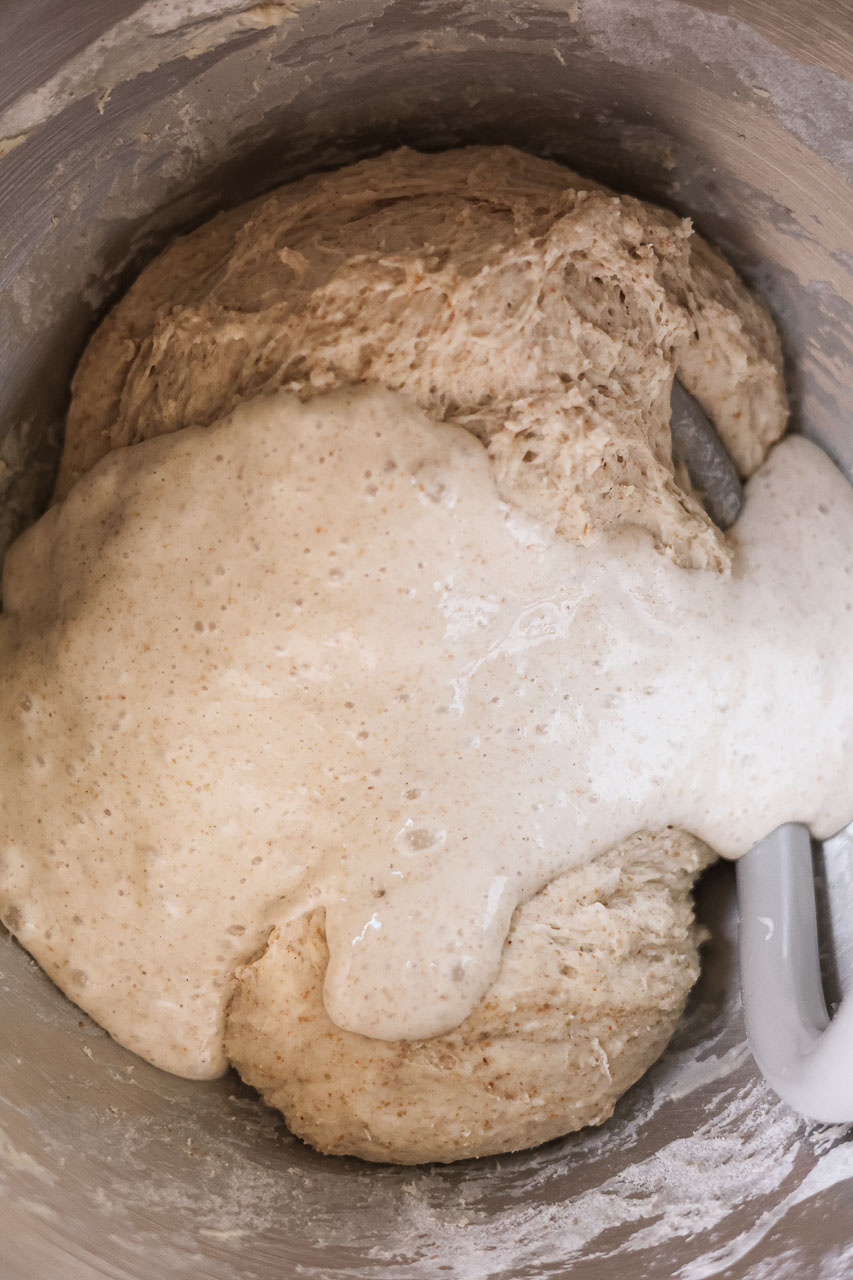
Next, let’s talk about hydration briefly.
This loaf is at 70% hydration. Hydration is calculated by taking the total amount of wet ingredients, dividing them by the total amount of dry ingredients, and then multiplying by 100 to get the percent.
So for this loaf, I have 300 grams of water and 450 grams of flour.
I also add 100 grams of starter. My starter is fed a 1:1 ratio, which means equal parts water & flour. So 100 grams of sourdough would add 50 grams of flour to the dry ingredients and 50 grams of water to the wet making the total 350 grams wet and 500 grams dry. 350/500=0.7×100= 70%
70% hydration creates a dough that is beginner-friendly. It isn’t too wet, sticky, and sloppy to handle. It won’t necessarily create the large open crumb holes you see in other bakers’ pictures. But you also won’t struggle to work with it, and there’s more of a guarantee it will hold its structure while baking and not come out flat as a fritter.
Once you get the hang of 70% though, start playing with the recipe and add more water! See what happens!
So, after the autolyze, add 100 grams of active sourdough bread starter.
It takes some coaxing to get it to incorporate into the dough. I usually have to keep stopping the mixer and fold the dough back up over the dough hook. But, after it’s all mixed in, let the dough knead for 5-8 minutes. Then transfer it to a bin lightly sprayed with oil. Cover it with a plastic shower cap and let it sit for 30-40 minutes.
Yes, a plastic shower cap – it’s so much less frustrating to take on and off of the container than plastic wrap because of its elastic bottom. Also, you can poof it up so it doesn’t touch the top of your loaf, stick to it, and then you’re wasting time cussing under your breath peeling plastic wrap off your sticky loaf.
I used to use a large bowl but switched to this 4qt Rubbermaid plastic bin and love it. I find it easier to fold the bread in on itself while it’s in here vs. a bowl. It also comes out of this bin in a more even shape which is helpful when it comes to shaping the dough before its final rise. Not 100% necessary, but it makes my sourdough baking process easier!
After you let your Sourdough Bread dough sit for 30-40 minutes
you need to come back and give it at least 3 folds/turns.
This is another essential step for helping your loaf to rise while baking.
Turning it, or folding it in on itself every 30-45 minutes helps build gluten which will give your bread elasticity to hold air and create structure while it’s baking.
I follow Full Proof Baking on Instagram, and this lady is a sourdough bread-baking master! She was the first person to introduce me to stretching, folding, coiling, and turning the dough on itself. If you want to follow someone’s process to make amazingly gorgeous, super-open crumb loaves of bread, she is your girl!
All that being said, I am a little bit lazier in how I go about this folding process. I’ve provided a video below – it’s an older one so I’m still using a bowl, also the dough I was working with was a wetter, higher hydration dough. But it gives you an idea of what I do. So, come back and build that gluten structure with three turns at least 30 minutes apart.
After the three turns put your dough in the fridge overnight.
When I first started baking bread, I thought it was all about keeping it warm. For other loaves of bread, this might be true, but for my sourdough recipe, it likes it cold!
Two reasons for the overnight proof in the fridge. One, I am an impatient person, so if the bread completes the first rise while I’m sleeping, then I’m less apt to speed things along and ruin it. Two, slower, colder fermentation of the dough produces a tangier, sourdough. Your loaf of bread is still rising in the fridge, it’s just doing it much slower.
I let it sit in the fridge for about 8-12 hours. The next morning, I scoop it out onto the counter, fold it, roll it, shape it a little, then flip the box back over it and let it sit out on the counter for 30-60 minutes. This time on the counter allows the dough to warm up a little and for the gluten to relax again before I come back for the final shaping.
For the second shaping,
I use the countertop and pull the dough along it to create a decent amount of surface tension. This will help it get more oven spring too!
Go easy though, if you tighten the surface too much it will tear, and then you’ve got to let it sit again so the gluten can relax once more and reshape all over again.
After it’s shaped, turn it upside down and place it in a floured banneton.
I’ve been making oval loaves, so I use the oval banneton.
Put your handy plastic shower cap back on, fluff it up so it doesn’t touch the top of your loaf. Set a timer and let it sit on your counter for one hour. After the hour is up, immediately stick it back in the fridge. Now you’re going to let it chill for another 6-8 hours.
Sourdough really isn’t difficult, it’s having the patience and time, and getting the timing down that is difficult lol.
After the 6 hours back in the fridge, you’re going to do something even crazier now and put the loaf in the freezer for at least 45 minutes!
What in the actual heck!?
Just trust me on this one k? Two things again: One, putting it in the freezer before baking to firm up the outer layer of dough making it easier for you to score it cleanly and beautifully. Two, I think it aids in the oven spring.
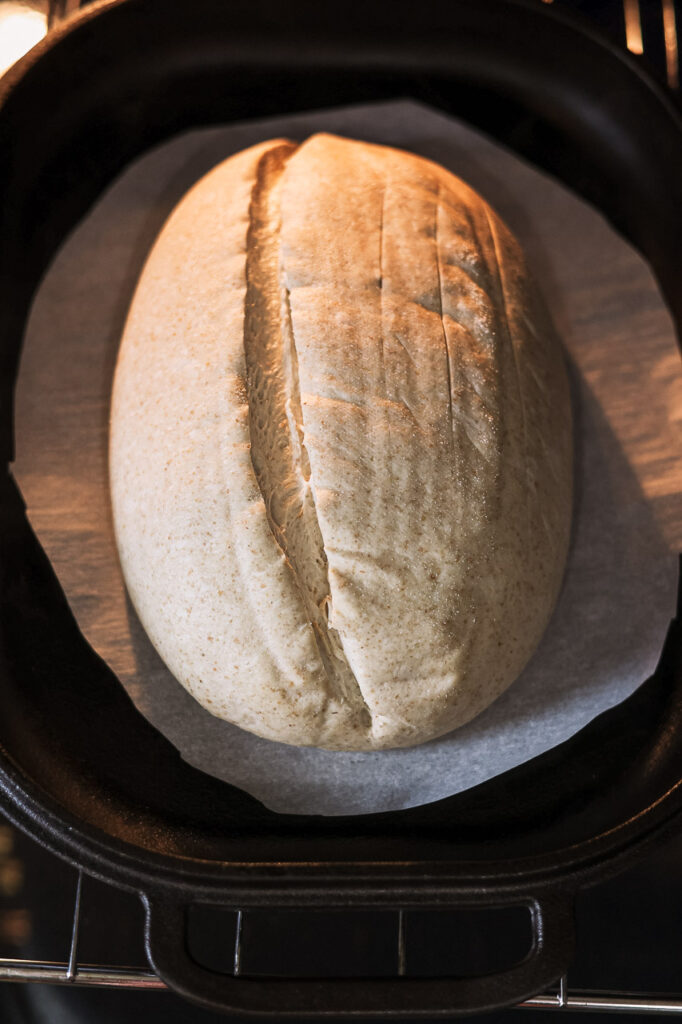
While your loaf is in the freezer, you need to have your cast iron Dutch oven heating up to 500 degrees in the oven. It should sit in the 500-degree oven for a bit so that it’s super hot when you throw your loaf in.
The moisture that’s frozen in the dough hits the hot iron and creates steam which creates a rise! Also, for the dough to open up fully, it needs to stay wetter longer so it doesn’t harden up too fast and hinder the oven spring.
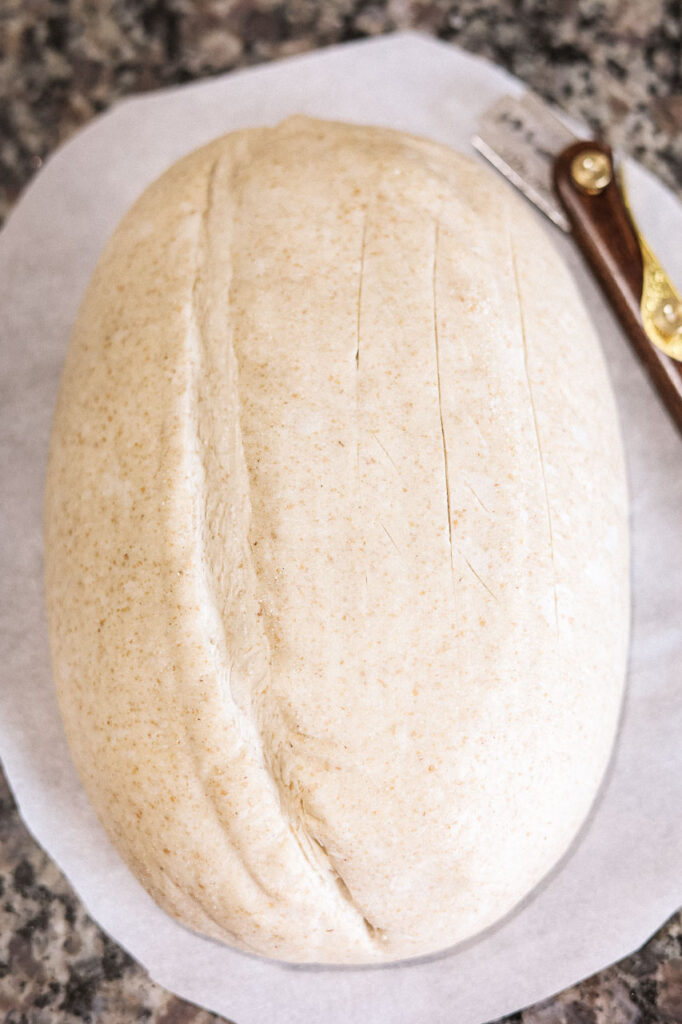
Thus, slightly frozen dough. So, after the freezer, gently flip it out onto a parchment round and score it from one end to the other holding the bread lame blade at a 45-degree angle. You need to go deeper than you think with the cut, but not so deep it ruins the structure. This just comes down to practice I think. Then place it in the preheated Dutch oven with two ice cubes, cover it, and bake at 500° for 20 minutes.
On the subject of cast iron dutch ovens…
I have tried many different kinds and none of them compare to Challenger Breadware’s Bread Pan.
My hubby got it for me as a Christmas present last year and it was an instant game changer! It’s designed specifically for bread baking! The Bread Pan is heavy-duty and gorgeous! The first ear I got on a sourdough loaf was when I used this pan. It creates the perfect, hot steamy micro-climate in your oven that produces artisanal-quality loaves.
I can’t say enough good things about this pan. Save up your money and buy this. You won’t regret it!
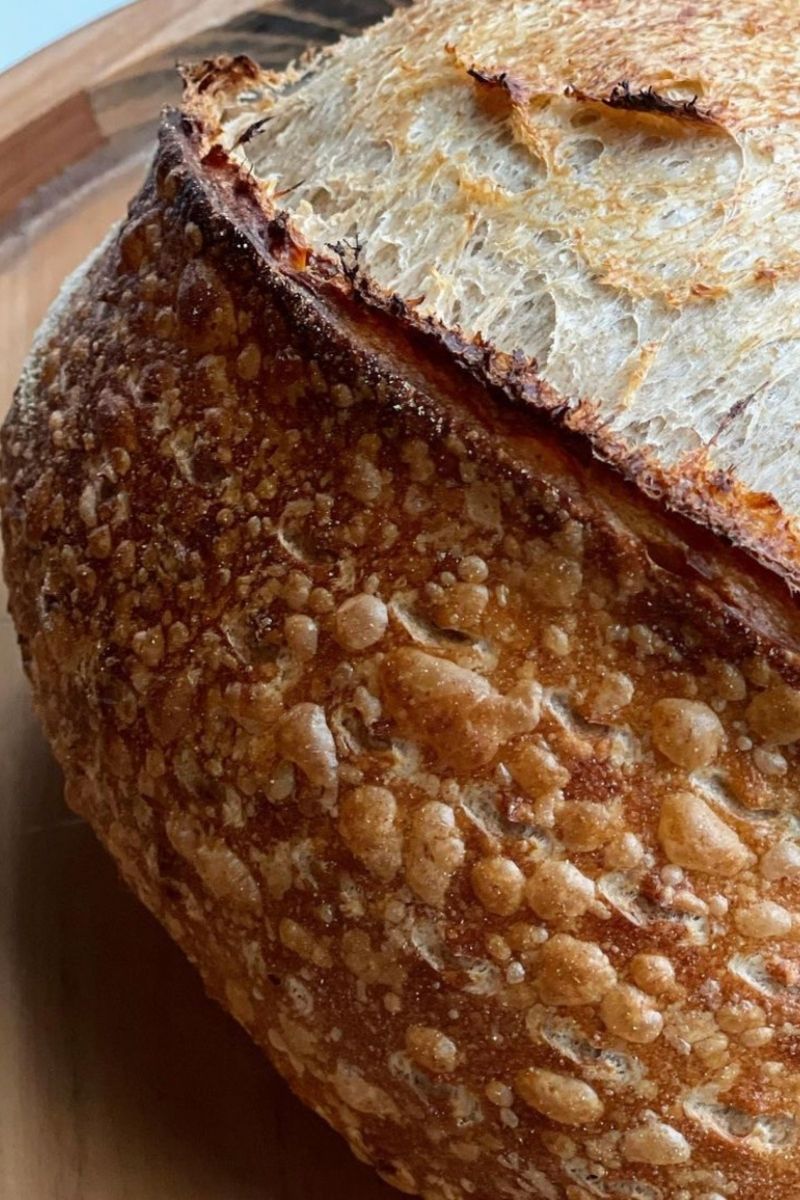
Finally, it’s time to bake your Sourdough Bread Loaf!
Start with 20 minutes at 500°, remove the lid, and bake for another 10-15 minutes with it uncovered at 470°.
Hopefully, just now, when you lifted that lid it was a magical moment of awe and wonder as you saw how gorgeously your loaf opened up, and maybe there was even that elusive ear! The first Sourdough Bread loaf I baked like that, I think I cried lol. It took so many attempts, years worth, and low and behold there it was! It’s such a cool moment!
Once your loaf reaches an internal temp of 200° it’s fully cooked inside. Get it out and let it cool fully before slicing it open to check out the crumb!
I’ll be honest, I can’t ever wait that long. And there isn’t anything better in the whole world than a warm piece of sourdough bread with butter! ❤️ Sourdough bread takes time, but most good things do! I hope something in this post was helpful to your sourdough-baking journey!
Let me know how it’s going!? Post pictures of your creations! I’d love to see them ☺️.
As always, thanks for reading!❤️
Austin Claire’s Sourdough Bread
Equipment
- Kitchenaid Mixer
- Kitchen Scale
- Oval Bread Banneton
- Lame
- Cast Iron Dutch Oven
- Plastic Shower Cap
- 4 qt Plastic Rubbermaid Food Bin
- Kitchen Thermometer
Ingredients
- 300 grams Water warm
- 10 grams Salt
- 400 grams Bread Flour
- 50 grams Rye Flour
- 100 grams Active Sourdough Starter
Instructions
Day One
- If you keep your sourdough starter in the fridge when not using it to bake, get it out in the morning on the day you’re going to start the bread so it can warm up and activate.
- At 5:30 p.m., add 300 grams of warm water, 10 grams of salt, 400 grams of bread flour, and 50 grams of rye flour to your Kitchenaid mixer. Using, the bread hook attachment, knead just until the dough forms. Take the bread hook attachment off and let it sit in the bowl with the dough, then cover the bowl with a plastic shower cap. Let the dough sit and autolyze for at least 30 mins.
- At 6:10 p.m., add 100 grams of active sourdough starter to your mixer, re-attach the bread hook and knead the dough until all the starter has been thoroughly combined. Spray the 4 qt Plastic Rubbermaid Food Bin with olive oil. Once the dough is ready, place it in the bin and cover it with the plastic shower cap again. Let the dough rest for 30-40 minutes.
- At 7:00 p.m., remove the plastic cap, get your hands slightly damp so the dough won’t stick to you, and fold the dough in on itself until it’s shaped into a tight round again. Cover the bin with the plastic cap and let the dough rest for another 30 minutes. Repeat this folding two more times on the half-hour, so at 7:30 and again at 8:00.
- After the last fold at 8:00, cover the bin with plastic wrap and place it in the fridge overnight.
Day Two
- The next morning at 7:00 a.m., remove the bin from the fridge and gently pull the dough out onto the counter. Lengthwise, fold one side of the dough over itself and then fold the other side completely over that. Next, roll the dough up into an oval. Take the bin, flip it over and place it over the dough. Let the dough rest for 30-40 minutes.
- At 7:40, after the dough has rested, re-shape / re-tighten the dough back into an oval. Gently pull it along the countertop to create surface tension. Flip it upside down and place it in a lightly floured oval banneton so the seam/bottom is on top. Cover it with the plastic shower cap and let it sit on the counter for 1 hour, basically from 8:00 a.m. – 9:00 a.m.
- After the hour is up, place the covered banneton back in the fridge for 6 hours.
- At 3:00 p.m., after the 6 hours in the fridge, take it out of the fridge and place it in the freezer. Put your cast iron dutch oven in the oven at 500 degrees and begin heating it up.
- Between 3:45 p.m. and 4:00 p.m., remove the banneton from the freezer. Gently tip the bread loaf out onto a circle of parchment paper. Use a lame to cut one long cut from end to end holding it at a 45-degree angle while slicing.
- Next, transfer the loaf to the hot dutch oven. Place the loaf in there with two ice cubes and replace the lid. Bake for 20-25 minutes with the lid on. Then, remove the lid and bake for another 10 minutes. The loaf is finished baking when the internal temperature has reached 200 degrees.
- Remove it from the oven and place it on a cooling rack to cool. Wait until it is fully cool to slice! Enjoy with butter, or make a grilled cheese!! Yum!
Affiliate Information
As a part of the Amazon Affiliate program, I have the opportunity to share products and items that I genuinely find useful or interesting. When you come across links to these products on my blog, they're not just recommendations based on my personal experience or research; they also serve a dual purpose. If you decide to click on these links and make a purchase, I earn a small commission from Amazon at no additional cost to you.
This setup helps me to keep generating content that you find helpful and engaging, without bombarding you with irrelevant ads or sponsors. It's a win-win situation: you discover products that could add value to your life, and I get a little support to continue doing what I love. Rest assured, the integrity of my recommendations remains my top priority. I only share links to items that I believe in, and that I think could make a difference for you.
Thank you for your support and understanding. Your trust means the world to me, and I'm committed to maintaining transparency about how I fund my blog. If you have any questions about the Amazon Affiliate program or how it works, feel free to reach out.
©️ 2024 Now From Scratch | Template by Maya Palmer Designs | ©️ Photos by Austin Claire Photography| Privacy Policy | Terms
